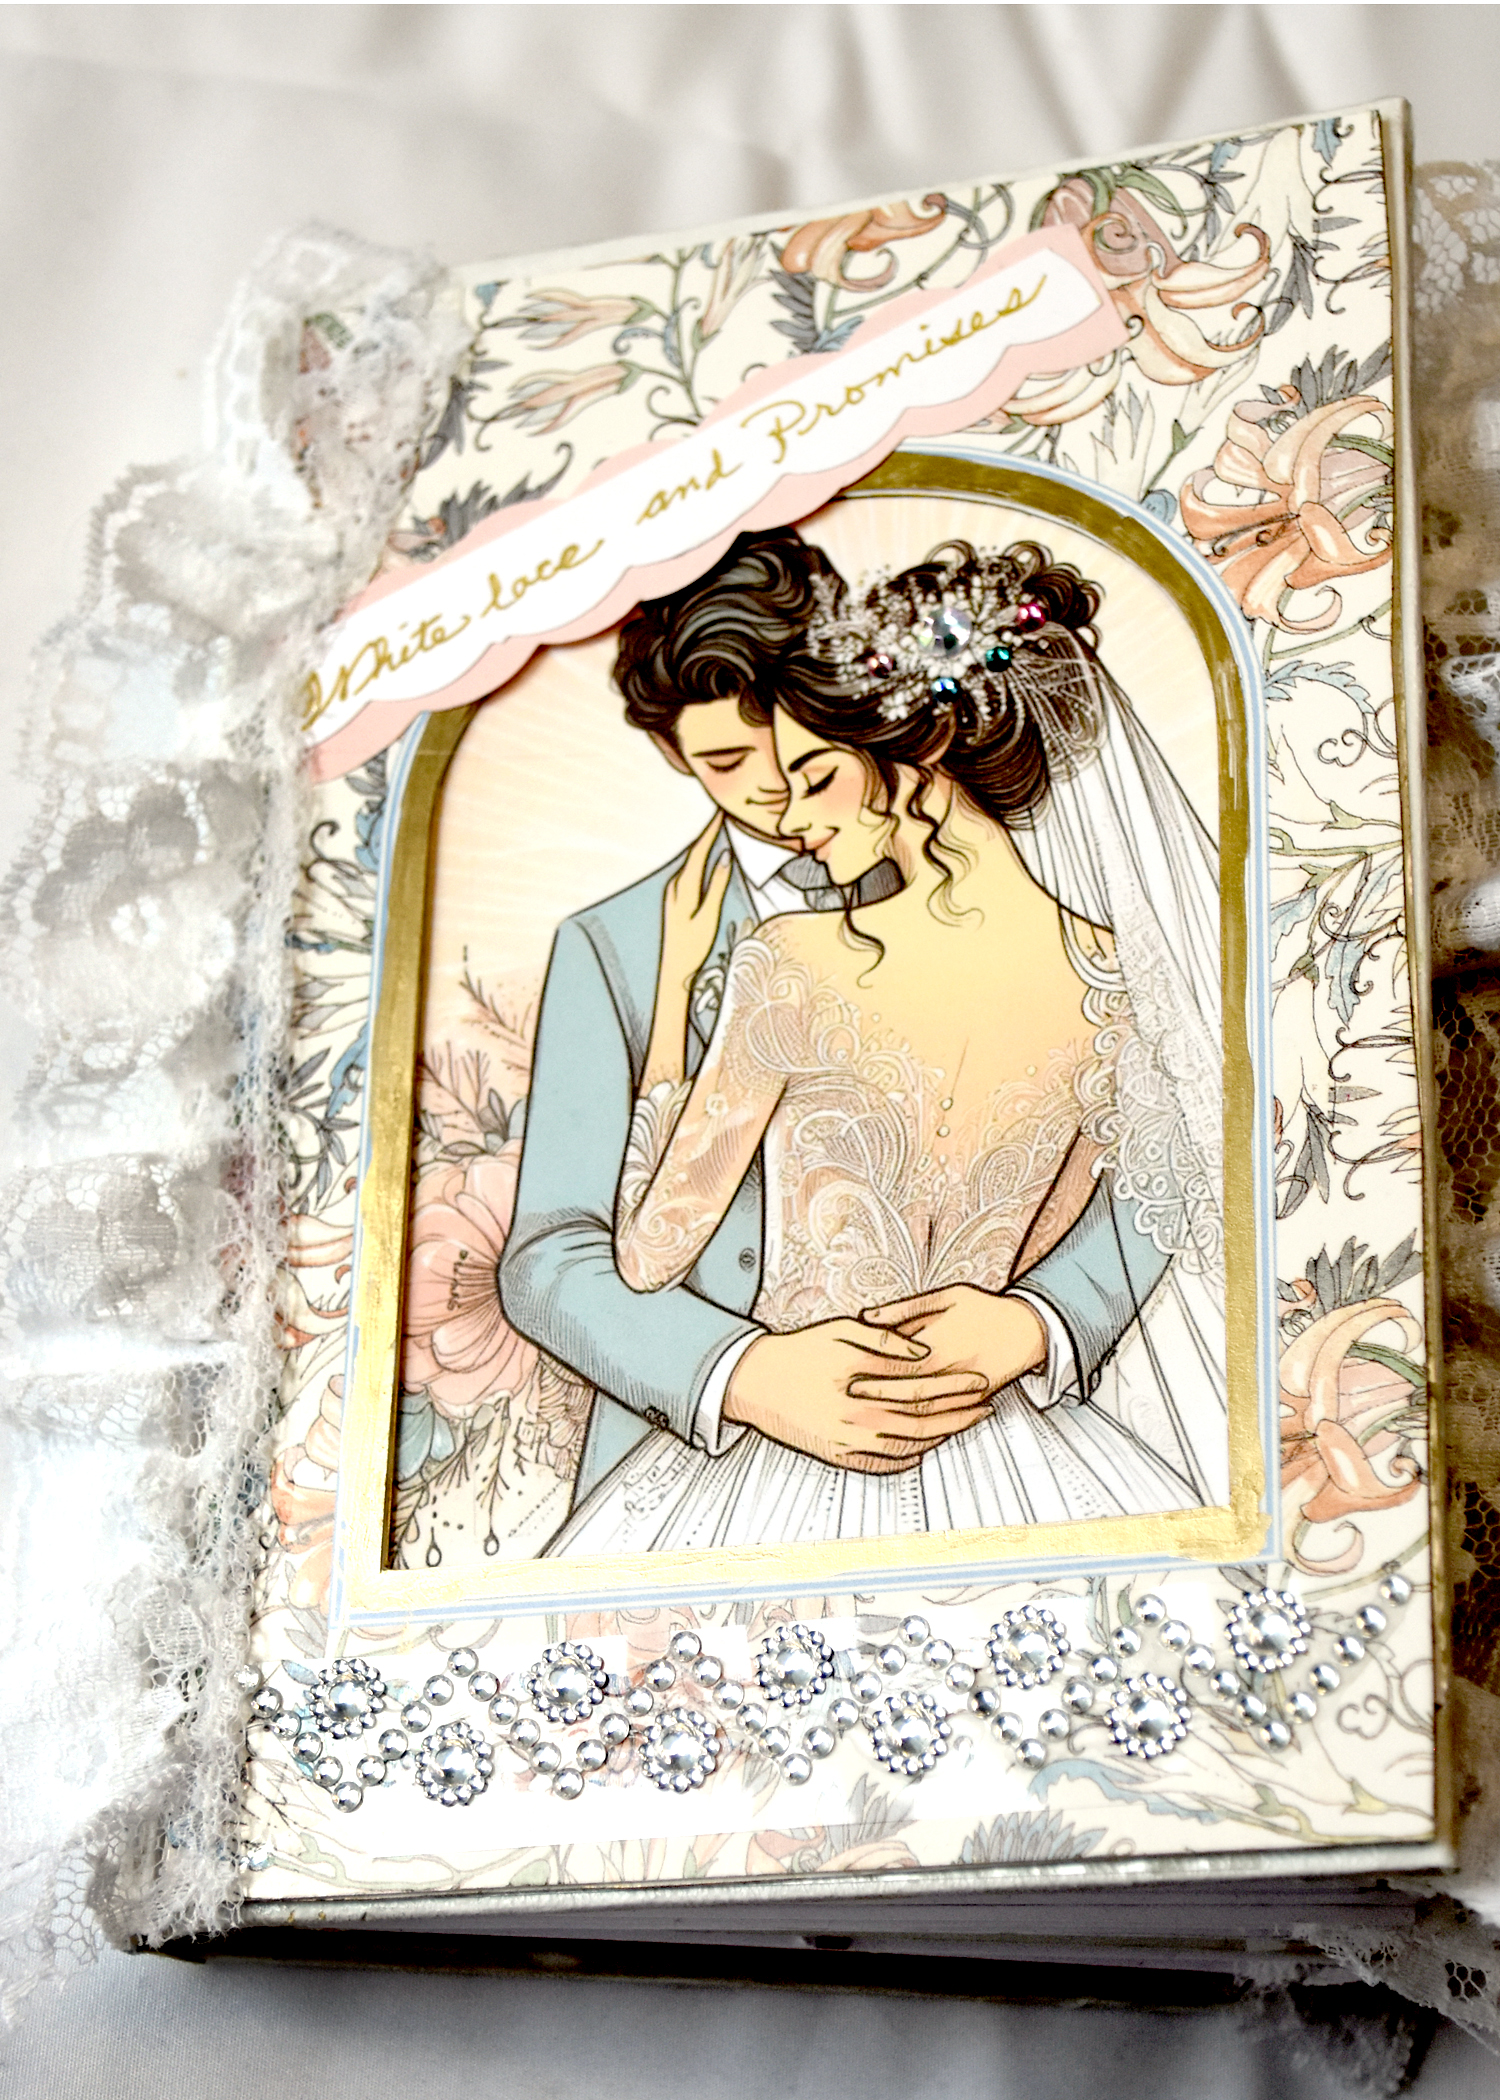
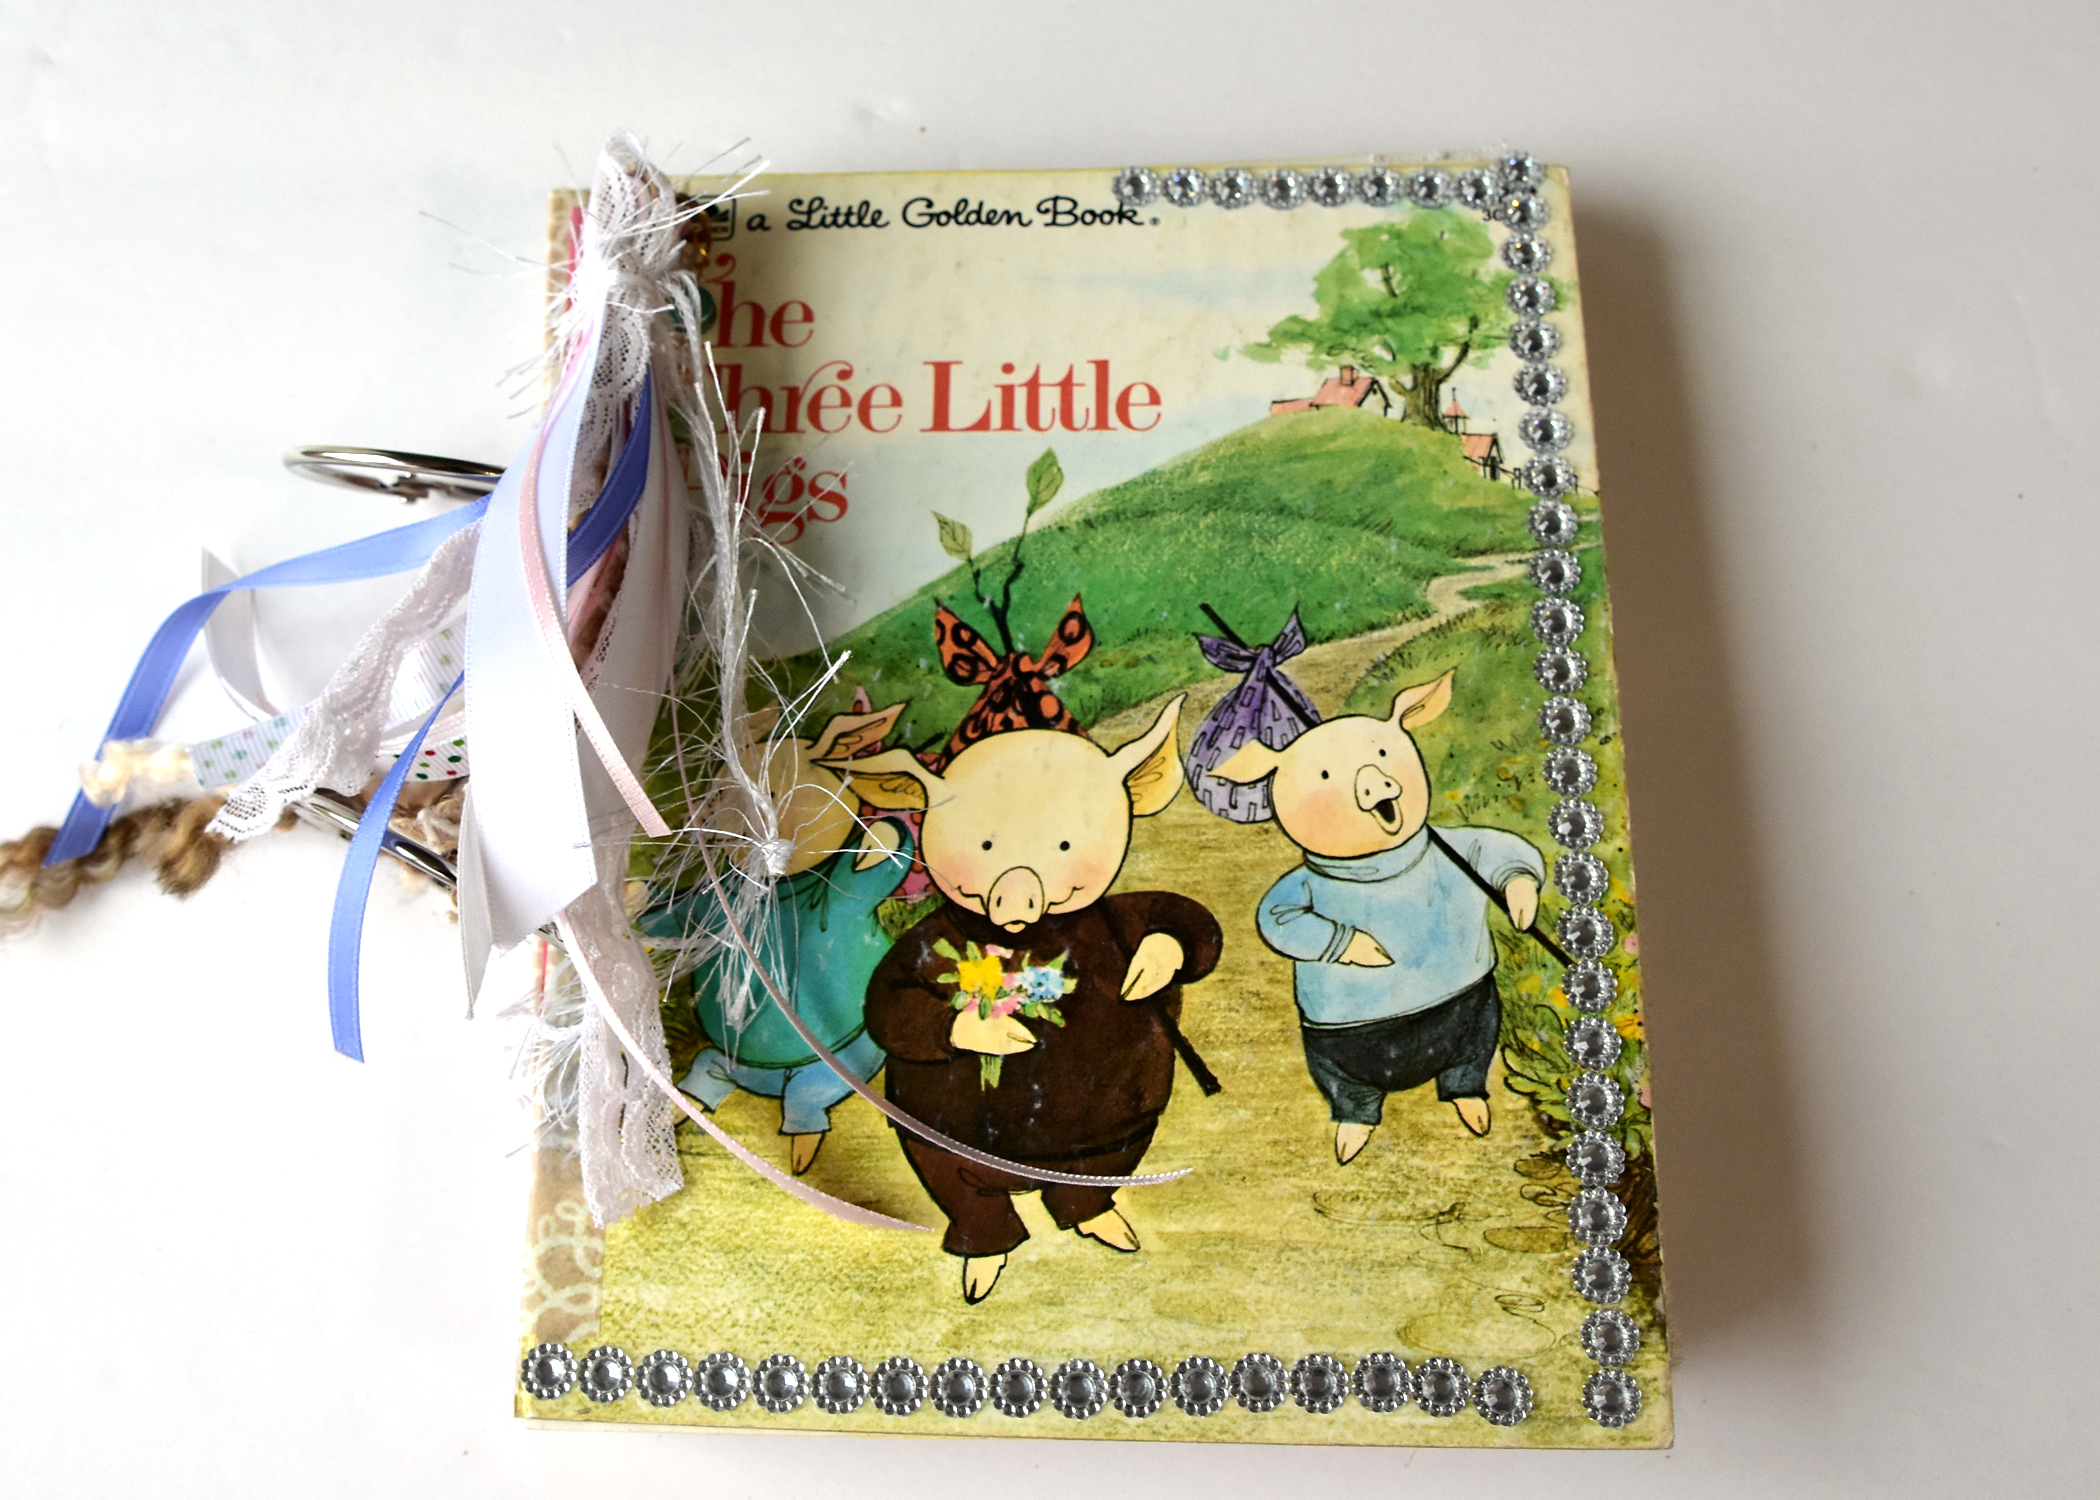
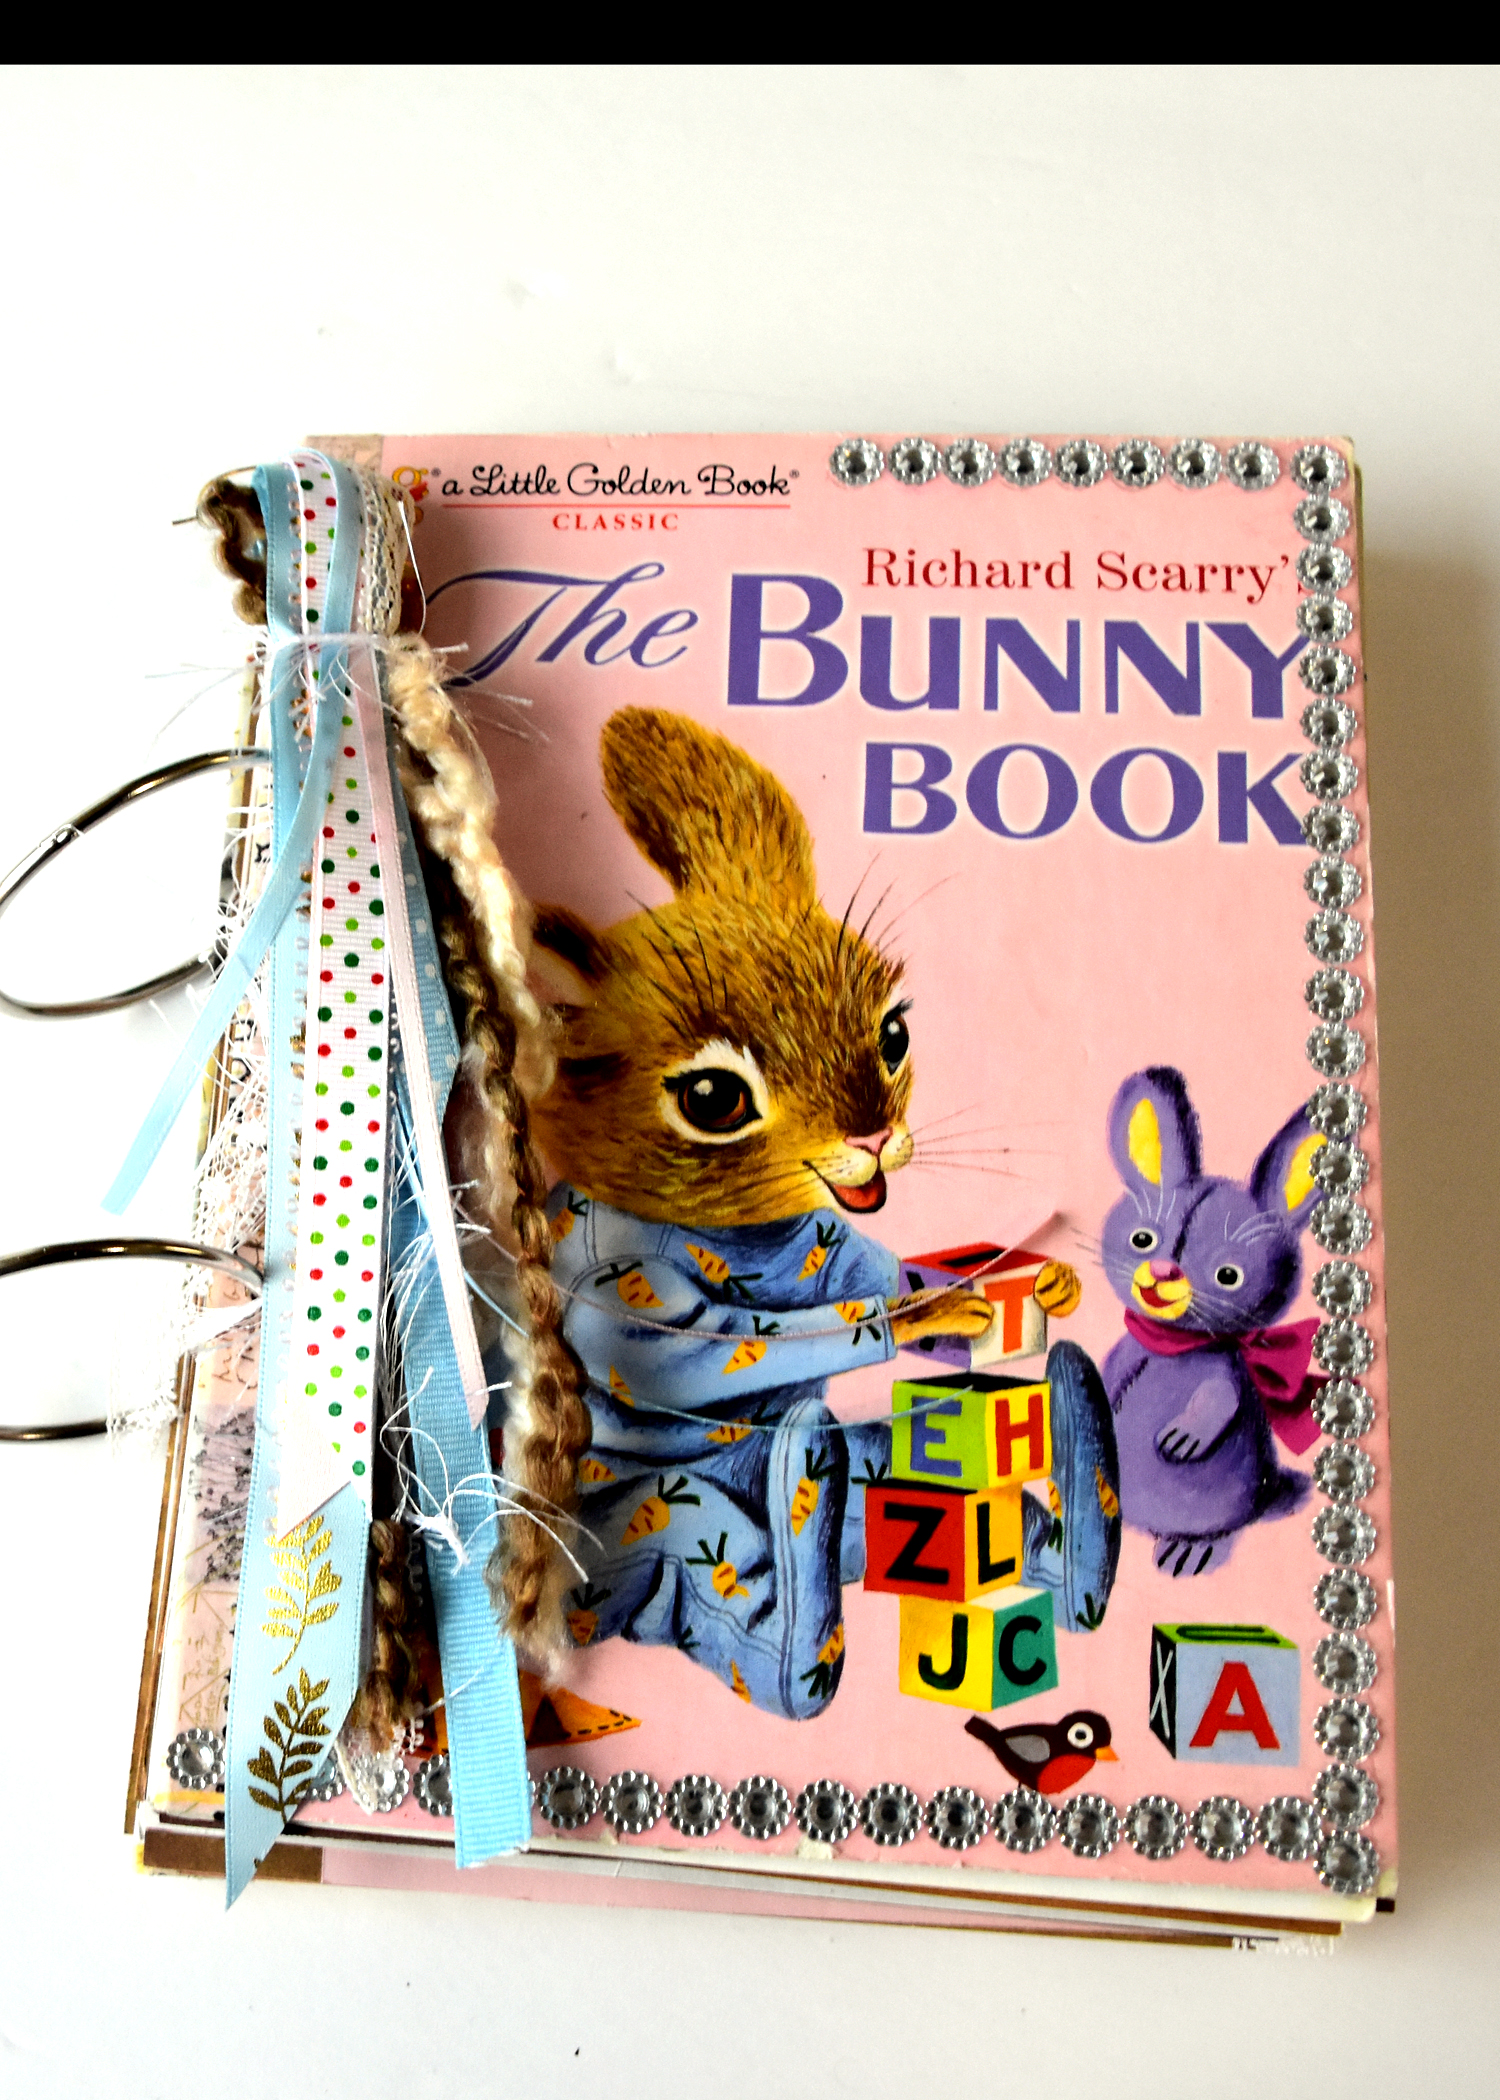
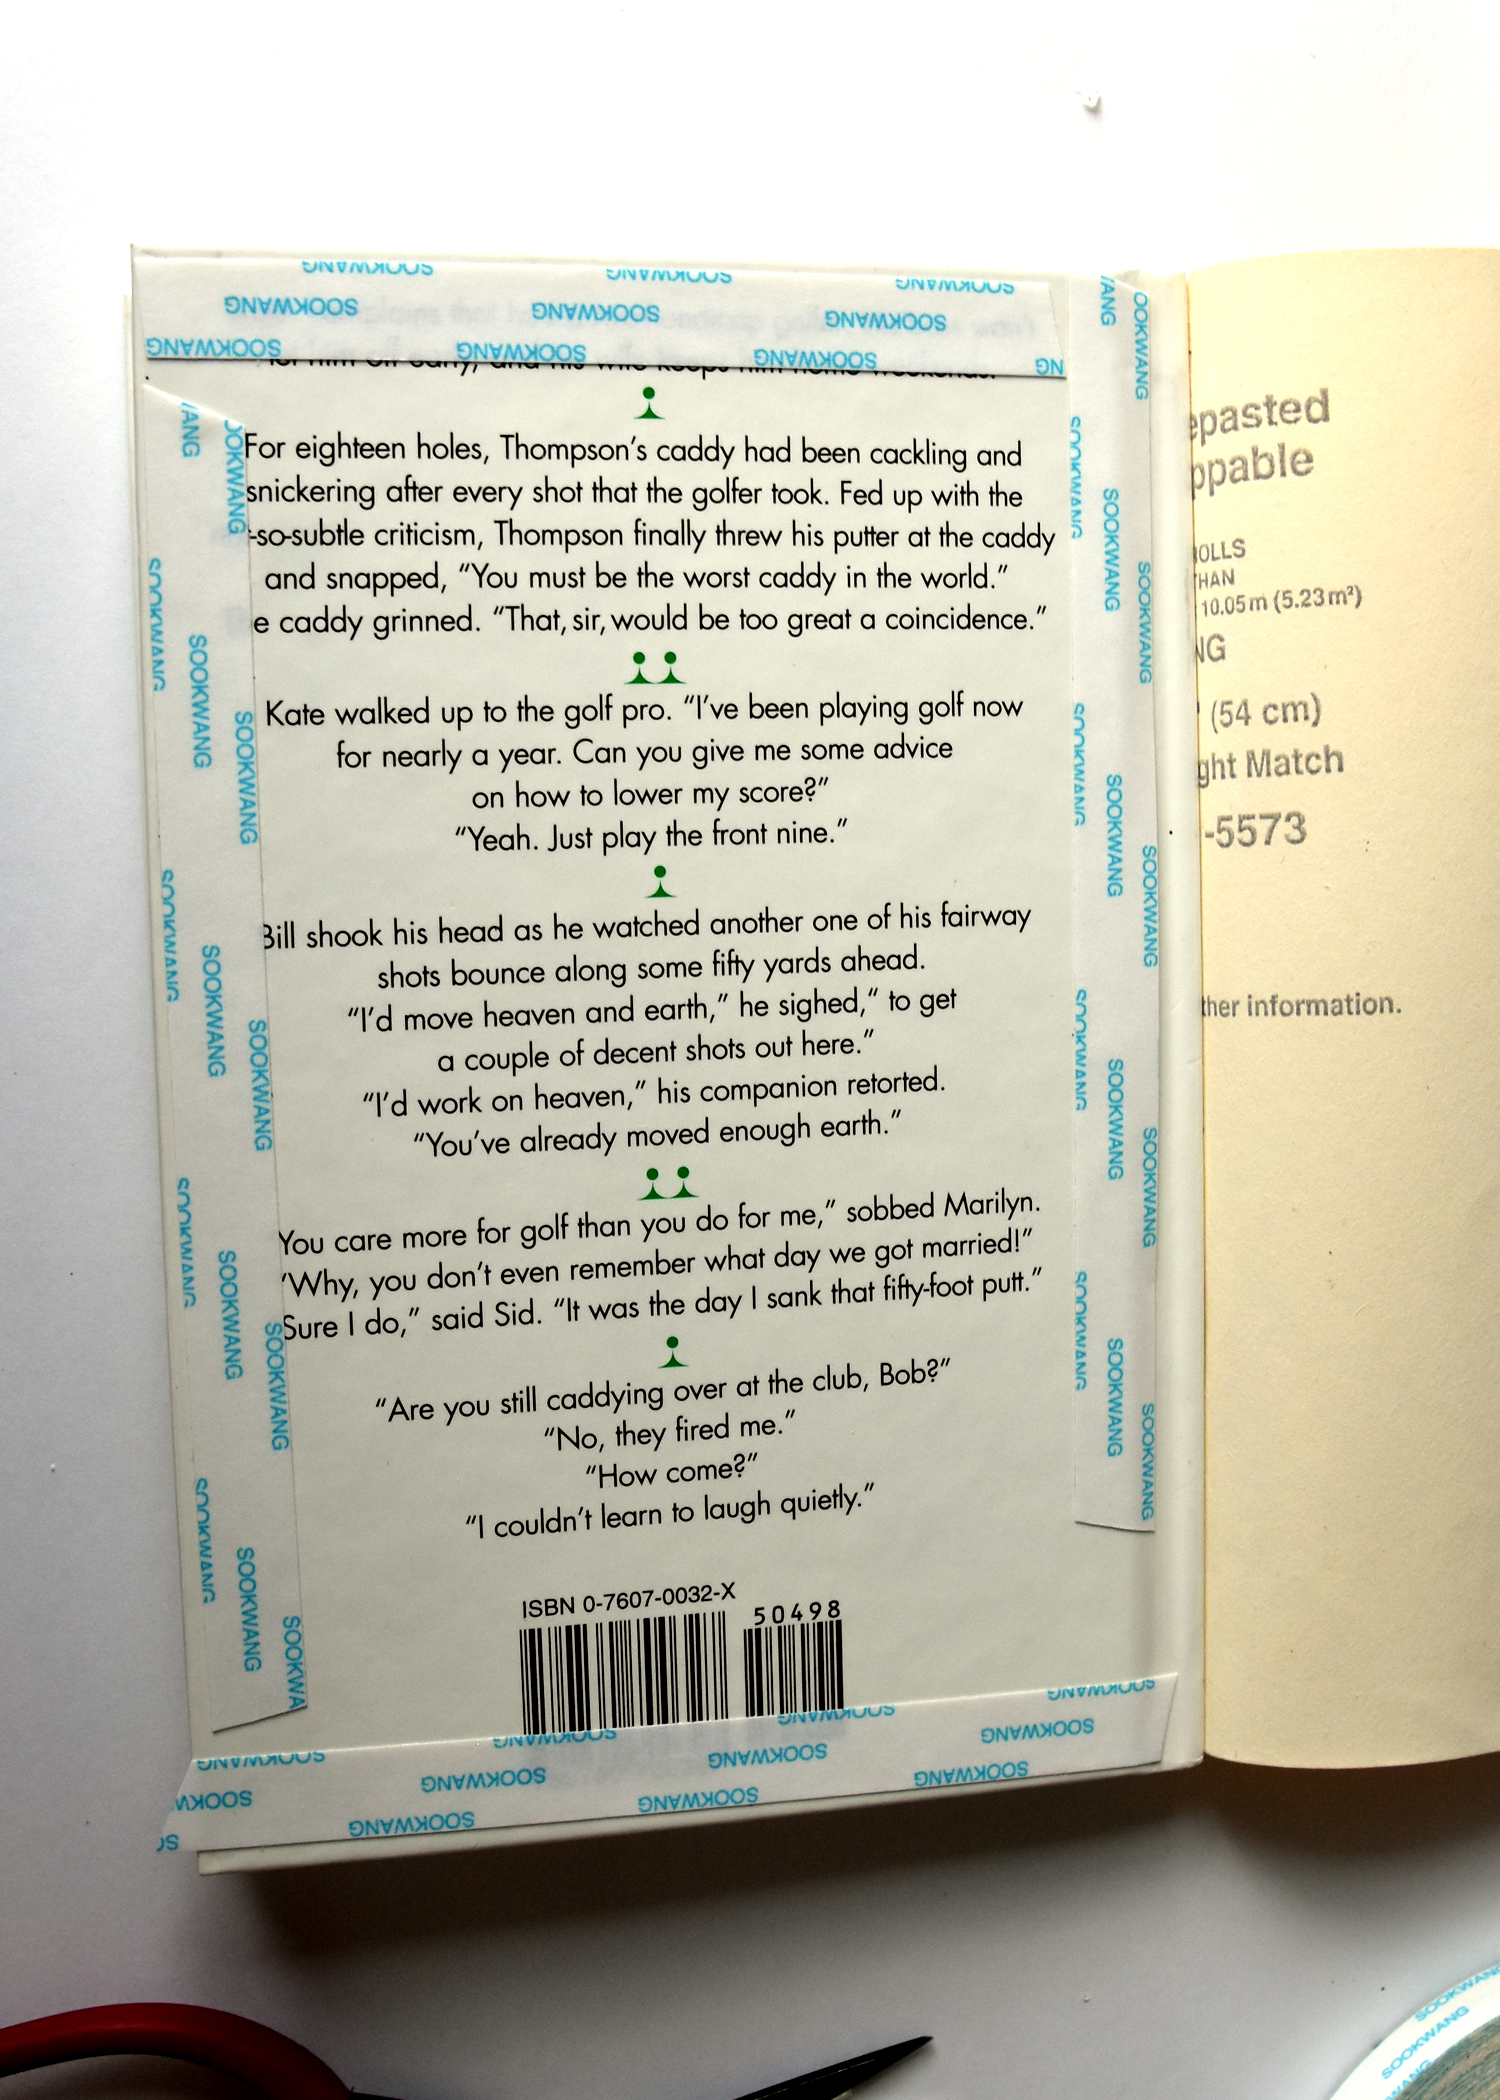
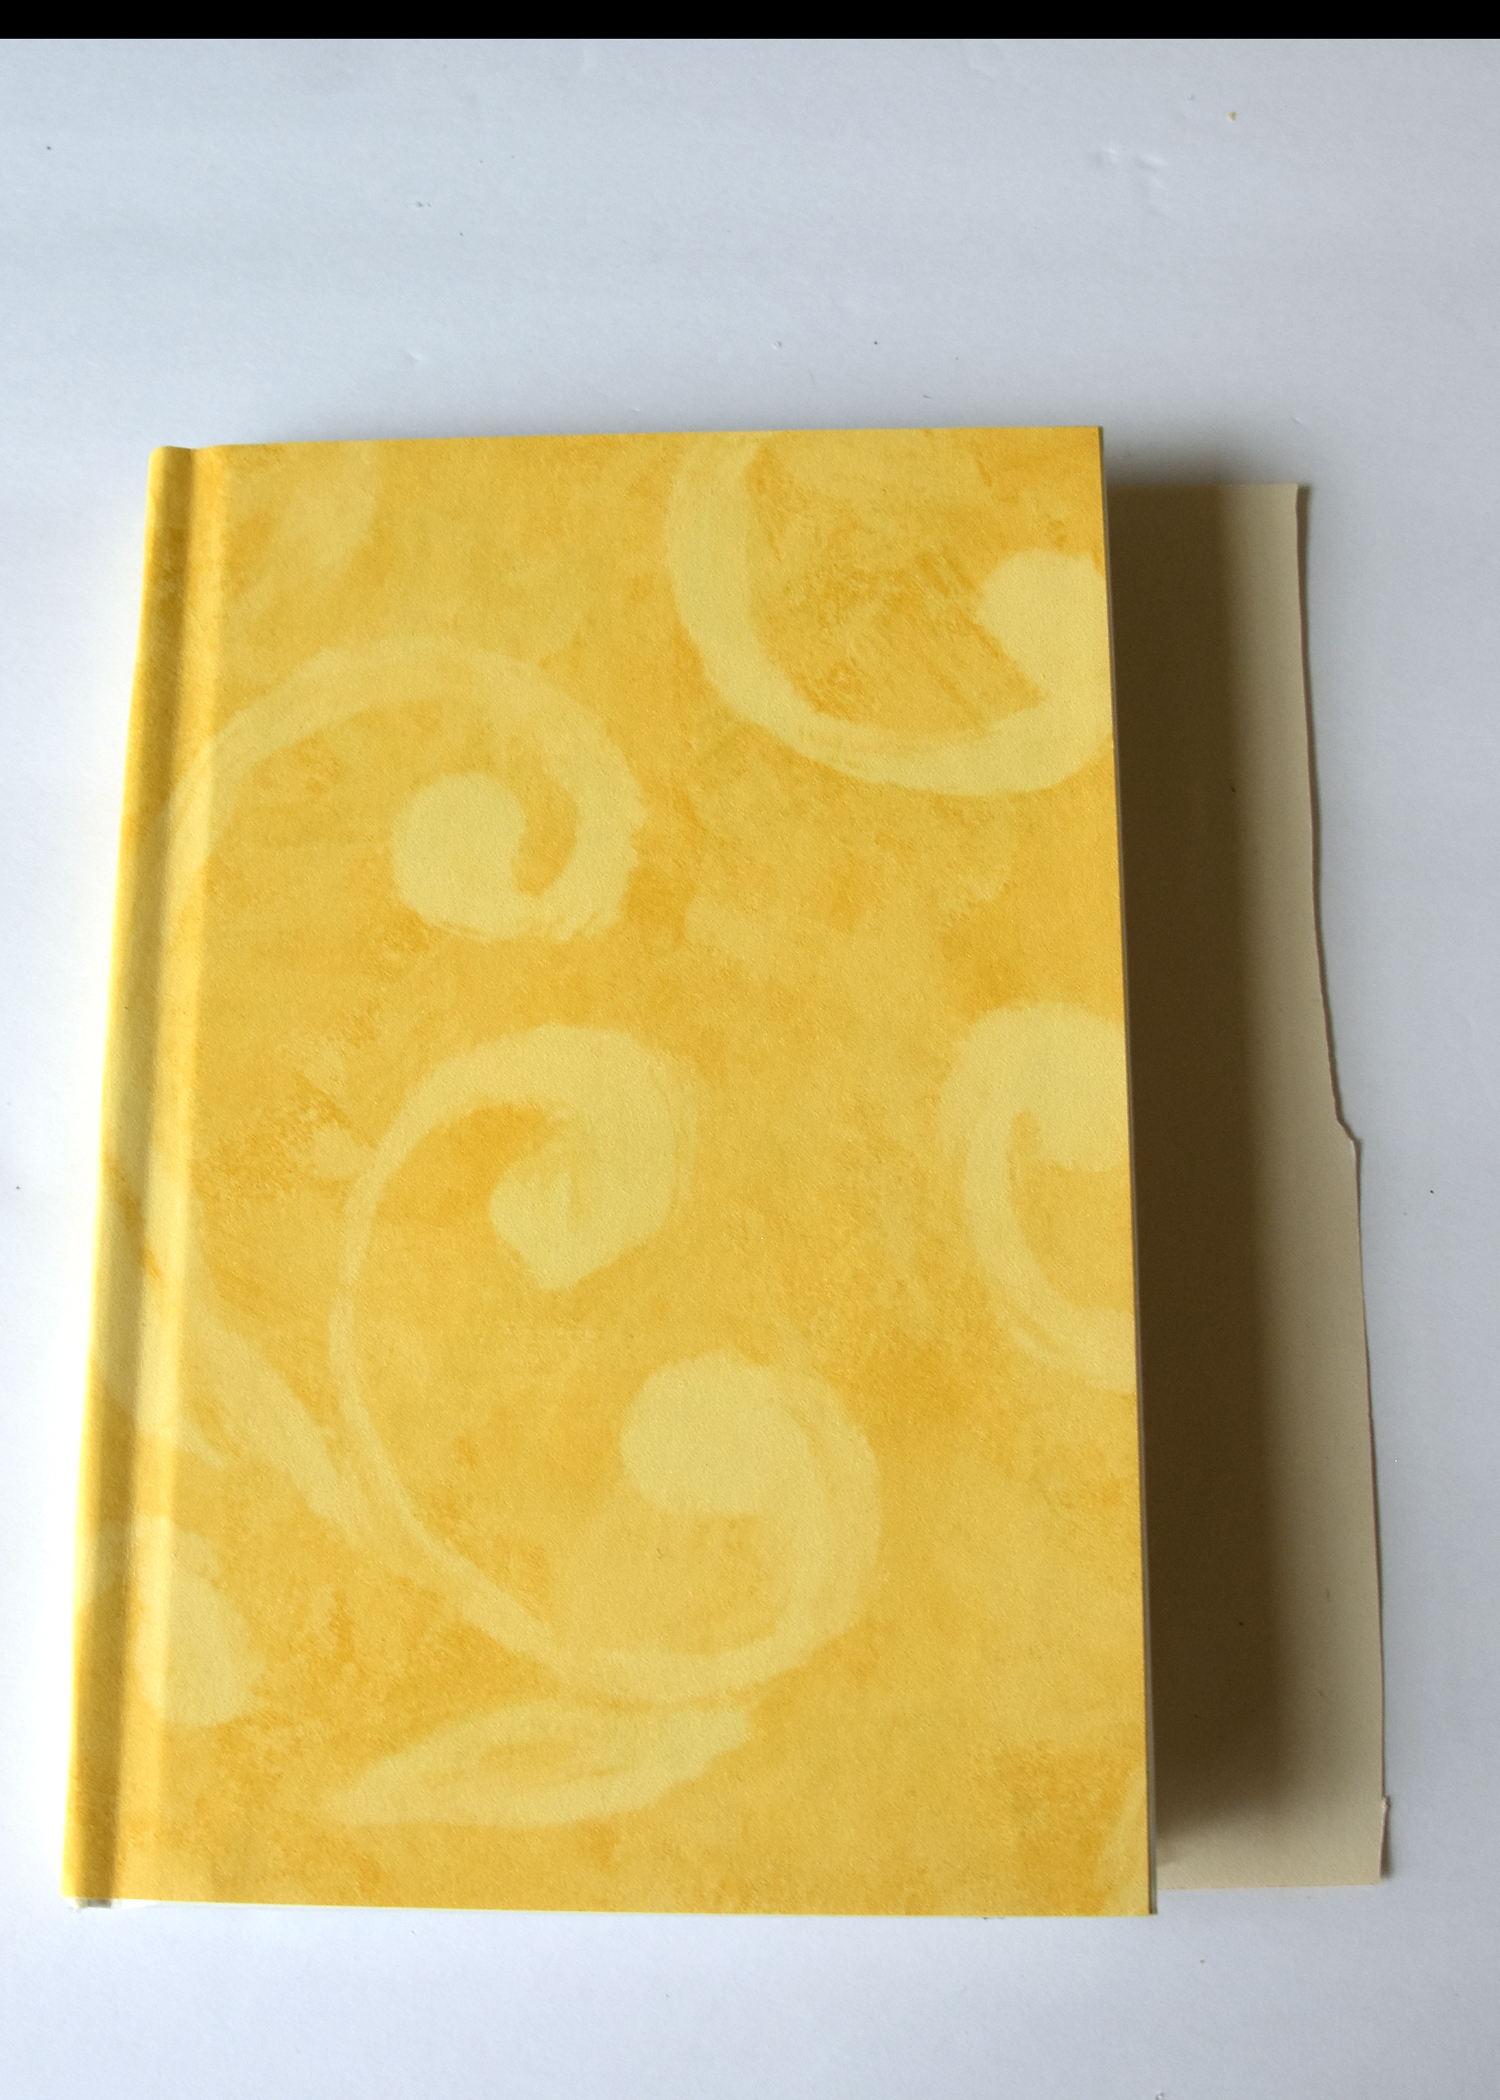
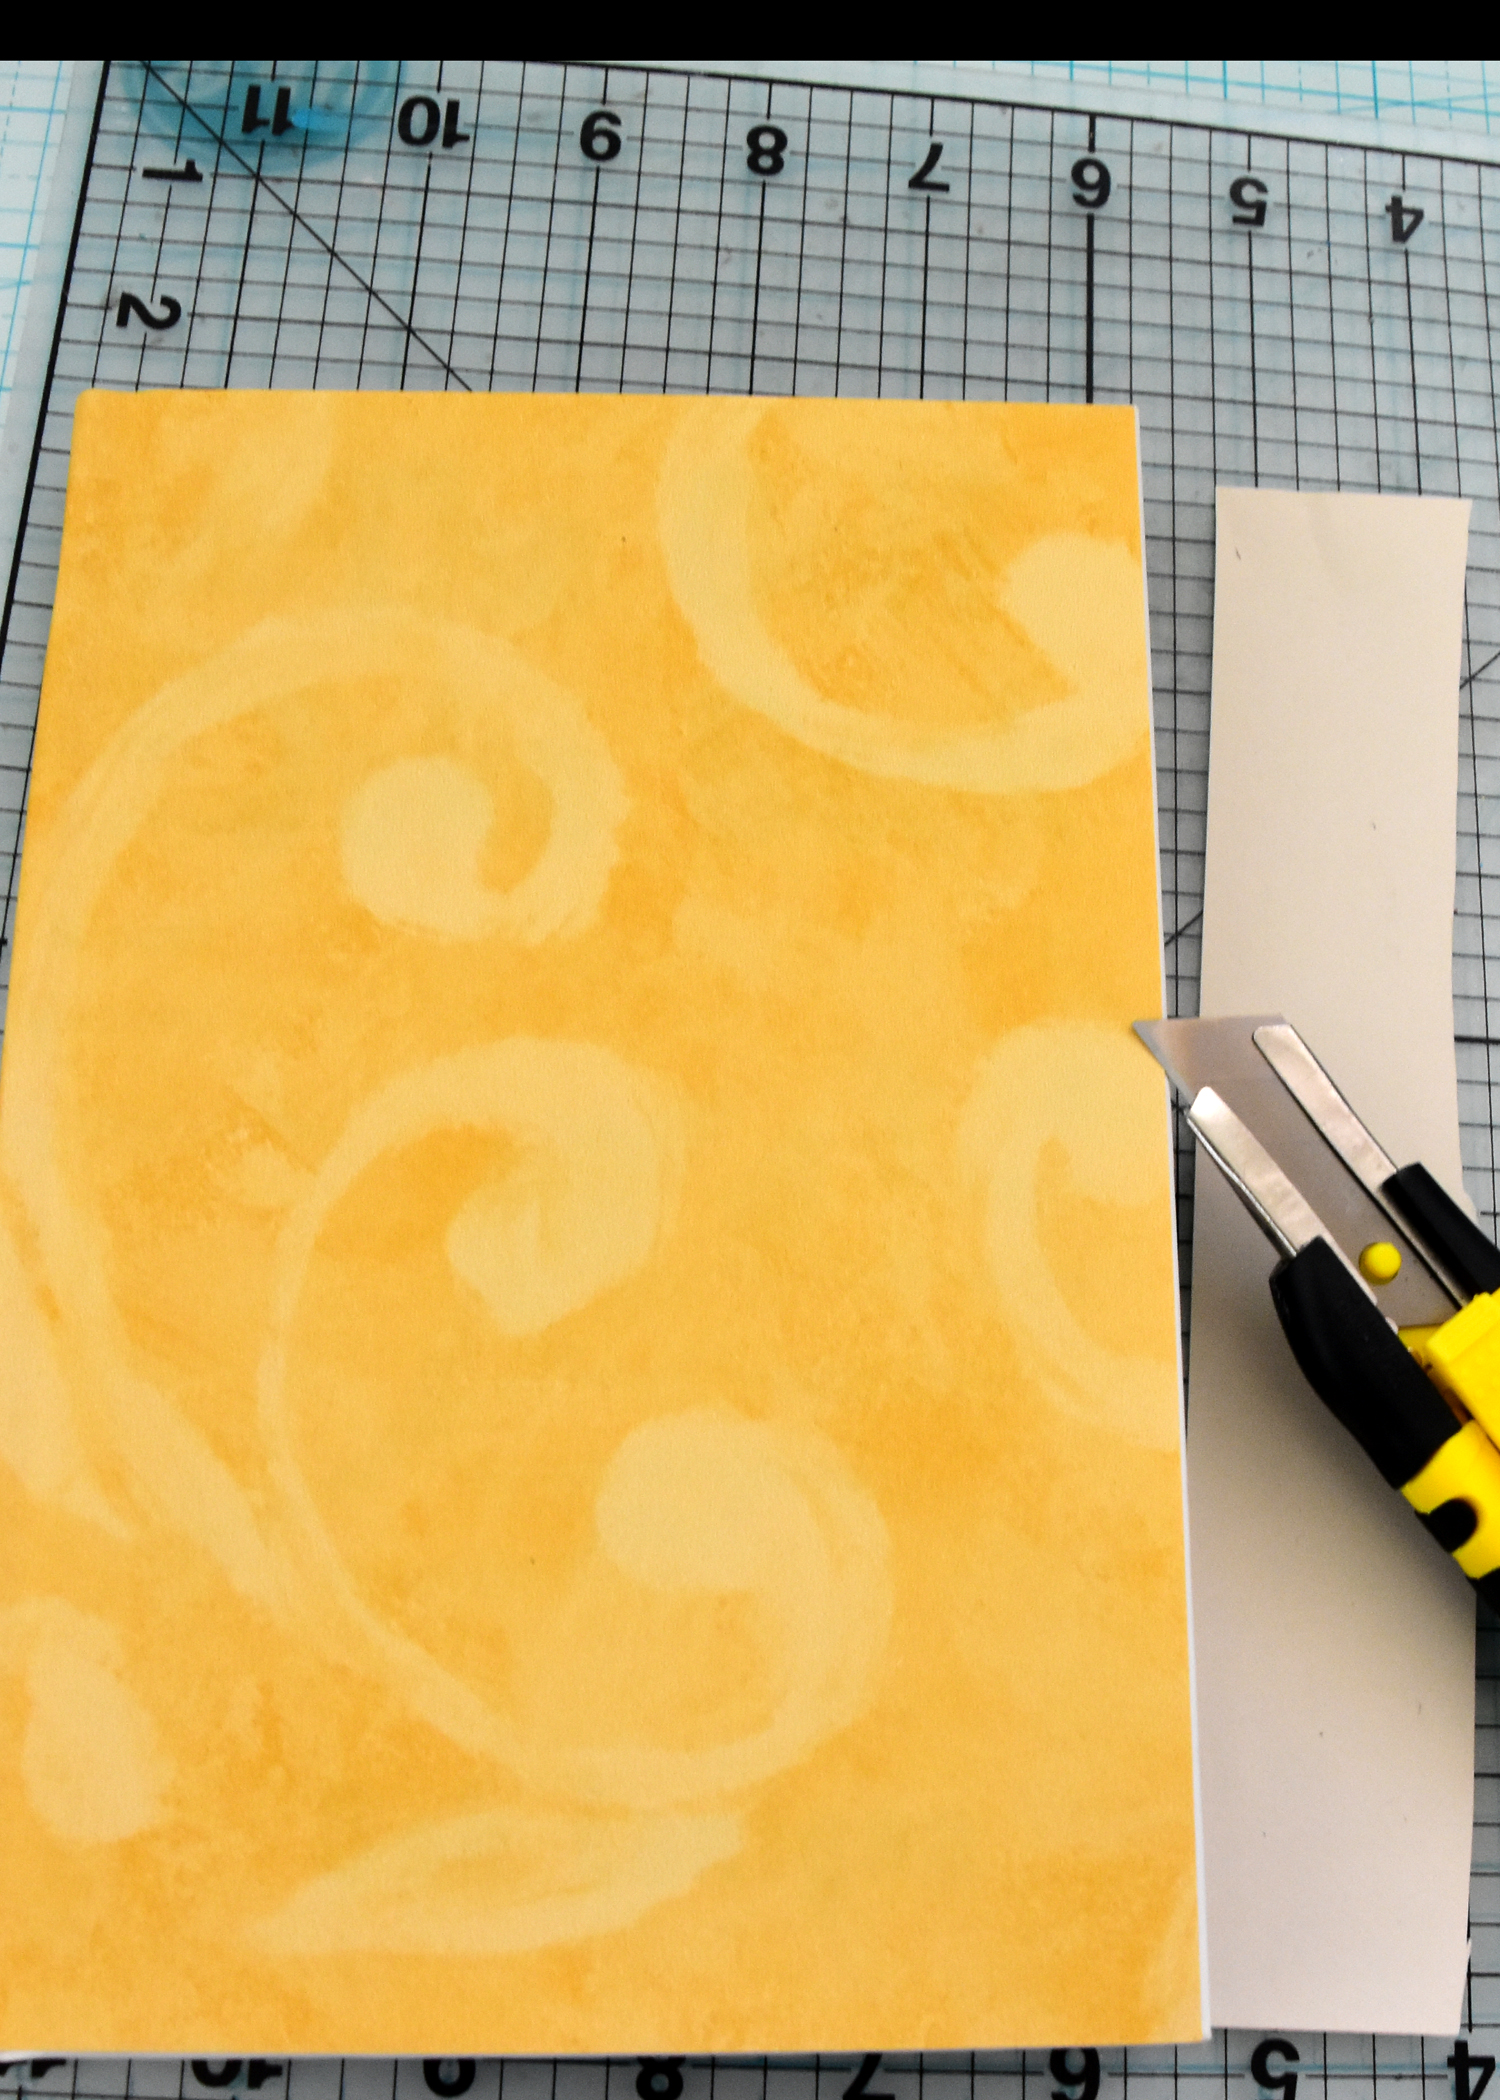
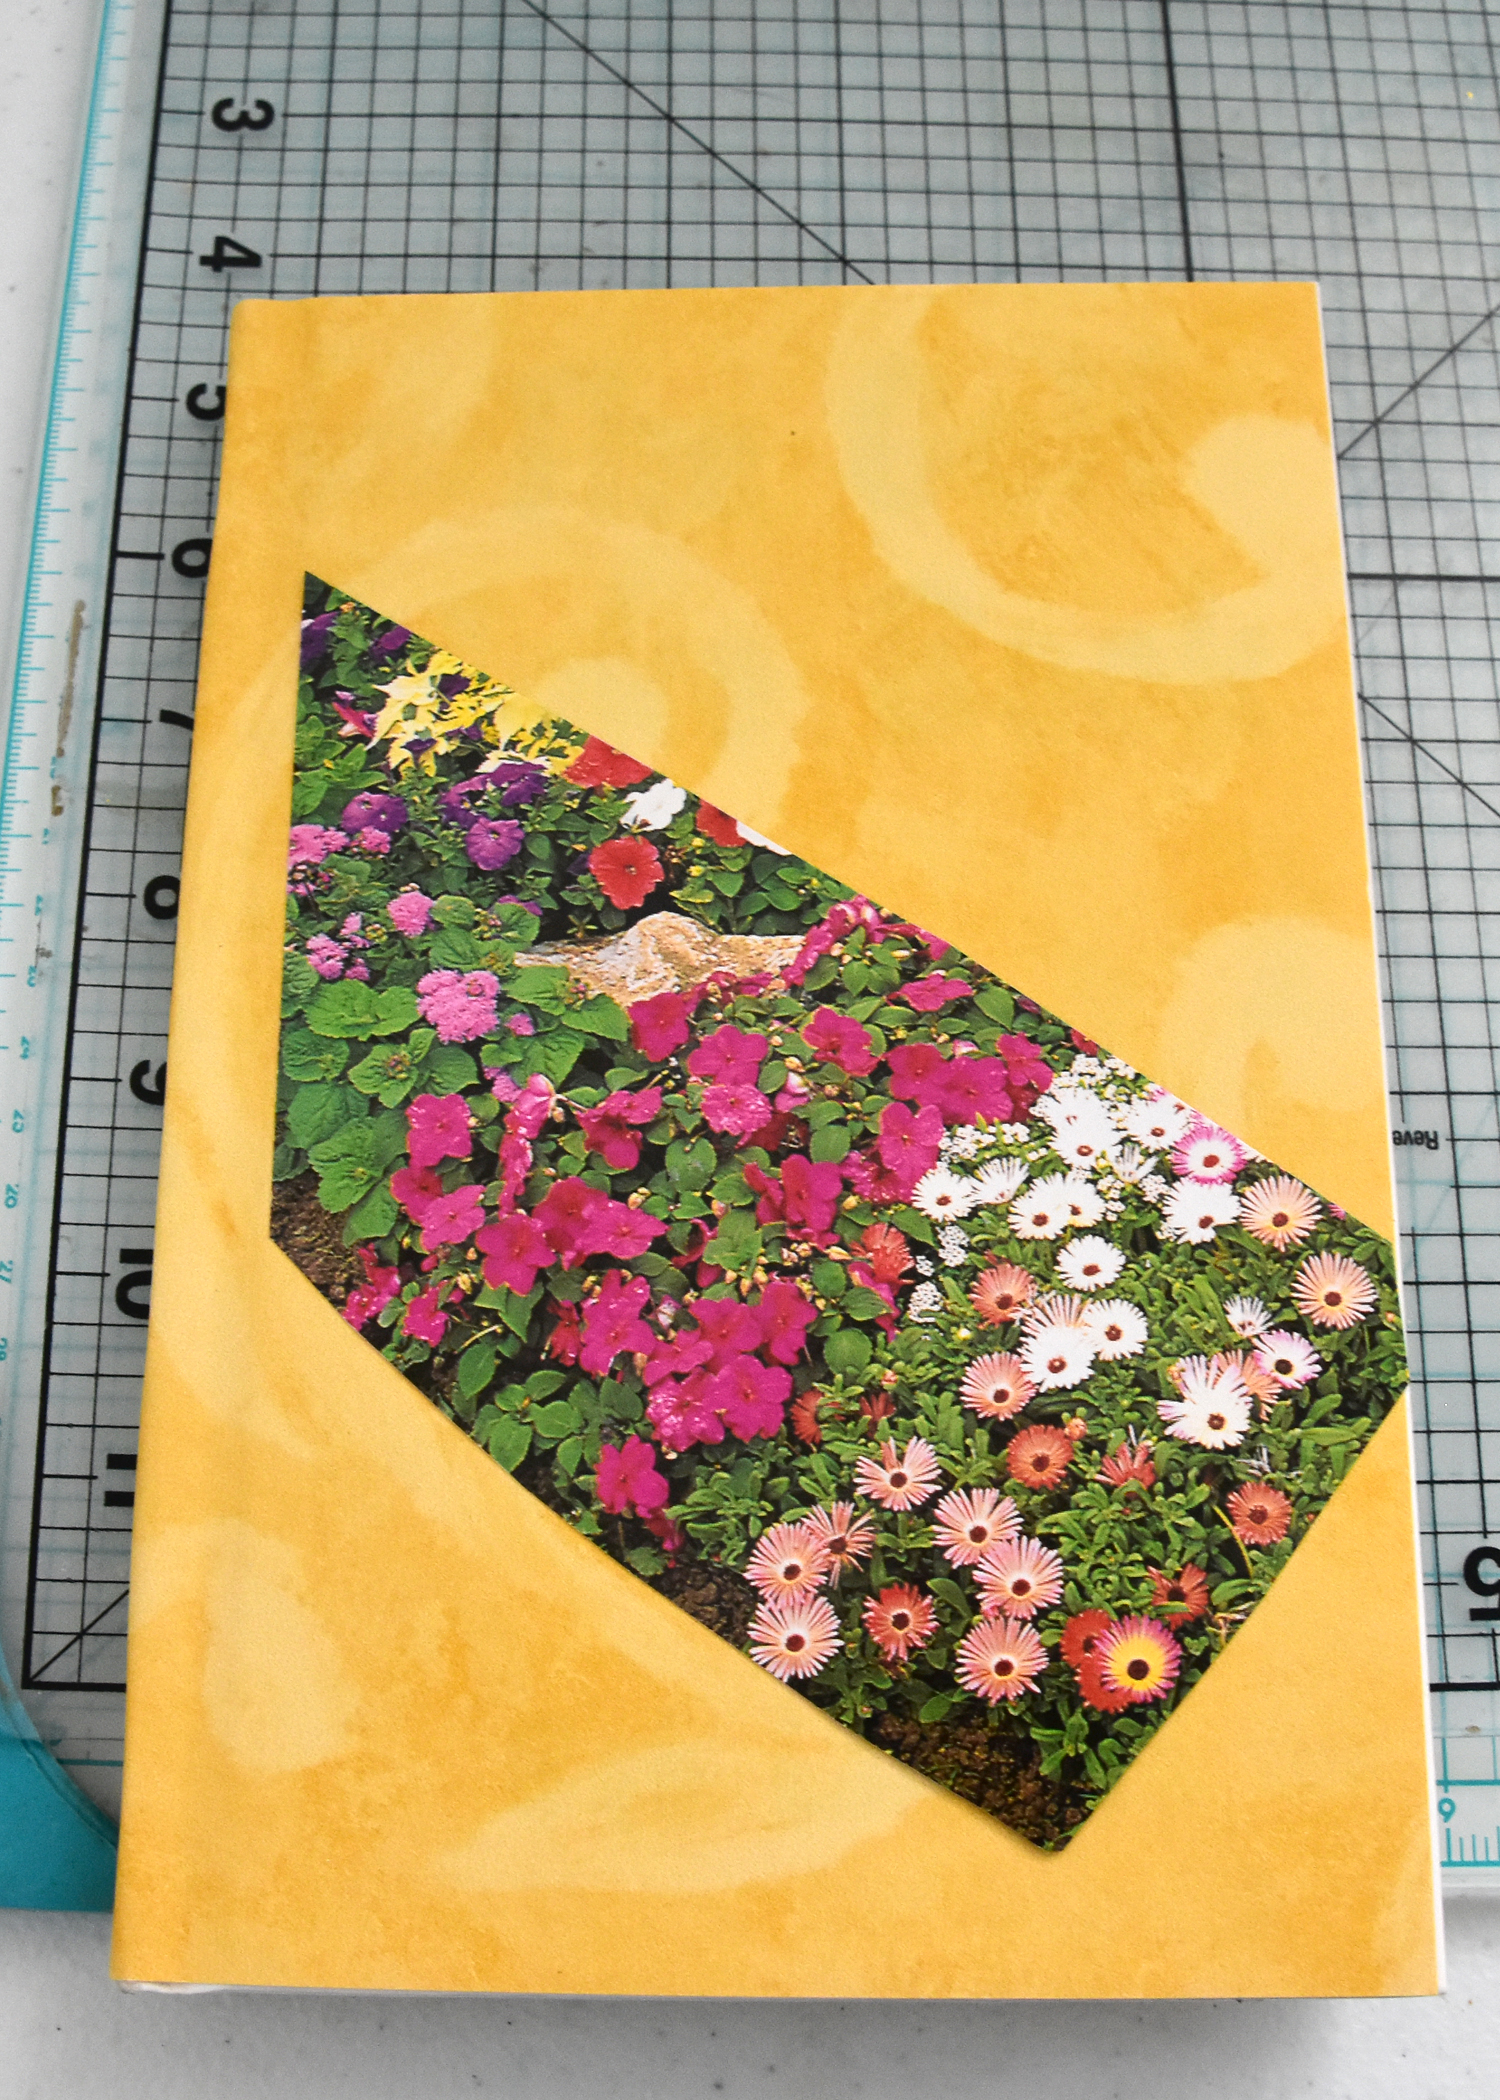
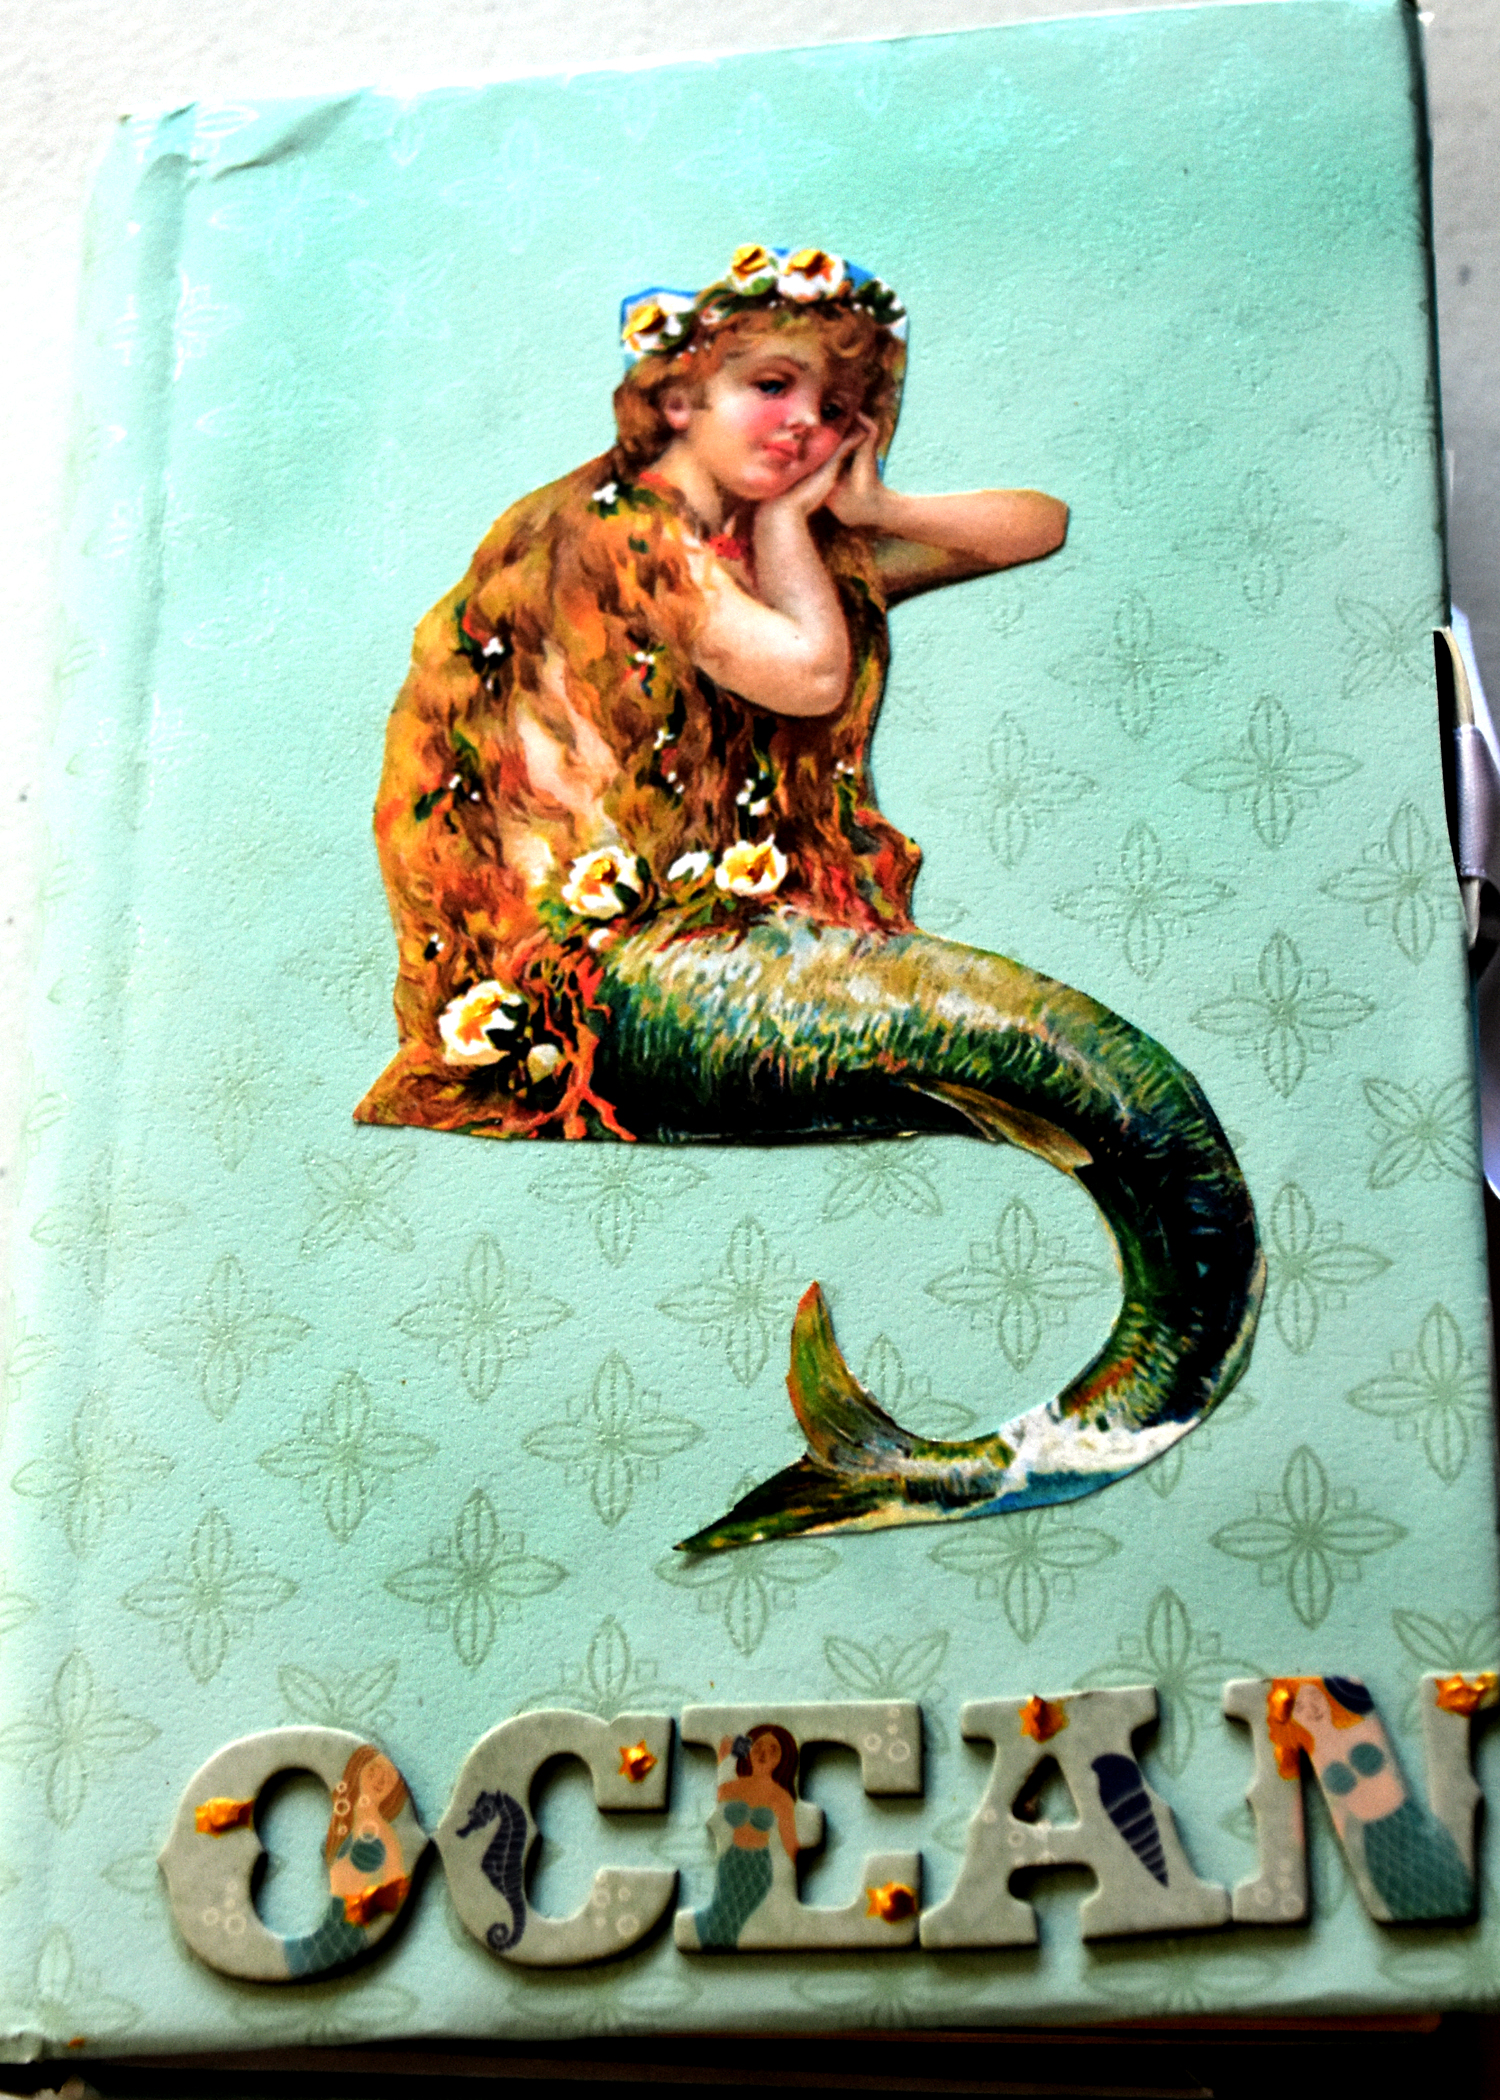
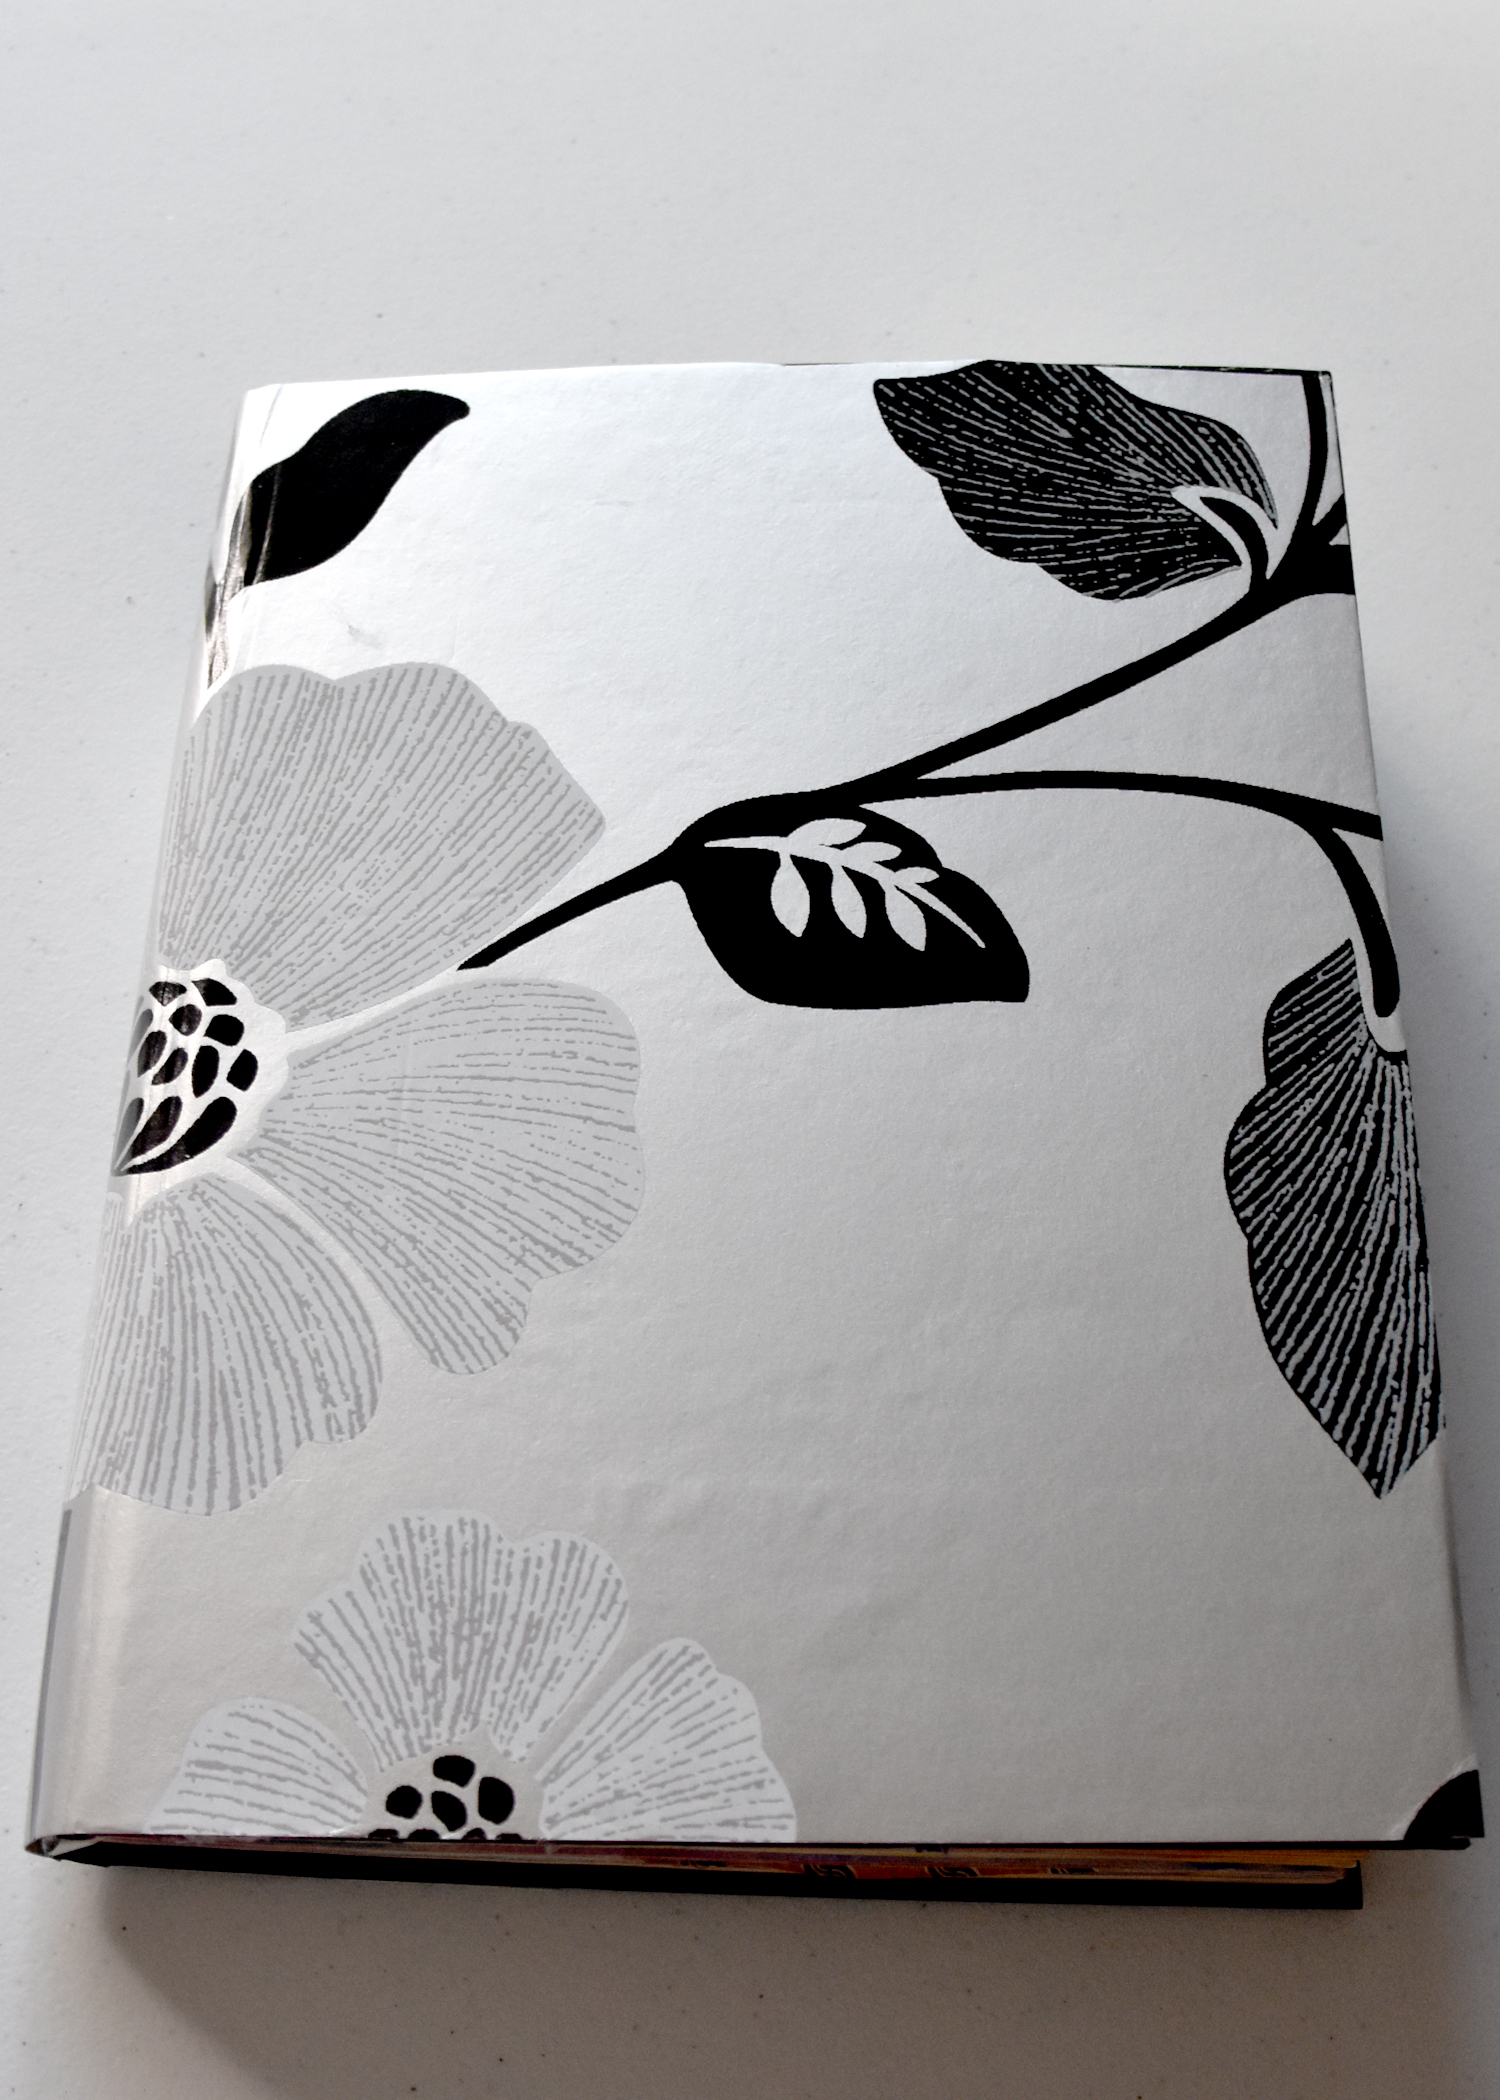
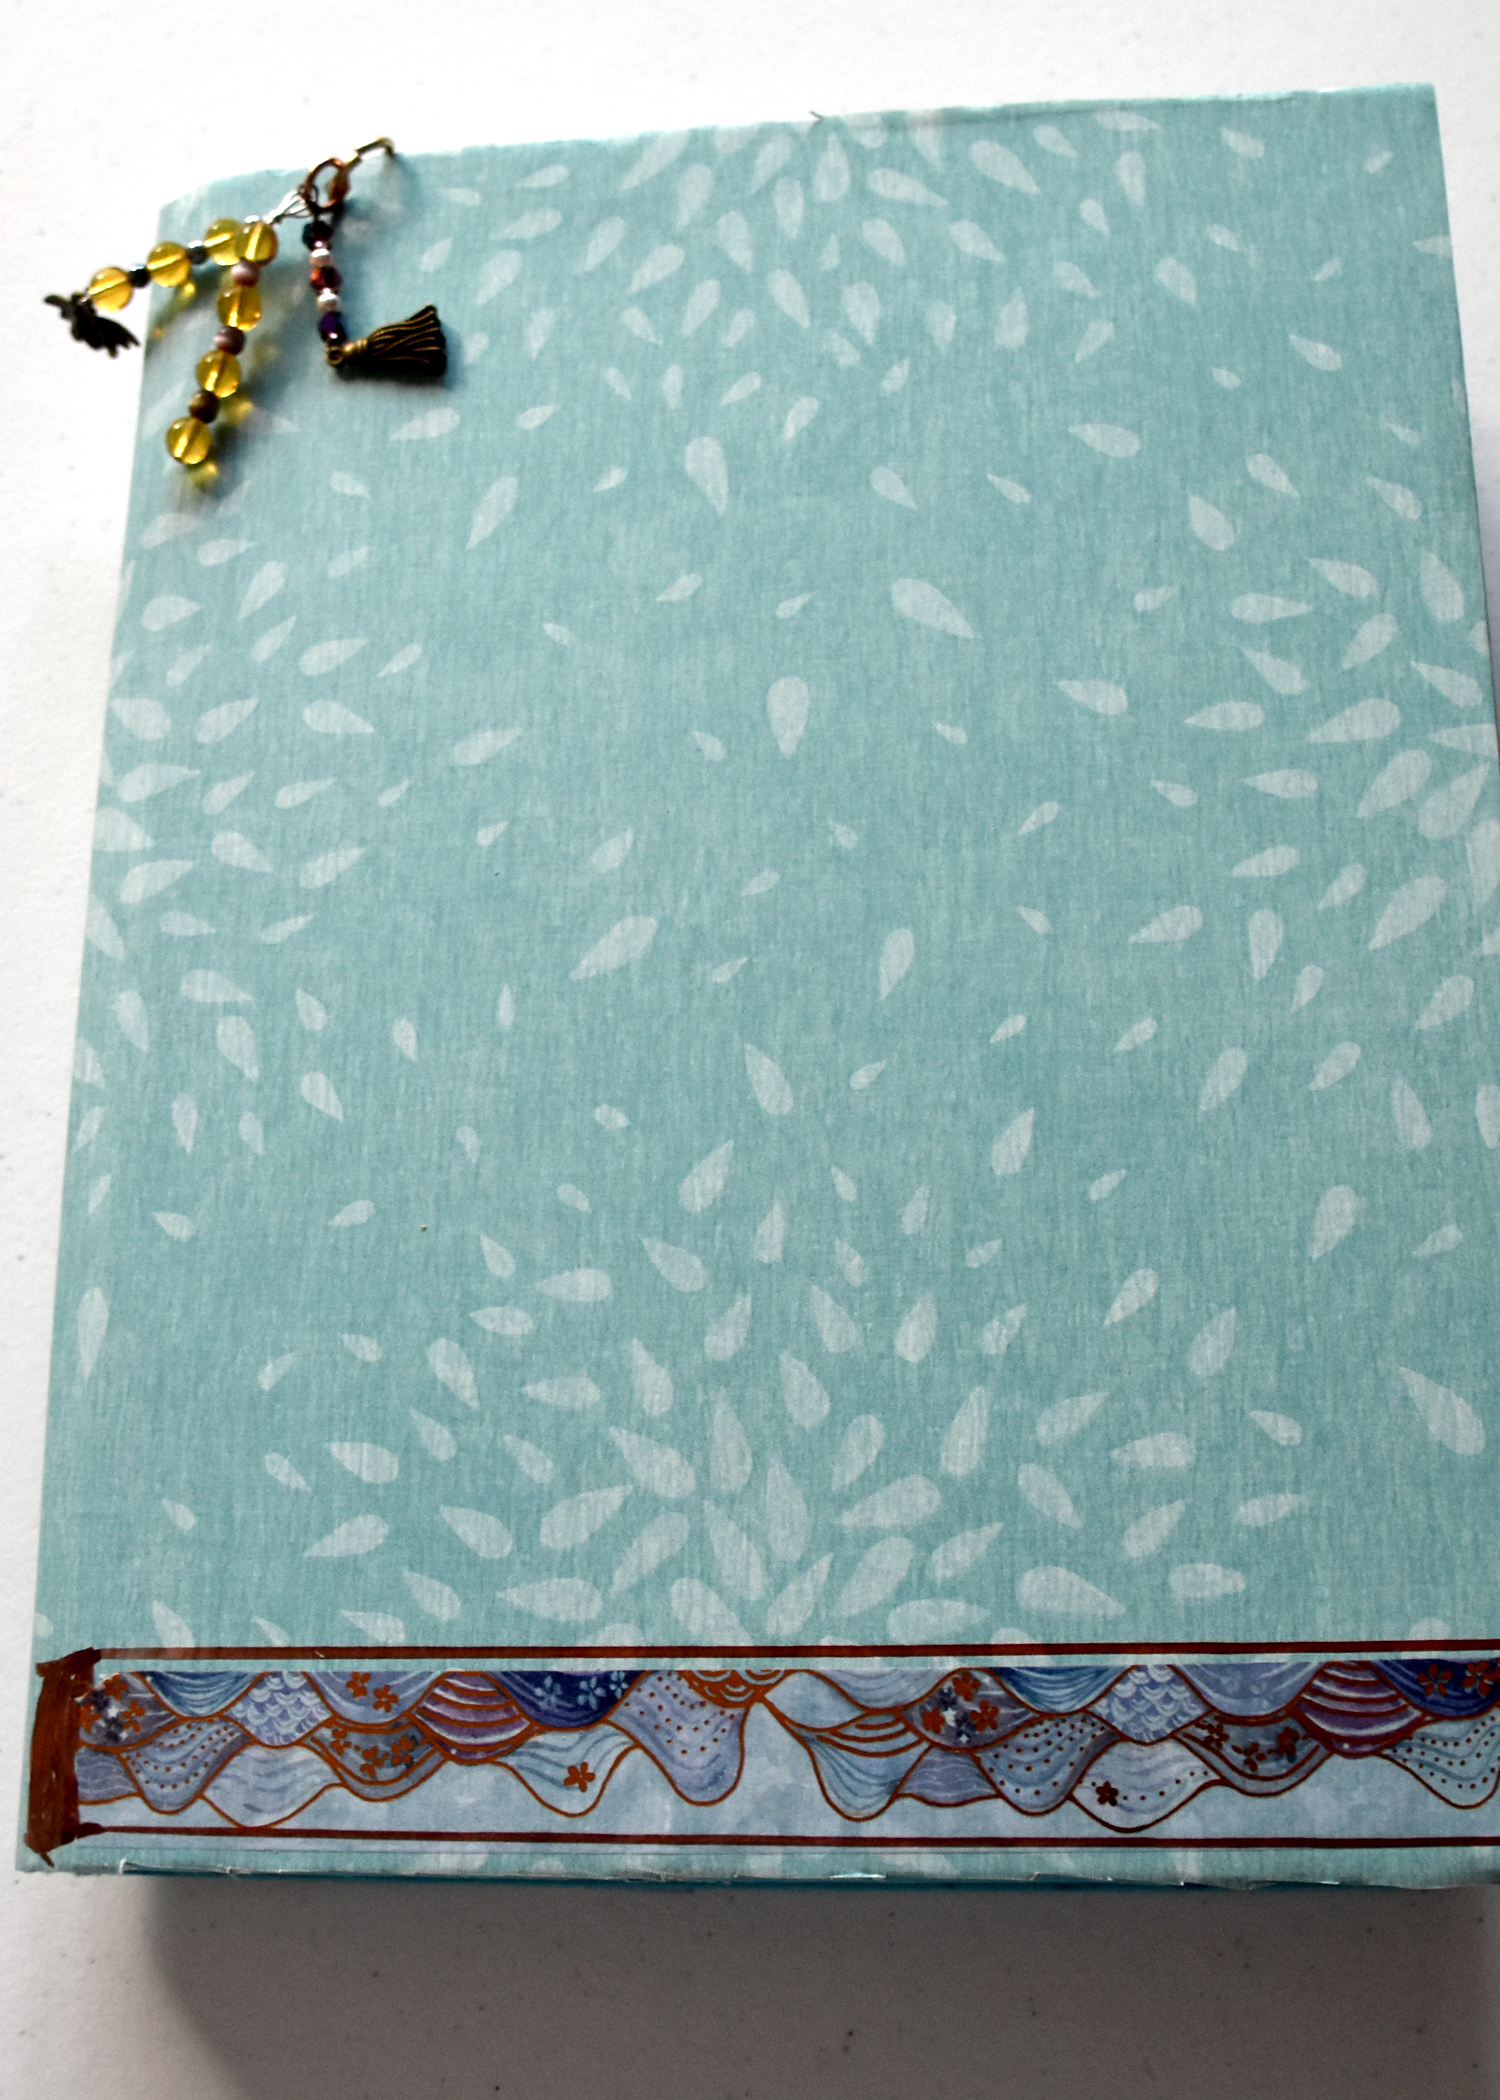
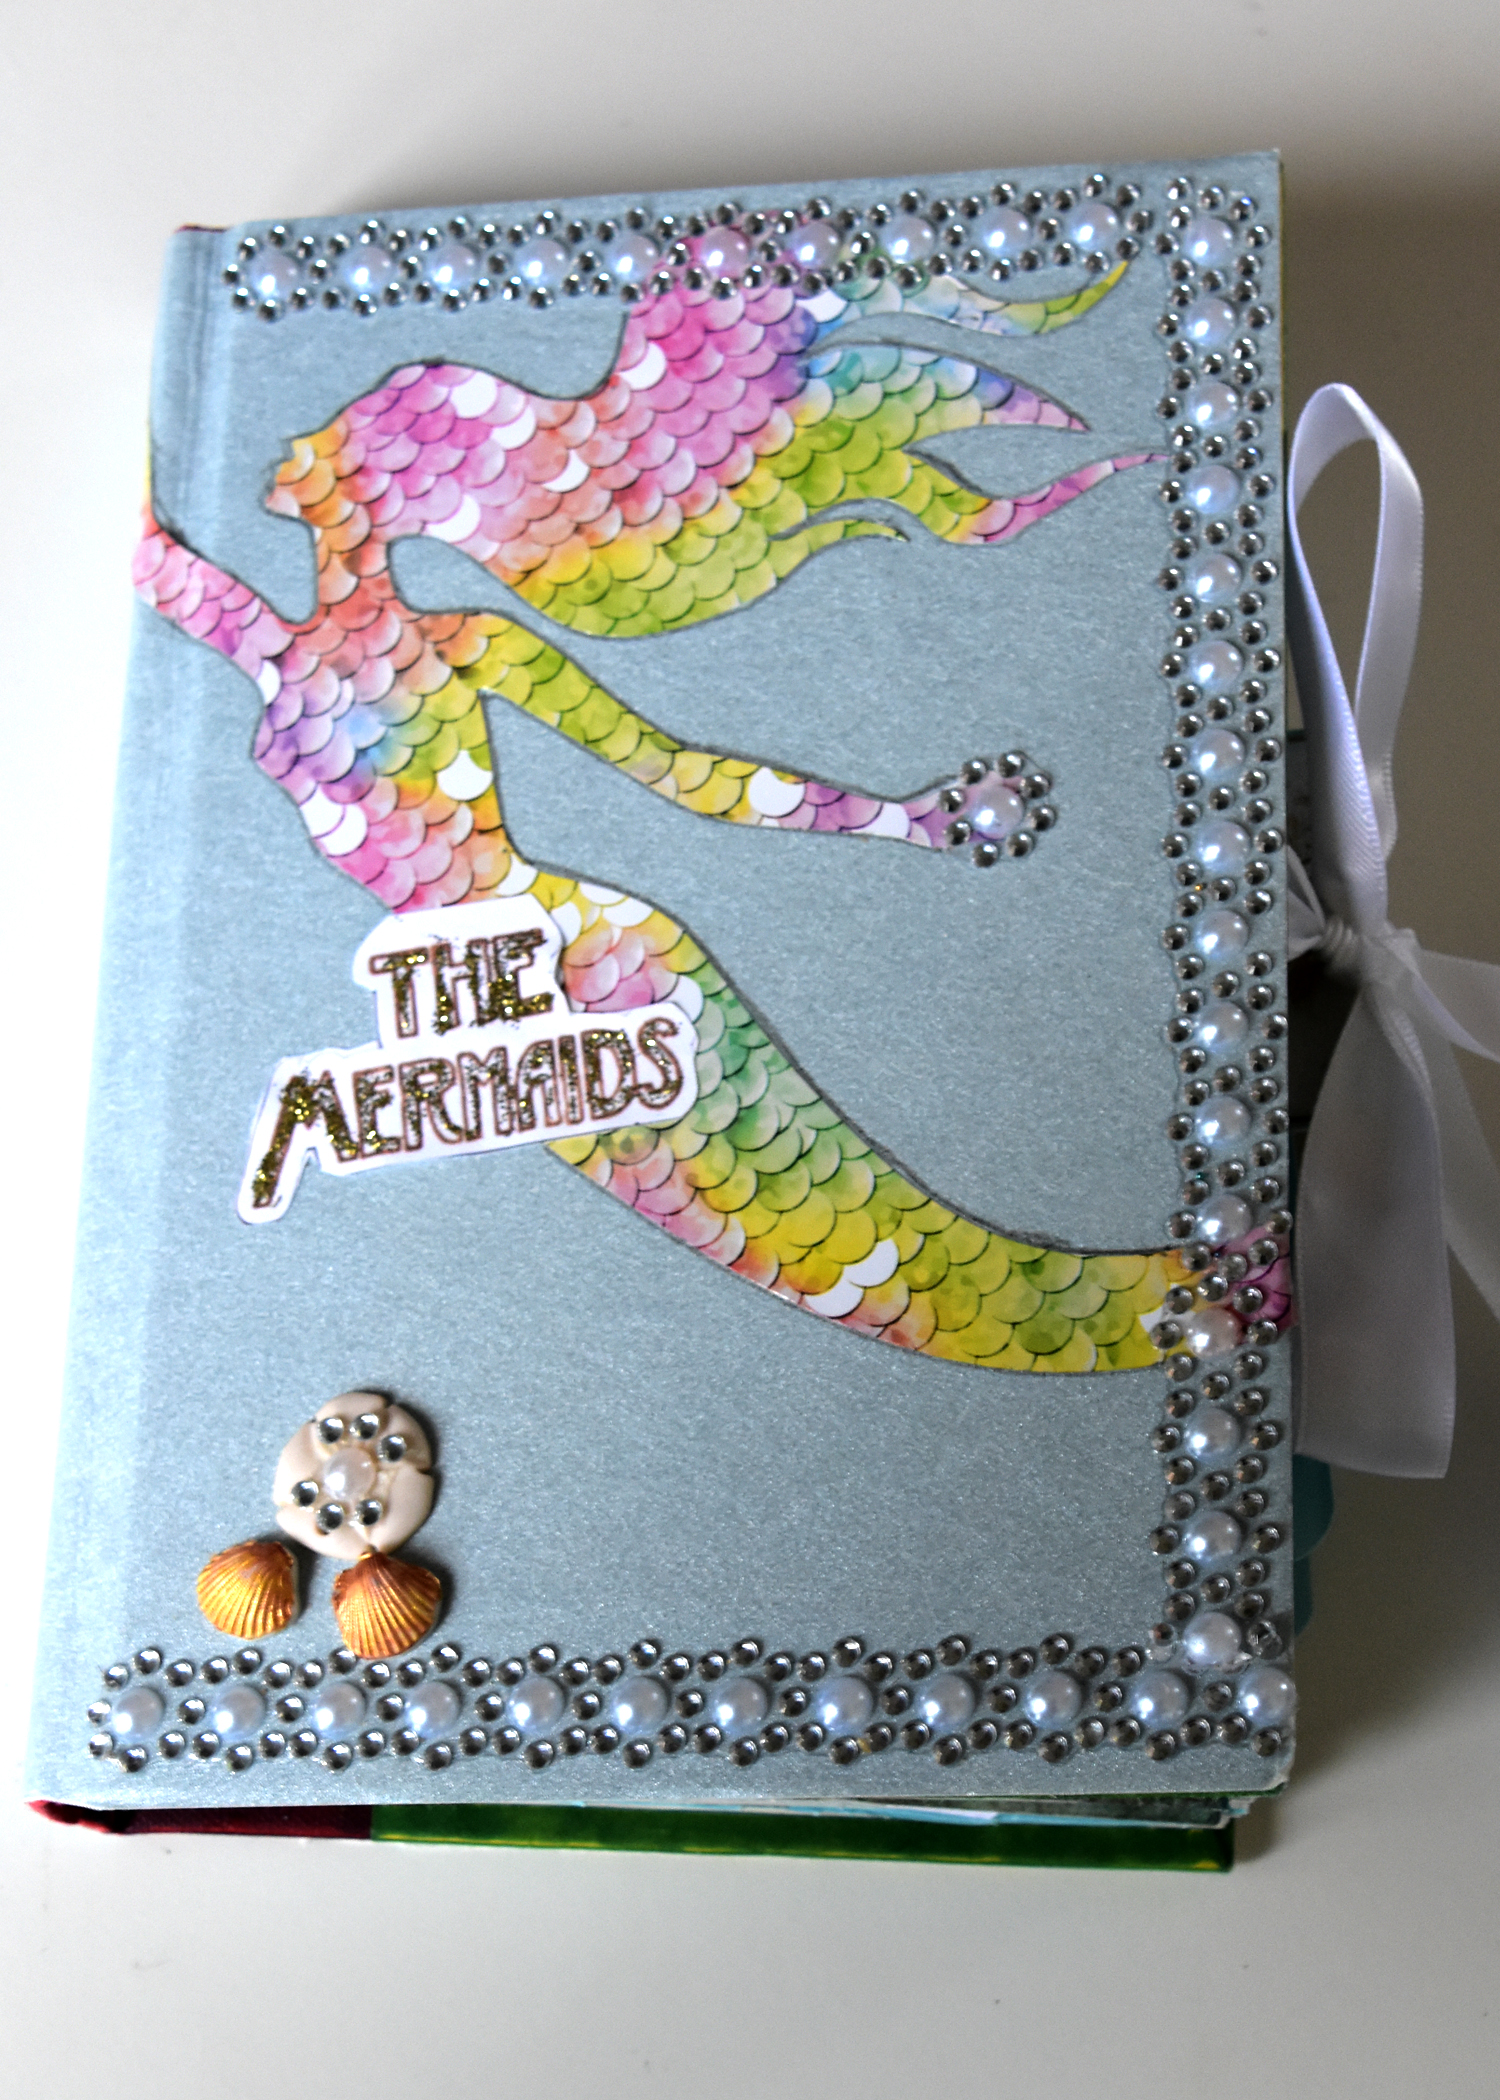
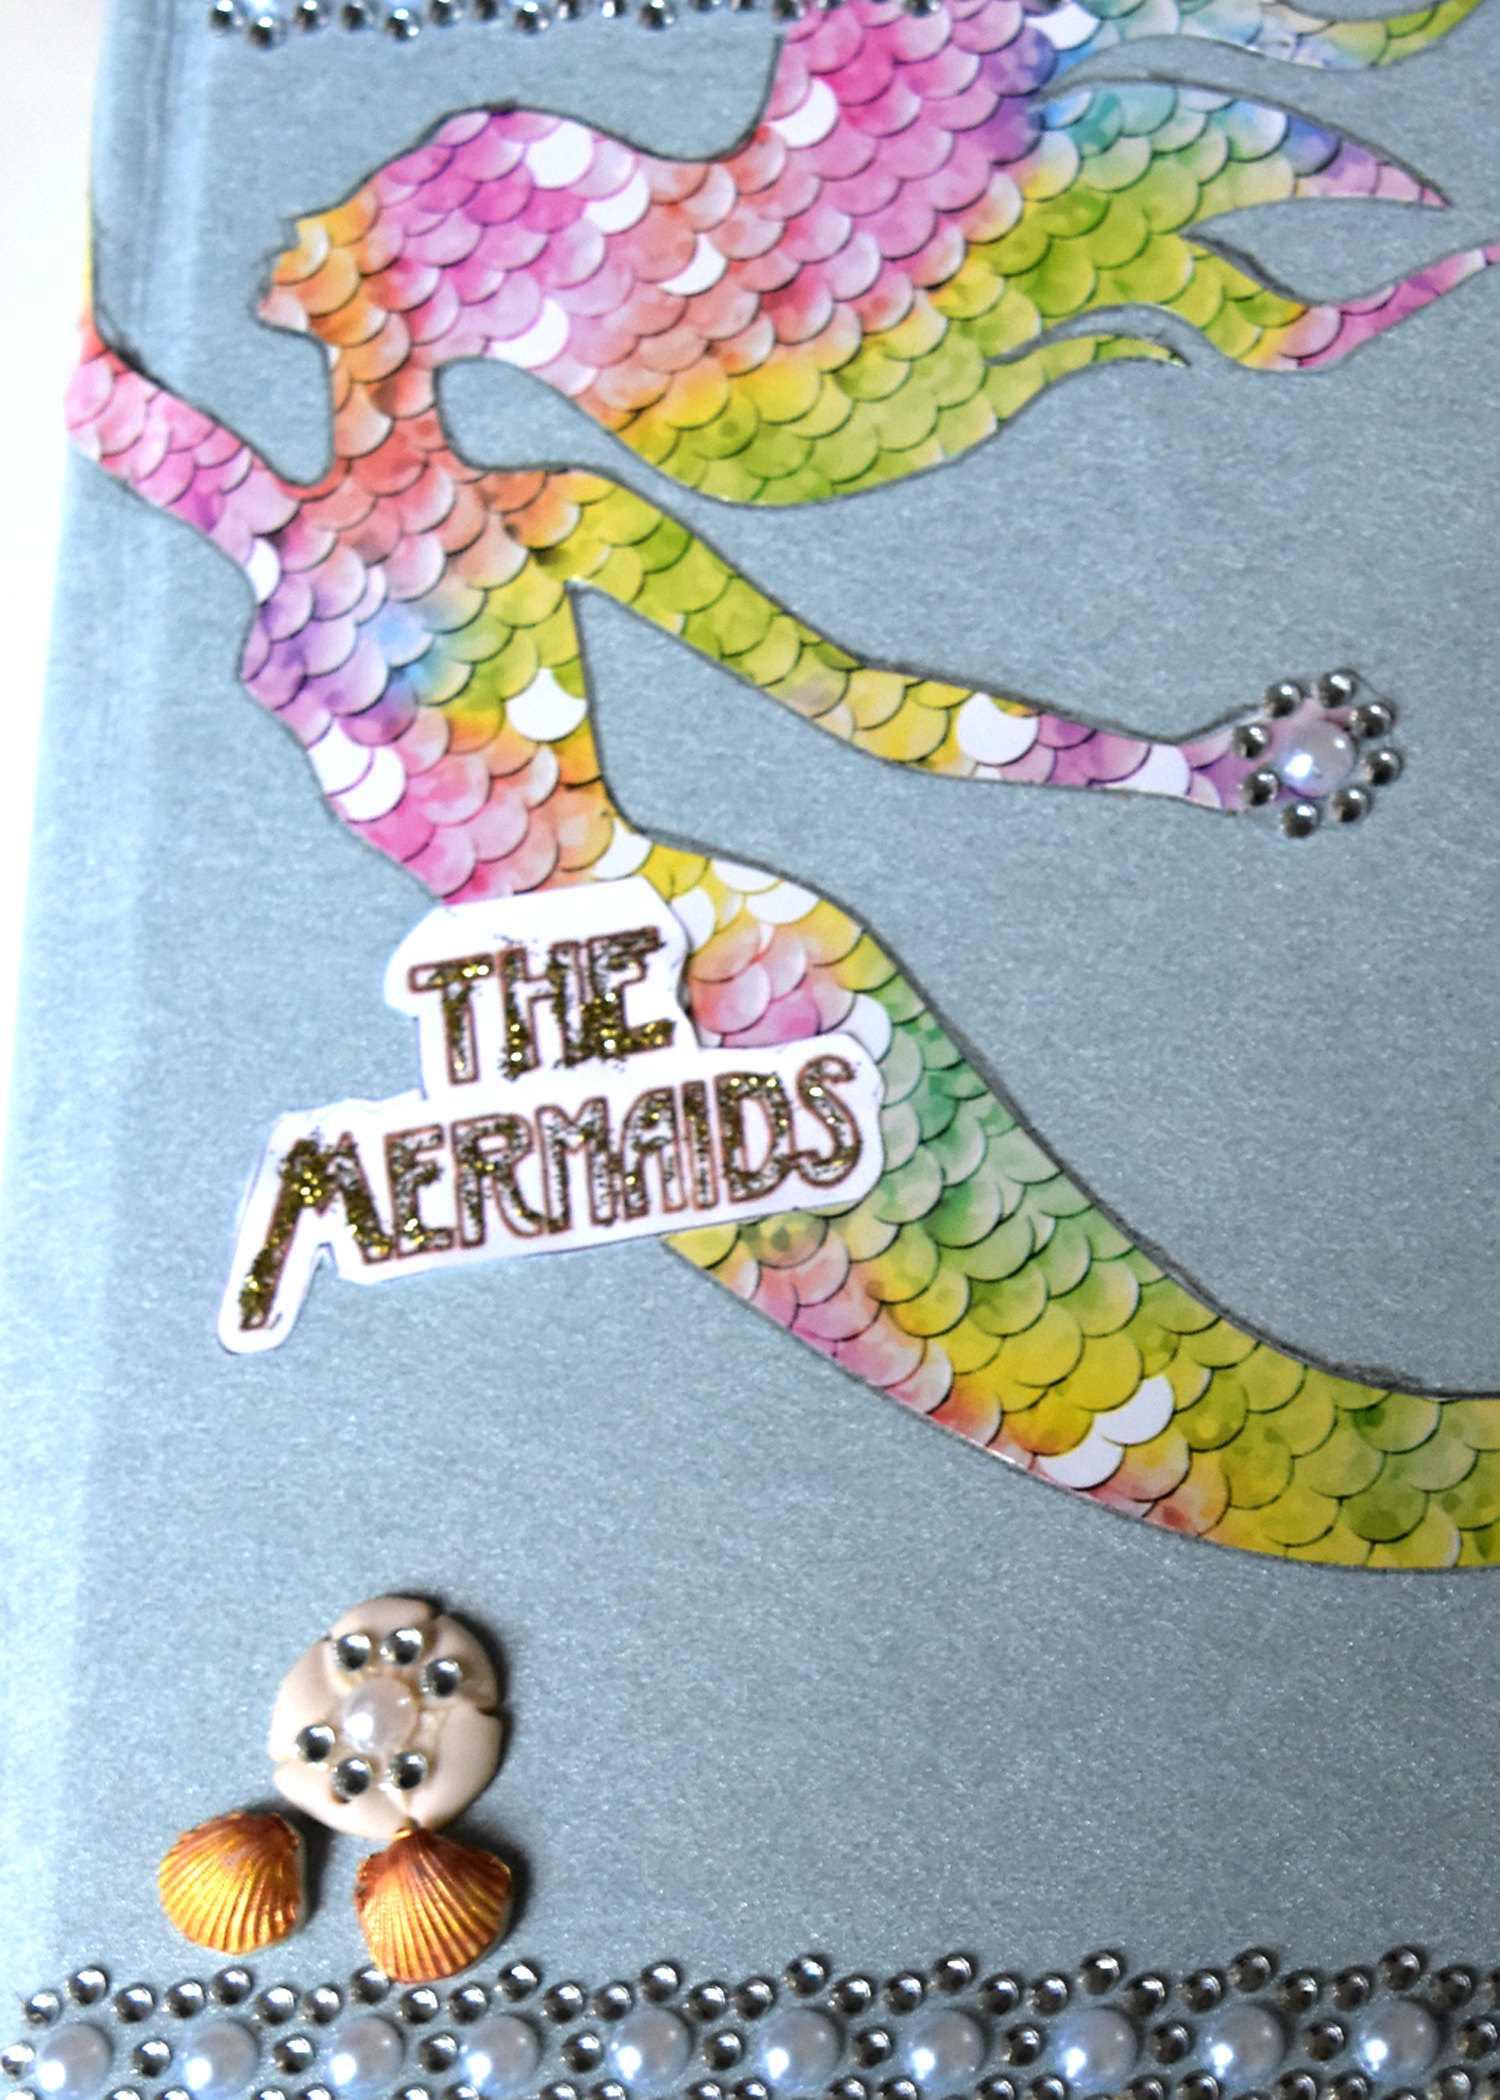
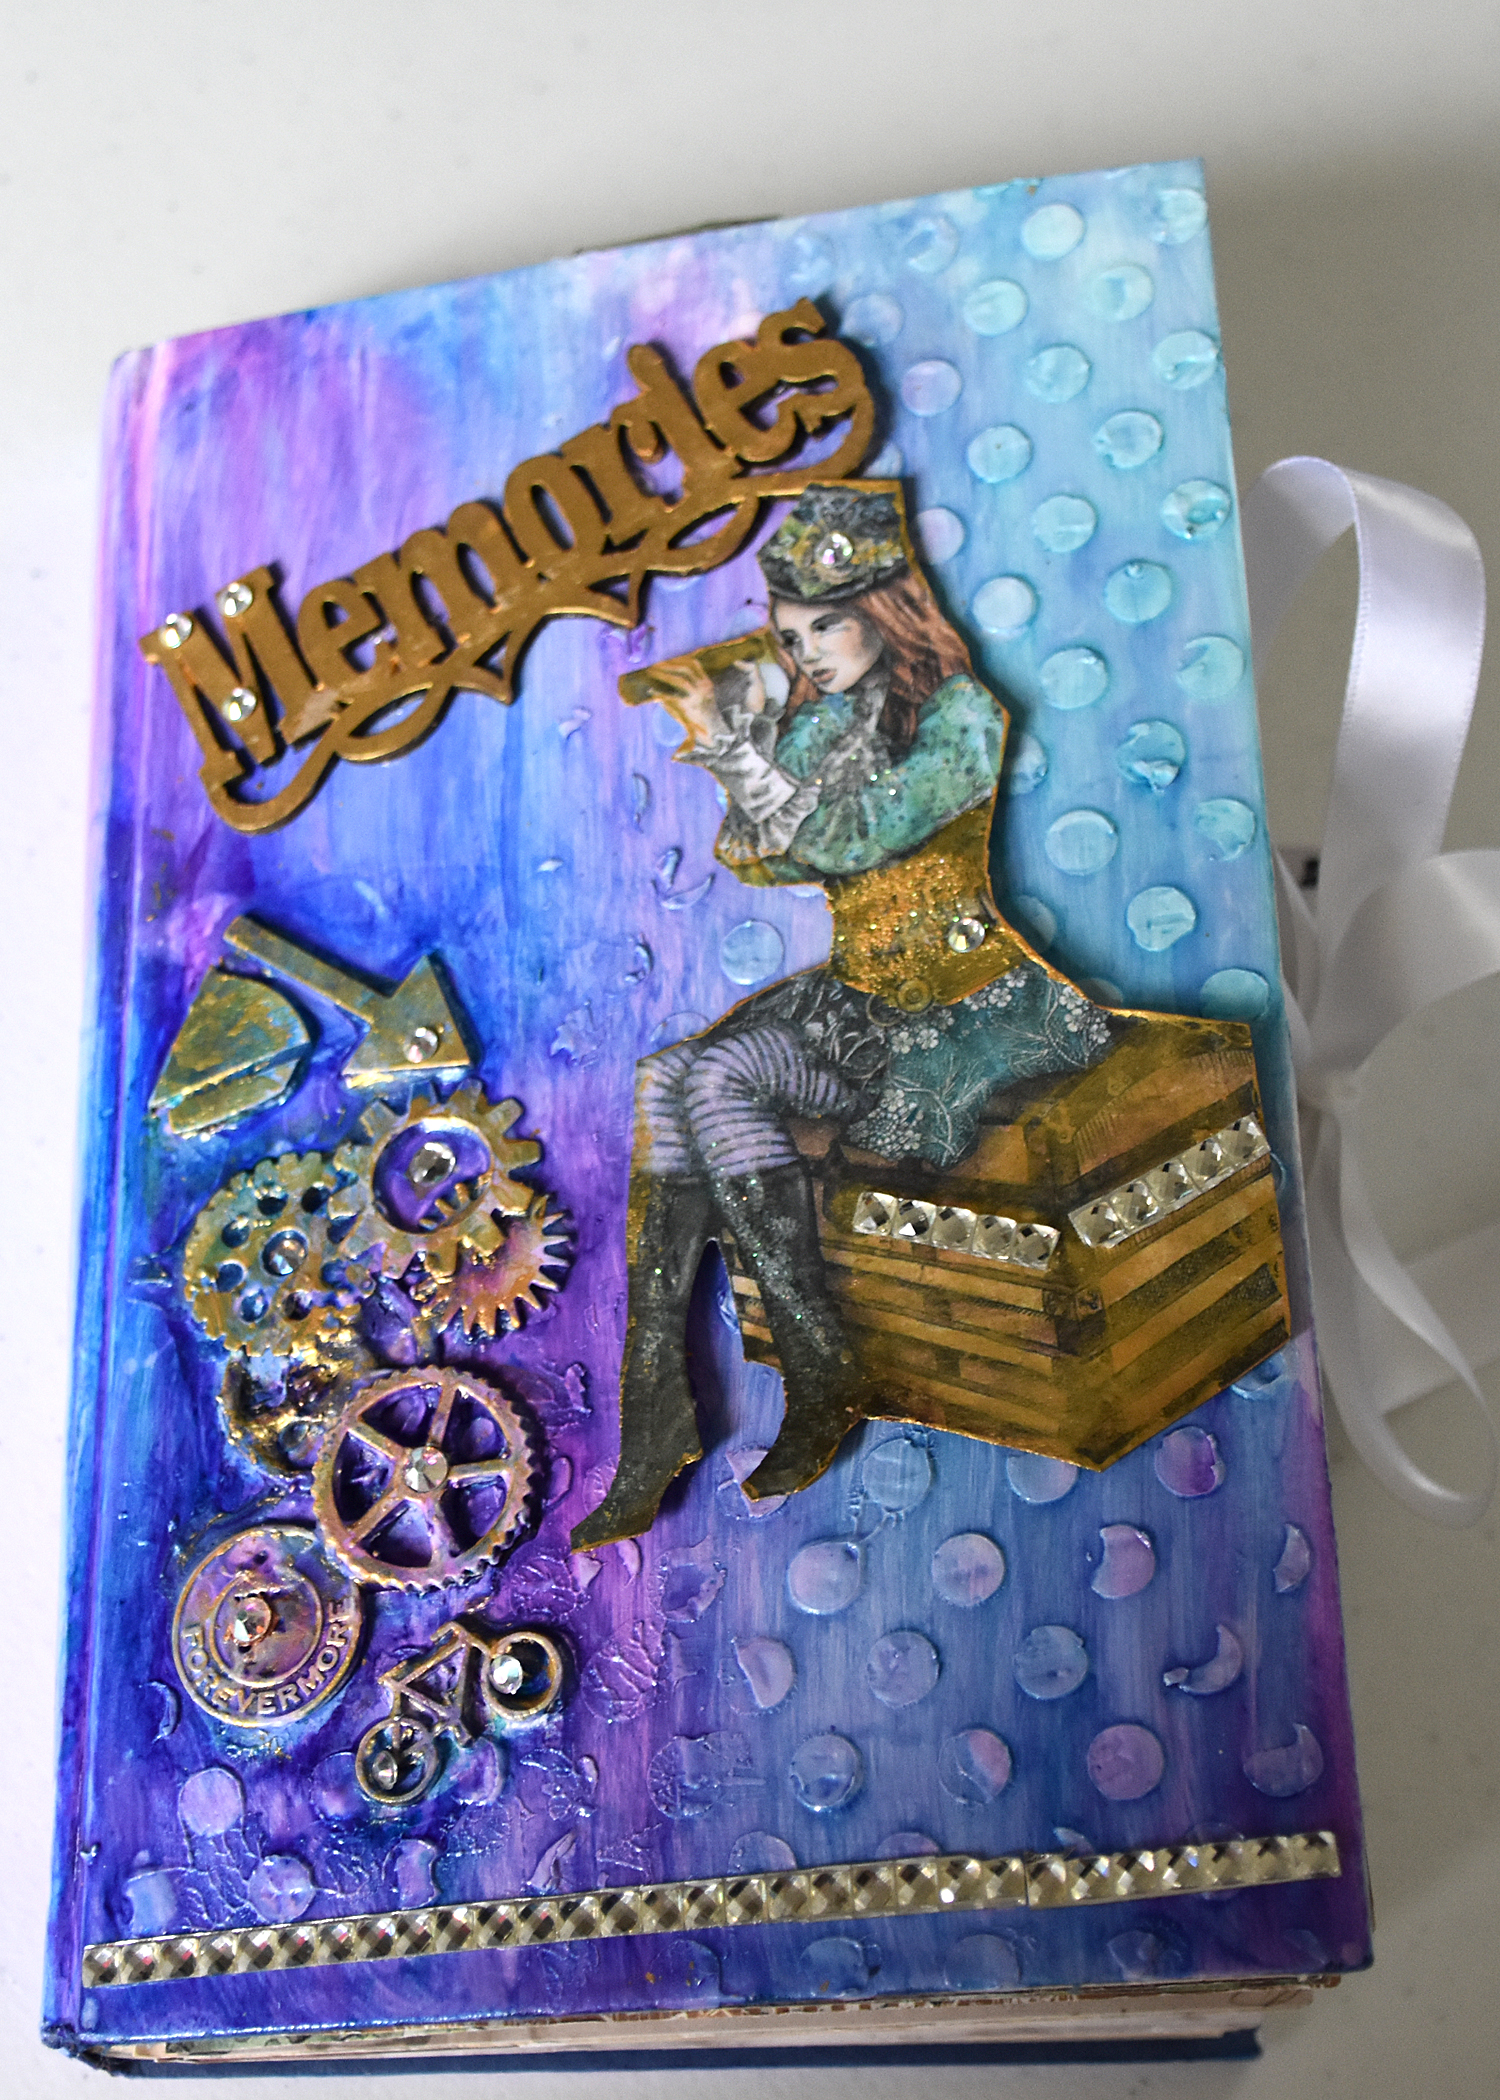
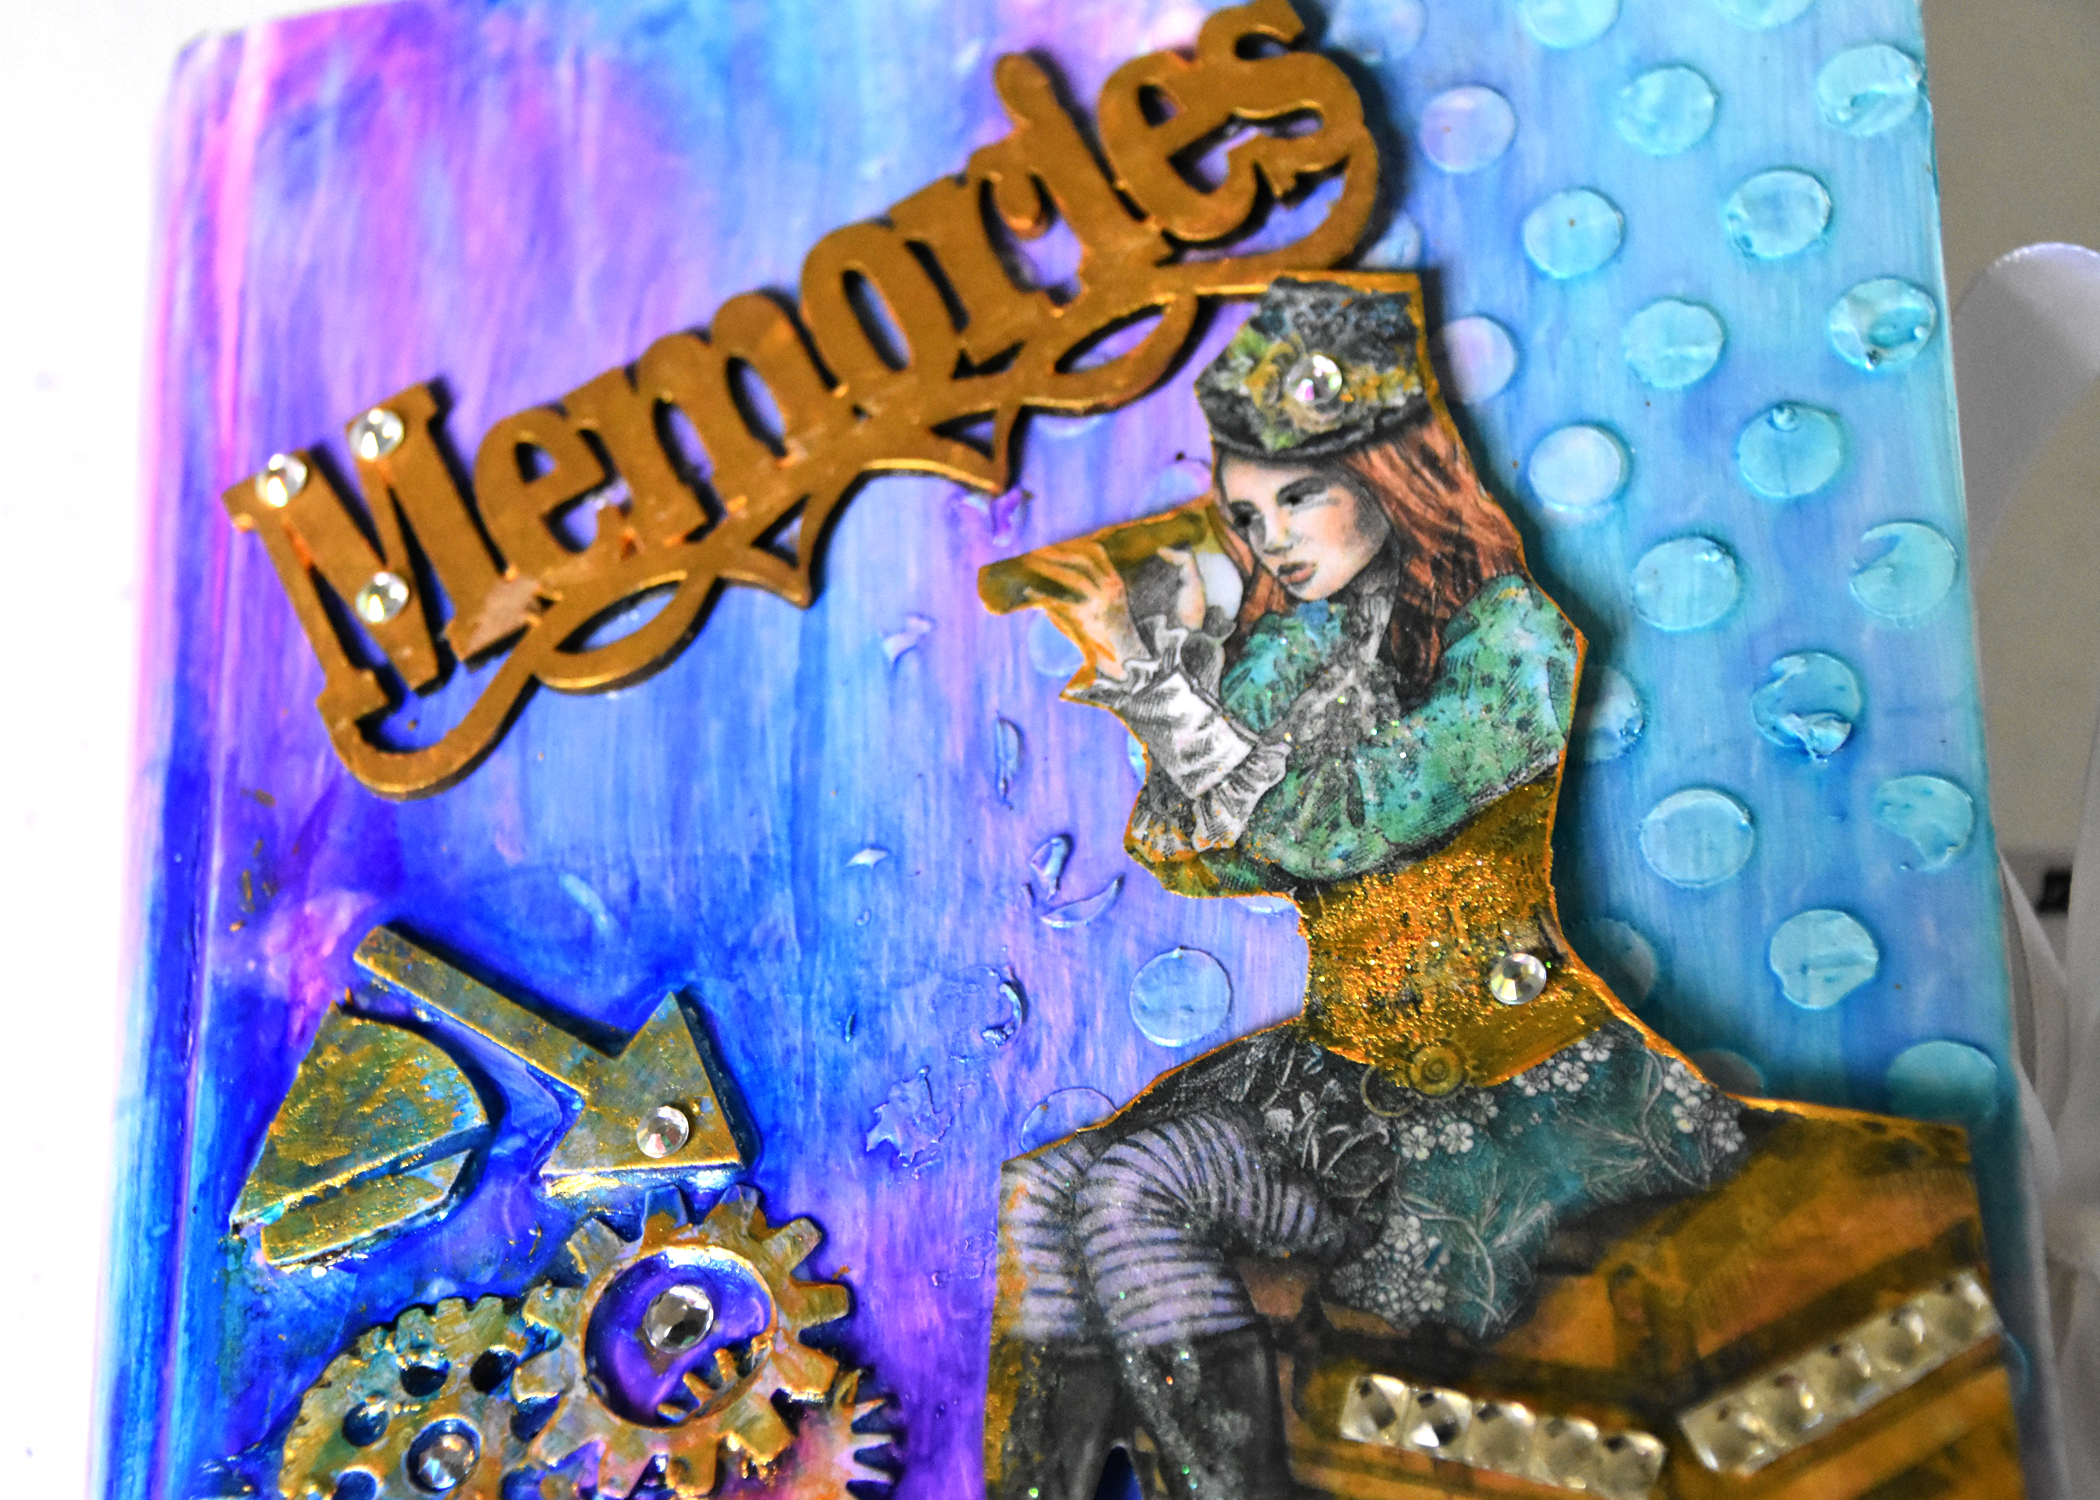
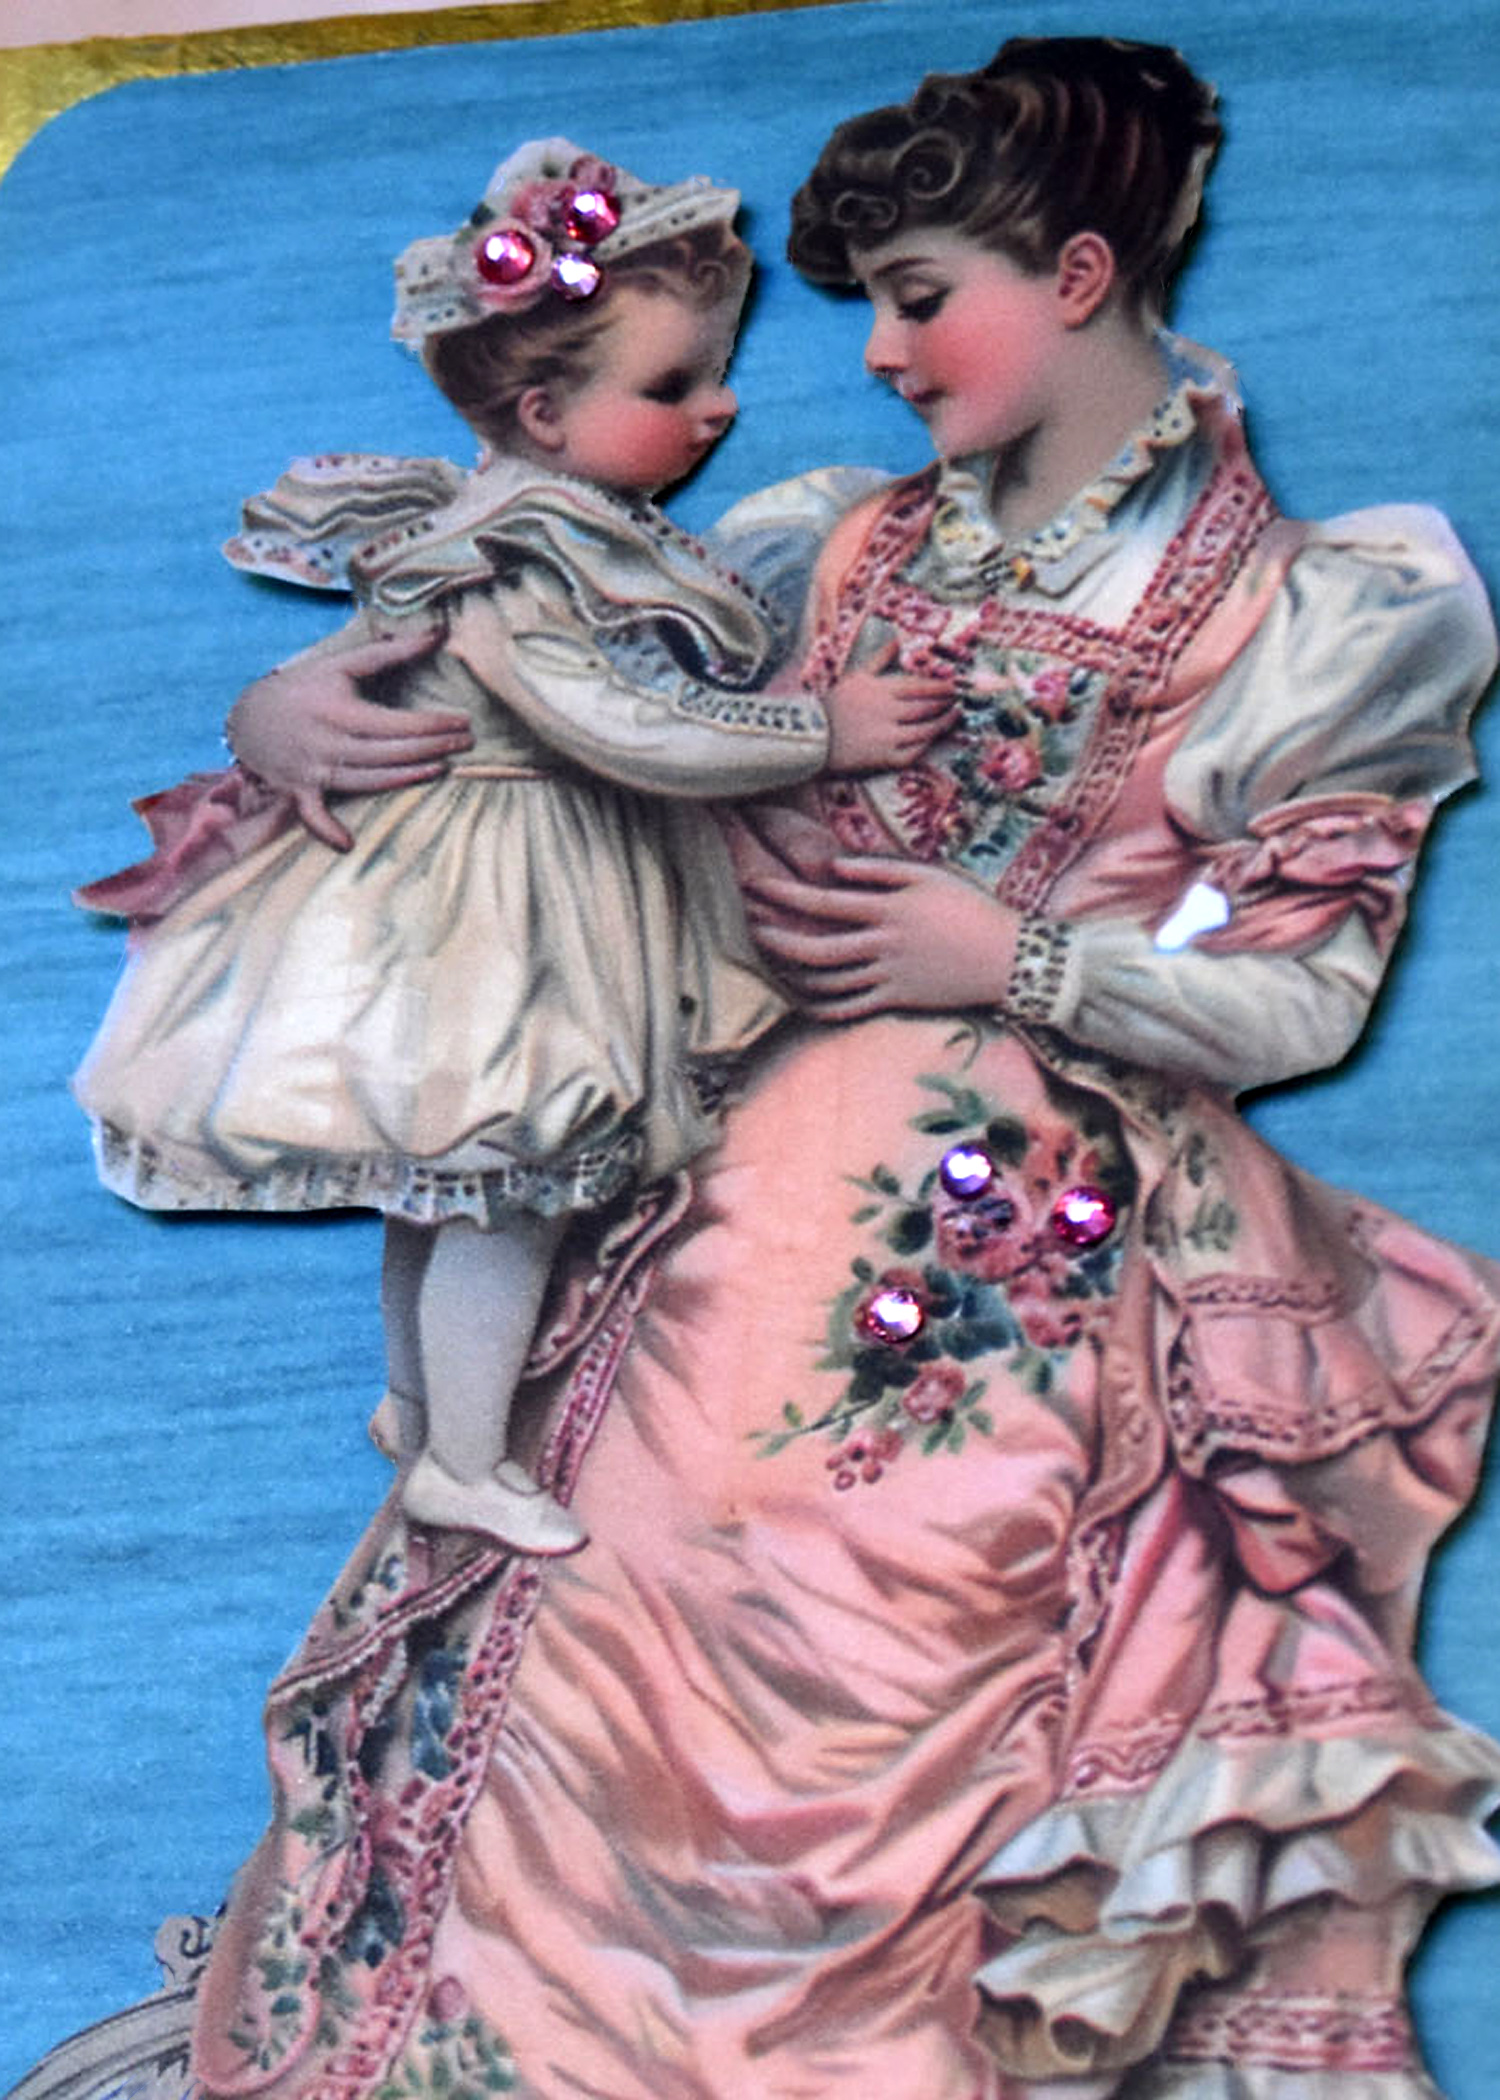
Sometimes I am asked why I make junk journals for myself and to sell to others. There are many reasons. First, I enjoy the process of creating antique-looking art. Second, I enjoy working with the old paper and ephemera that I find at thrift stores and upcycling them into new art that can be used and treasured again. And third, I love to leave a record of my daily life for my child and eventually my grandchildren.

This last reason is the most important to me. I would love to have even a page of ephemera or a couple of words my grandmothers had saved about their lives. Many people tell me that they do not journal because they are overwhelmed by opening a journal to an empty white page . They do not know where to start or what to say.

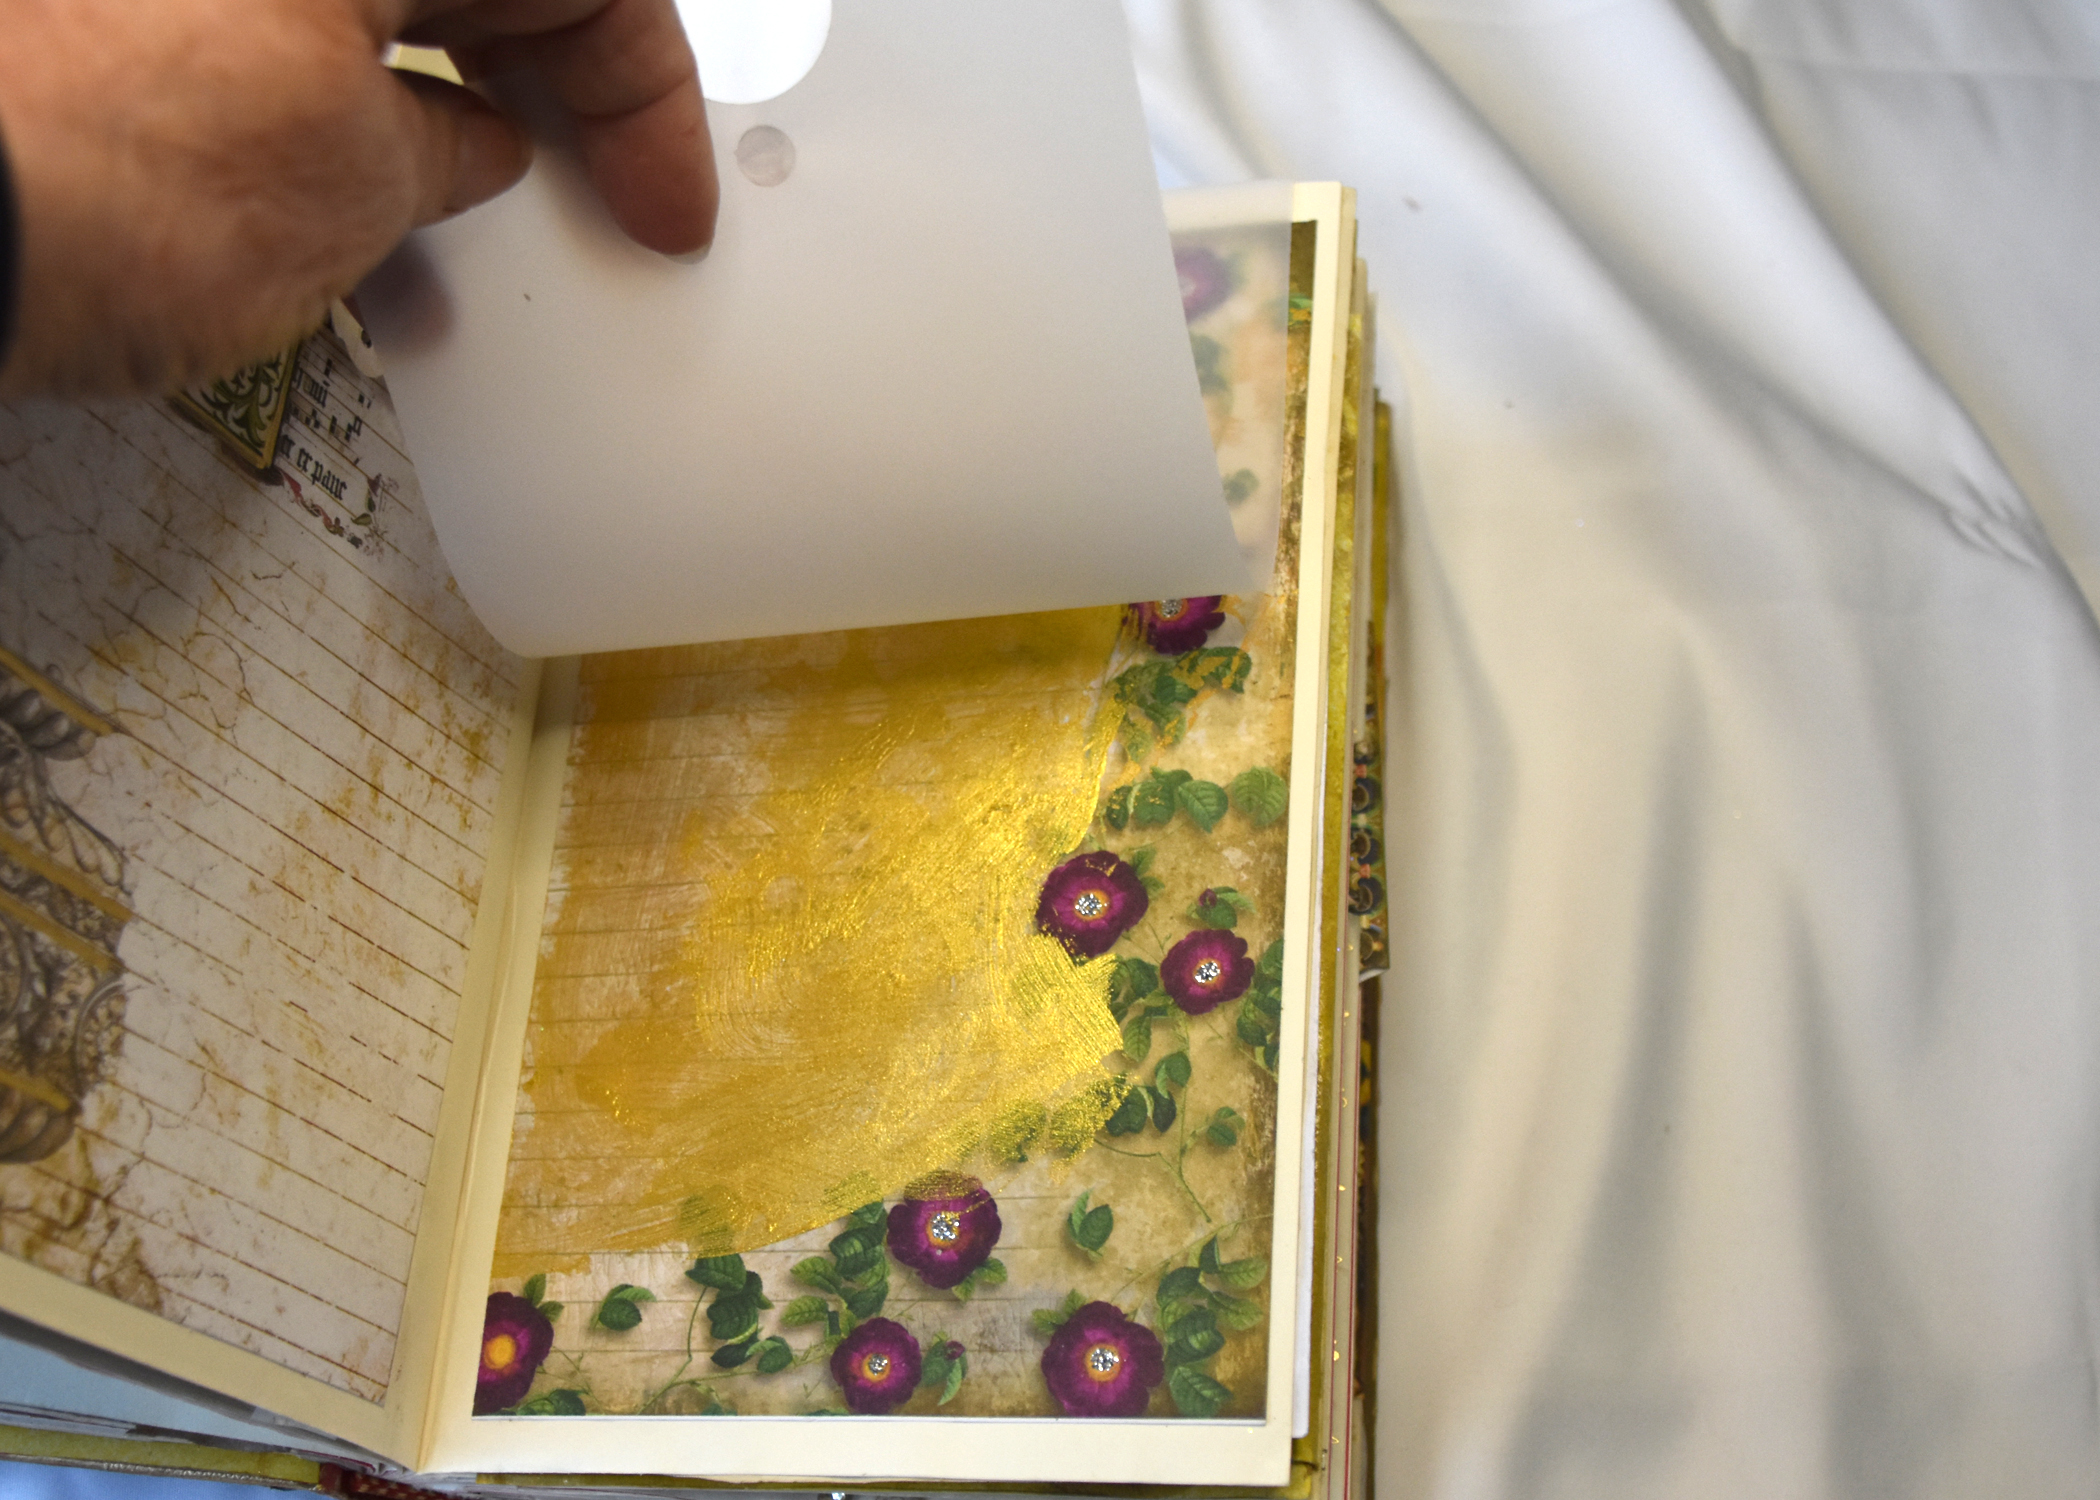
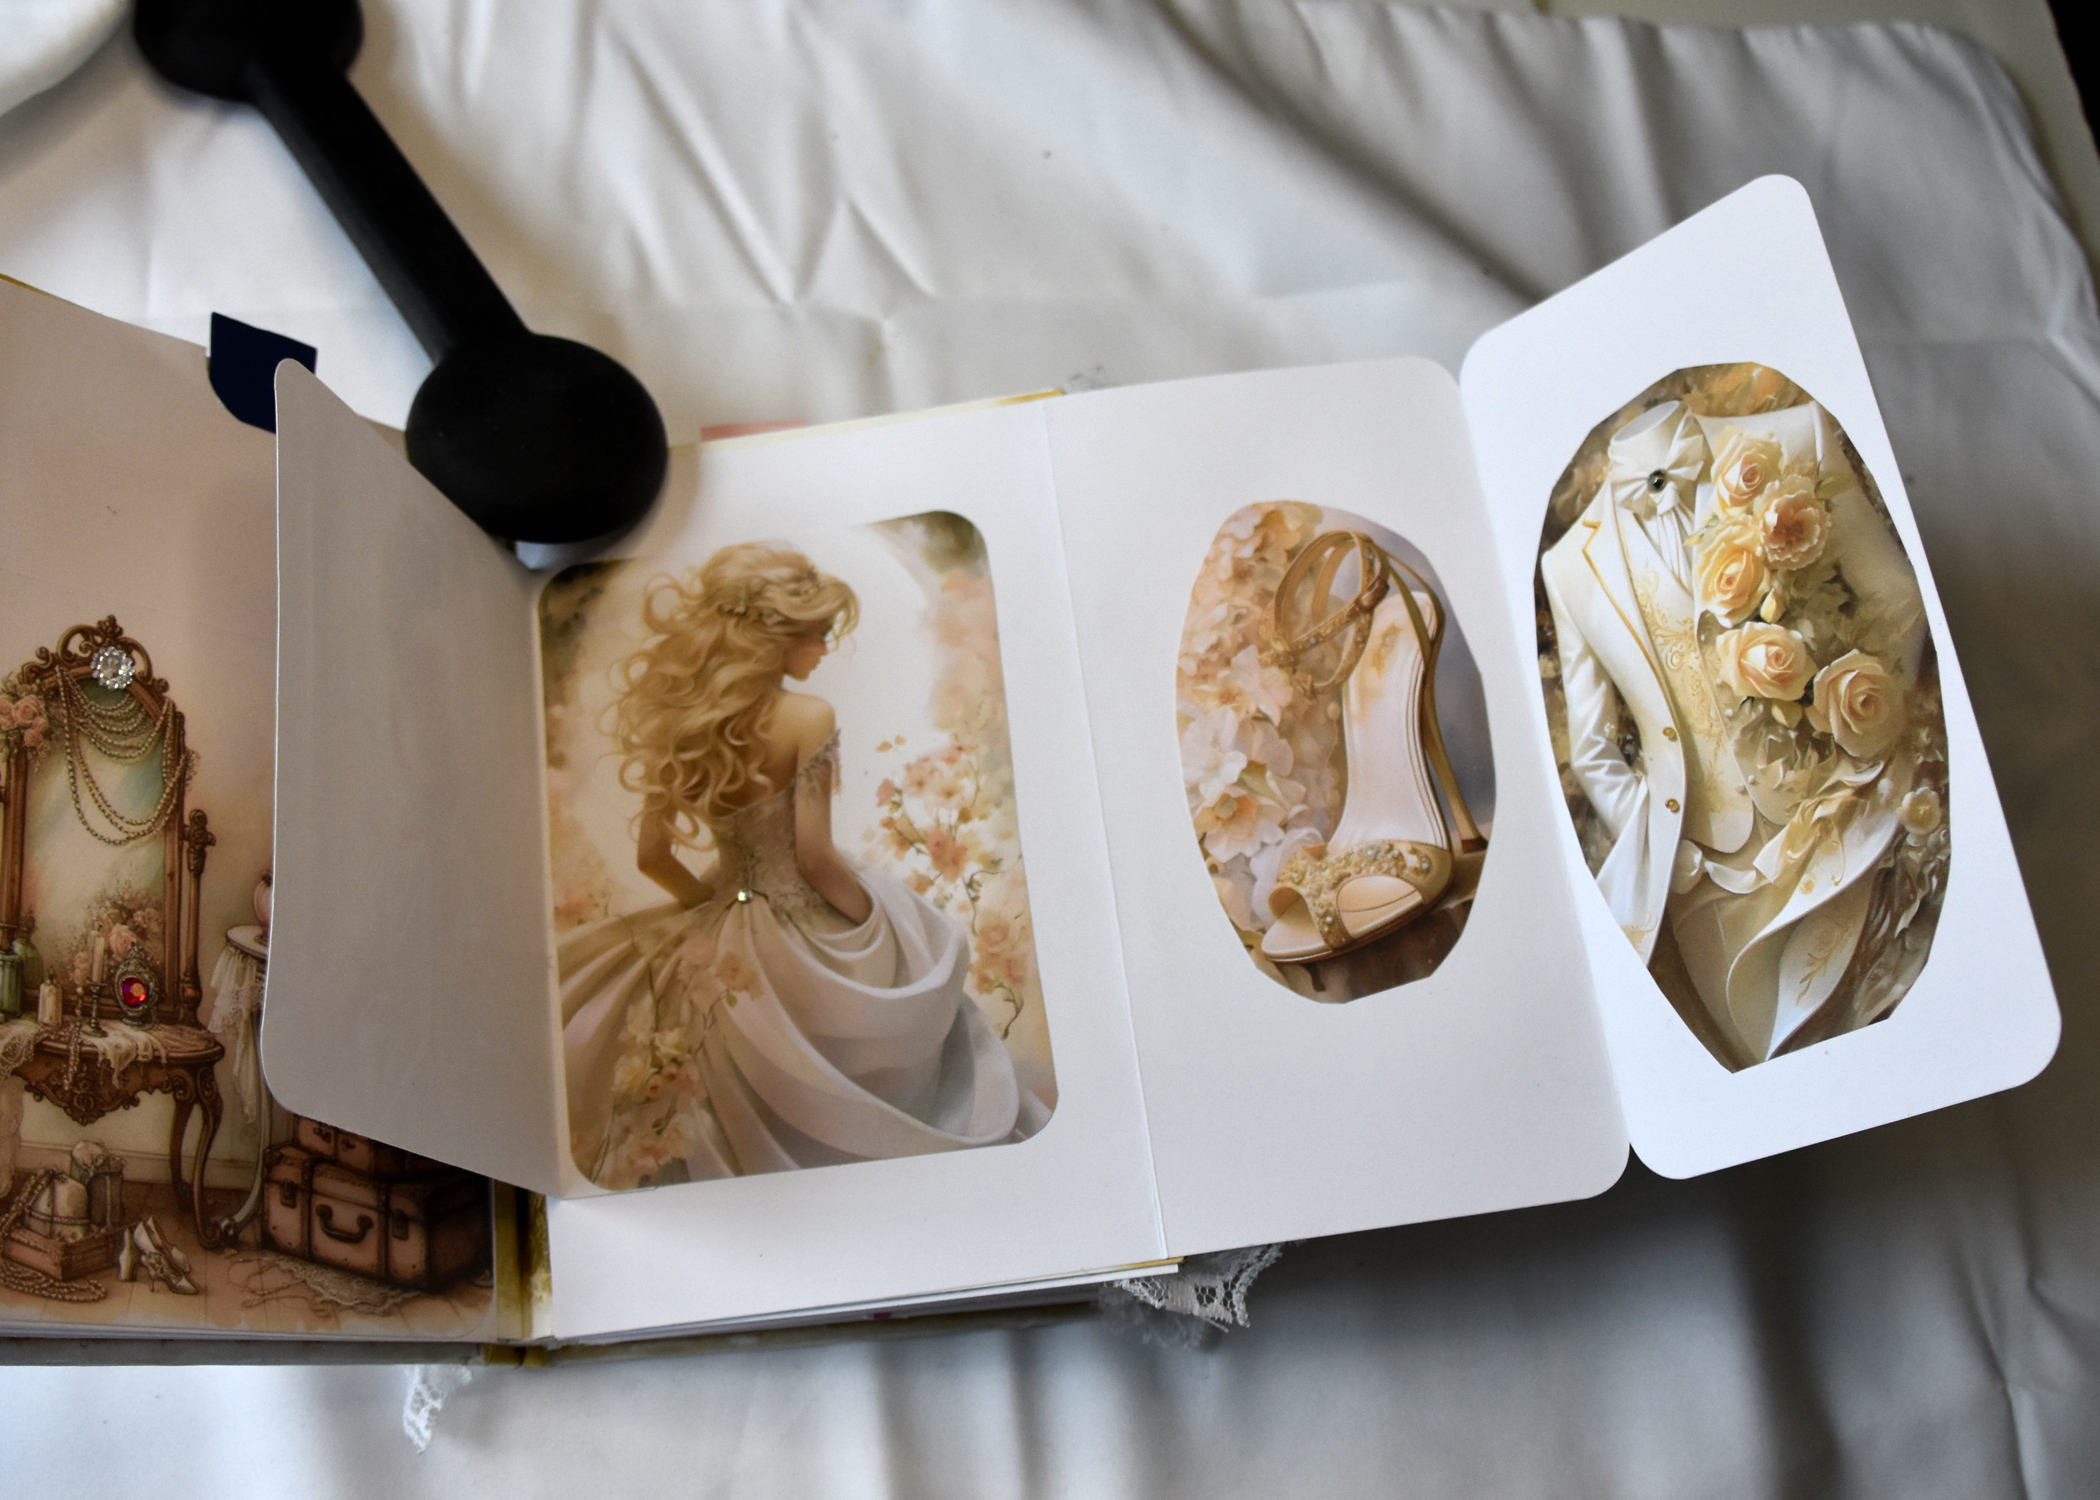
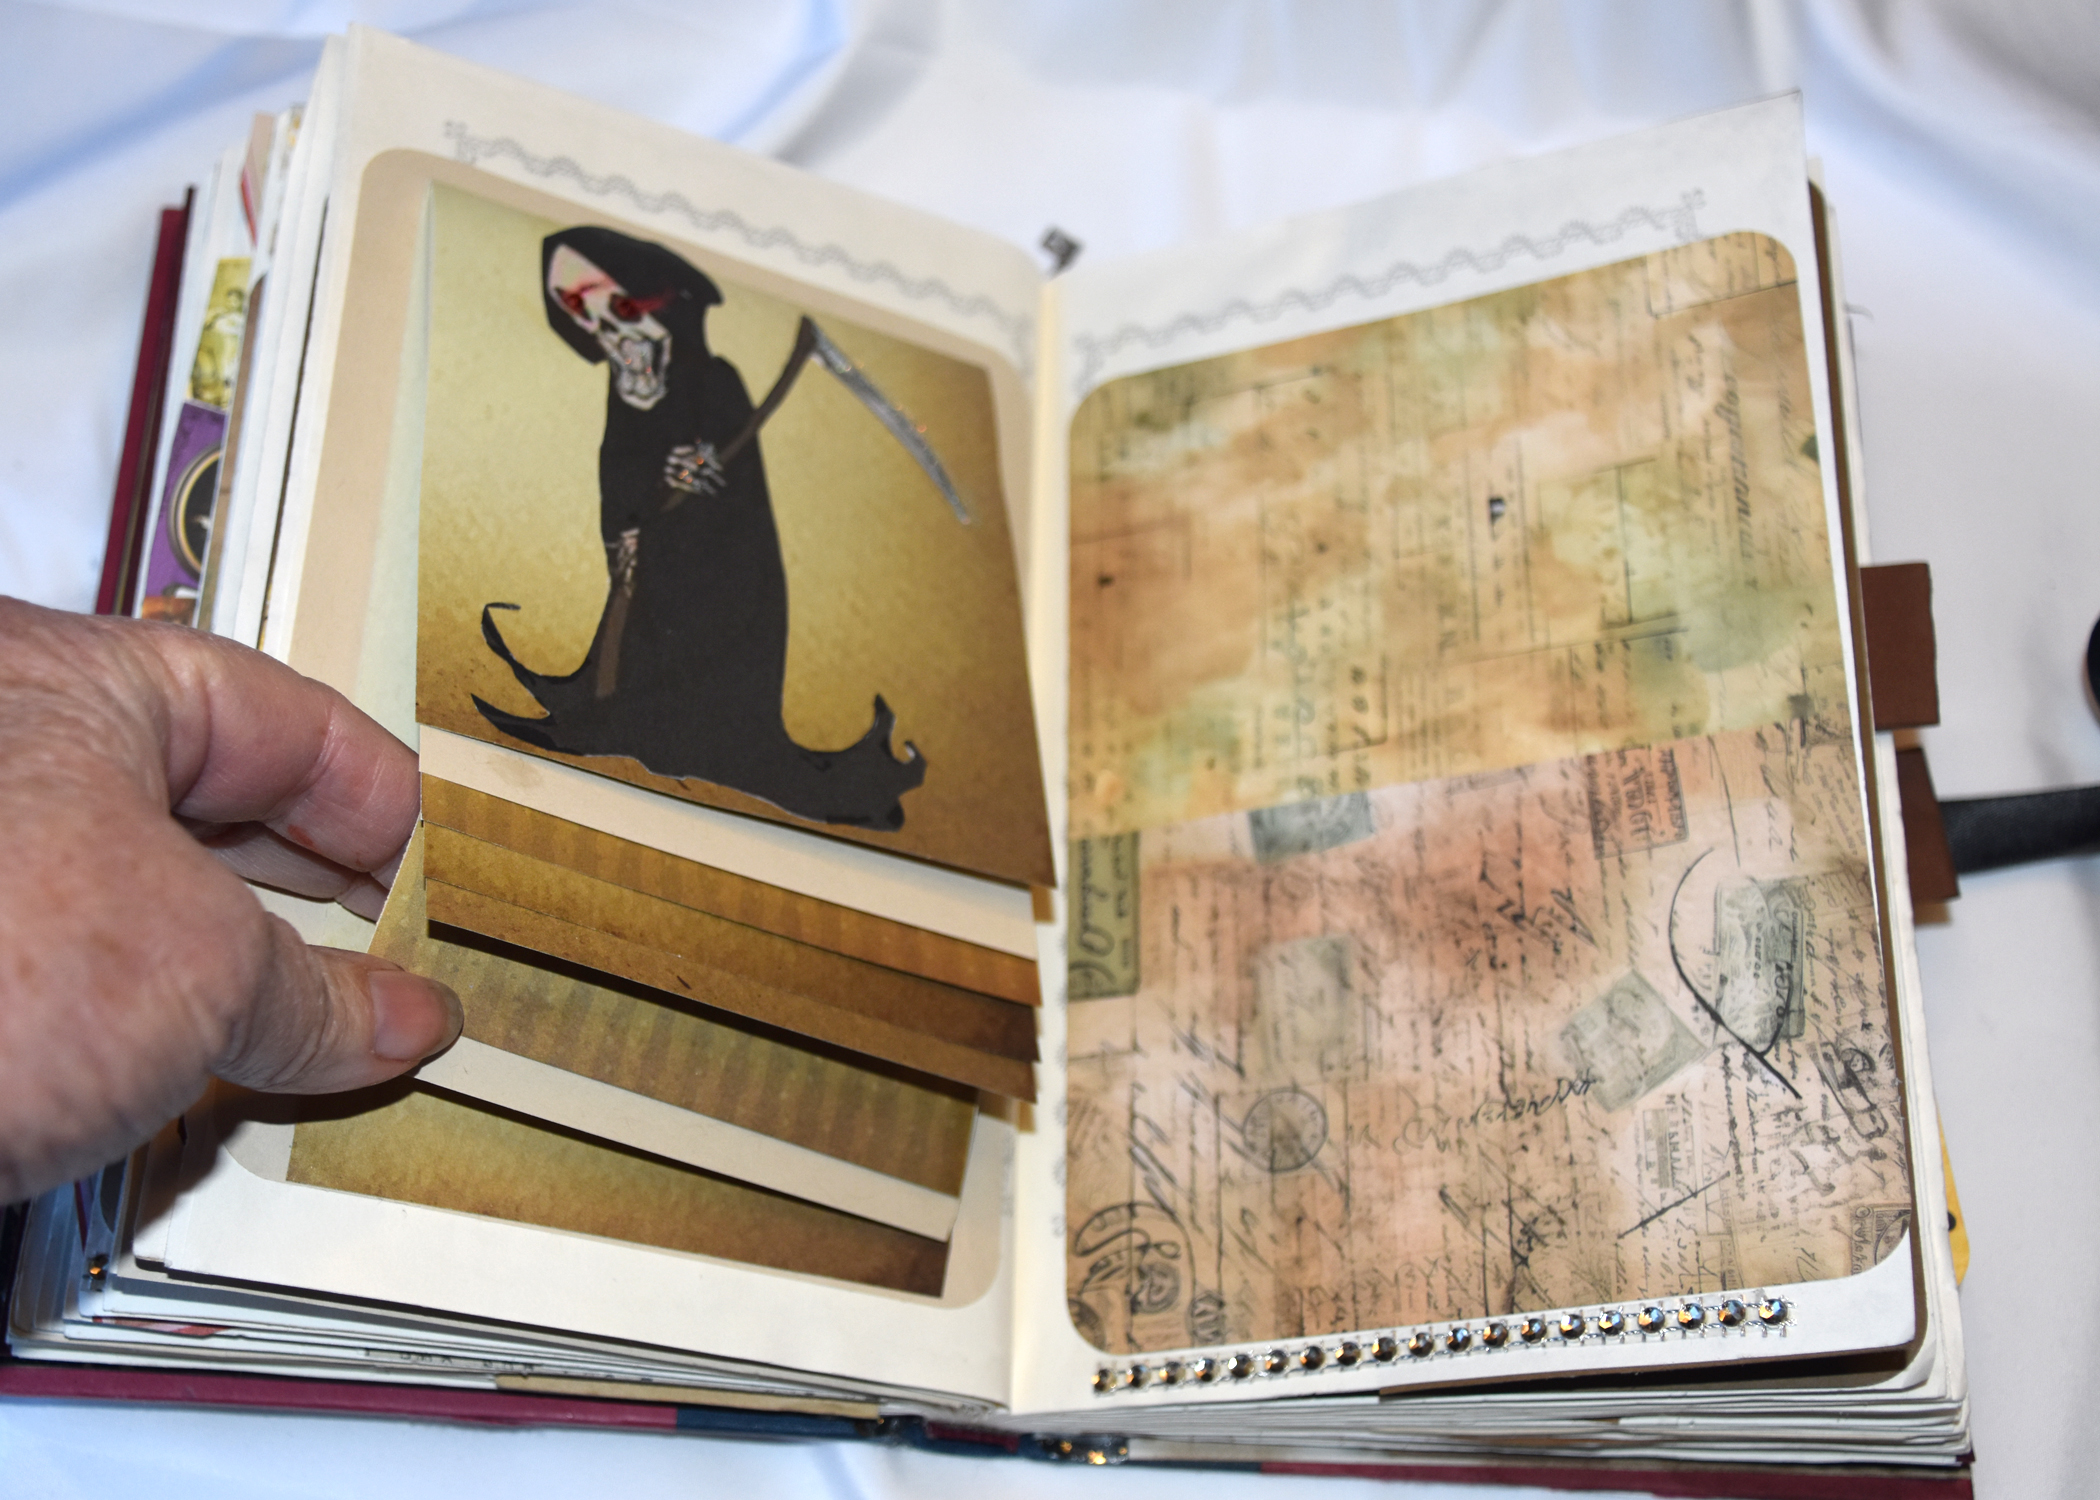
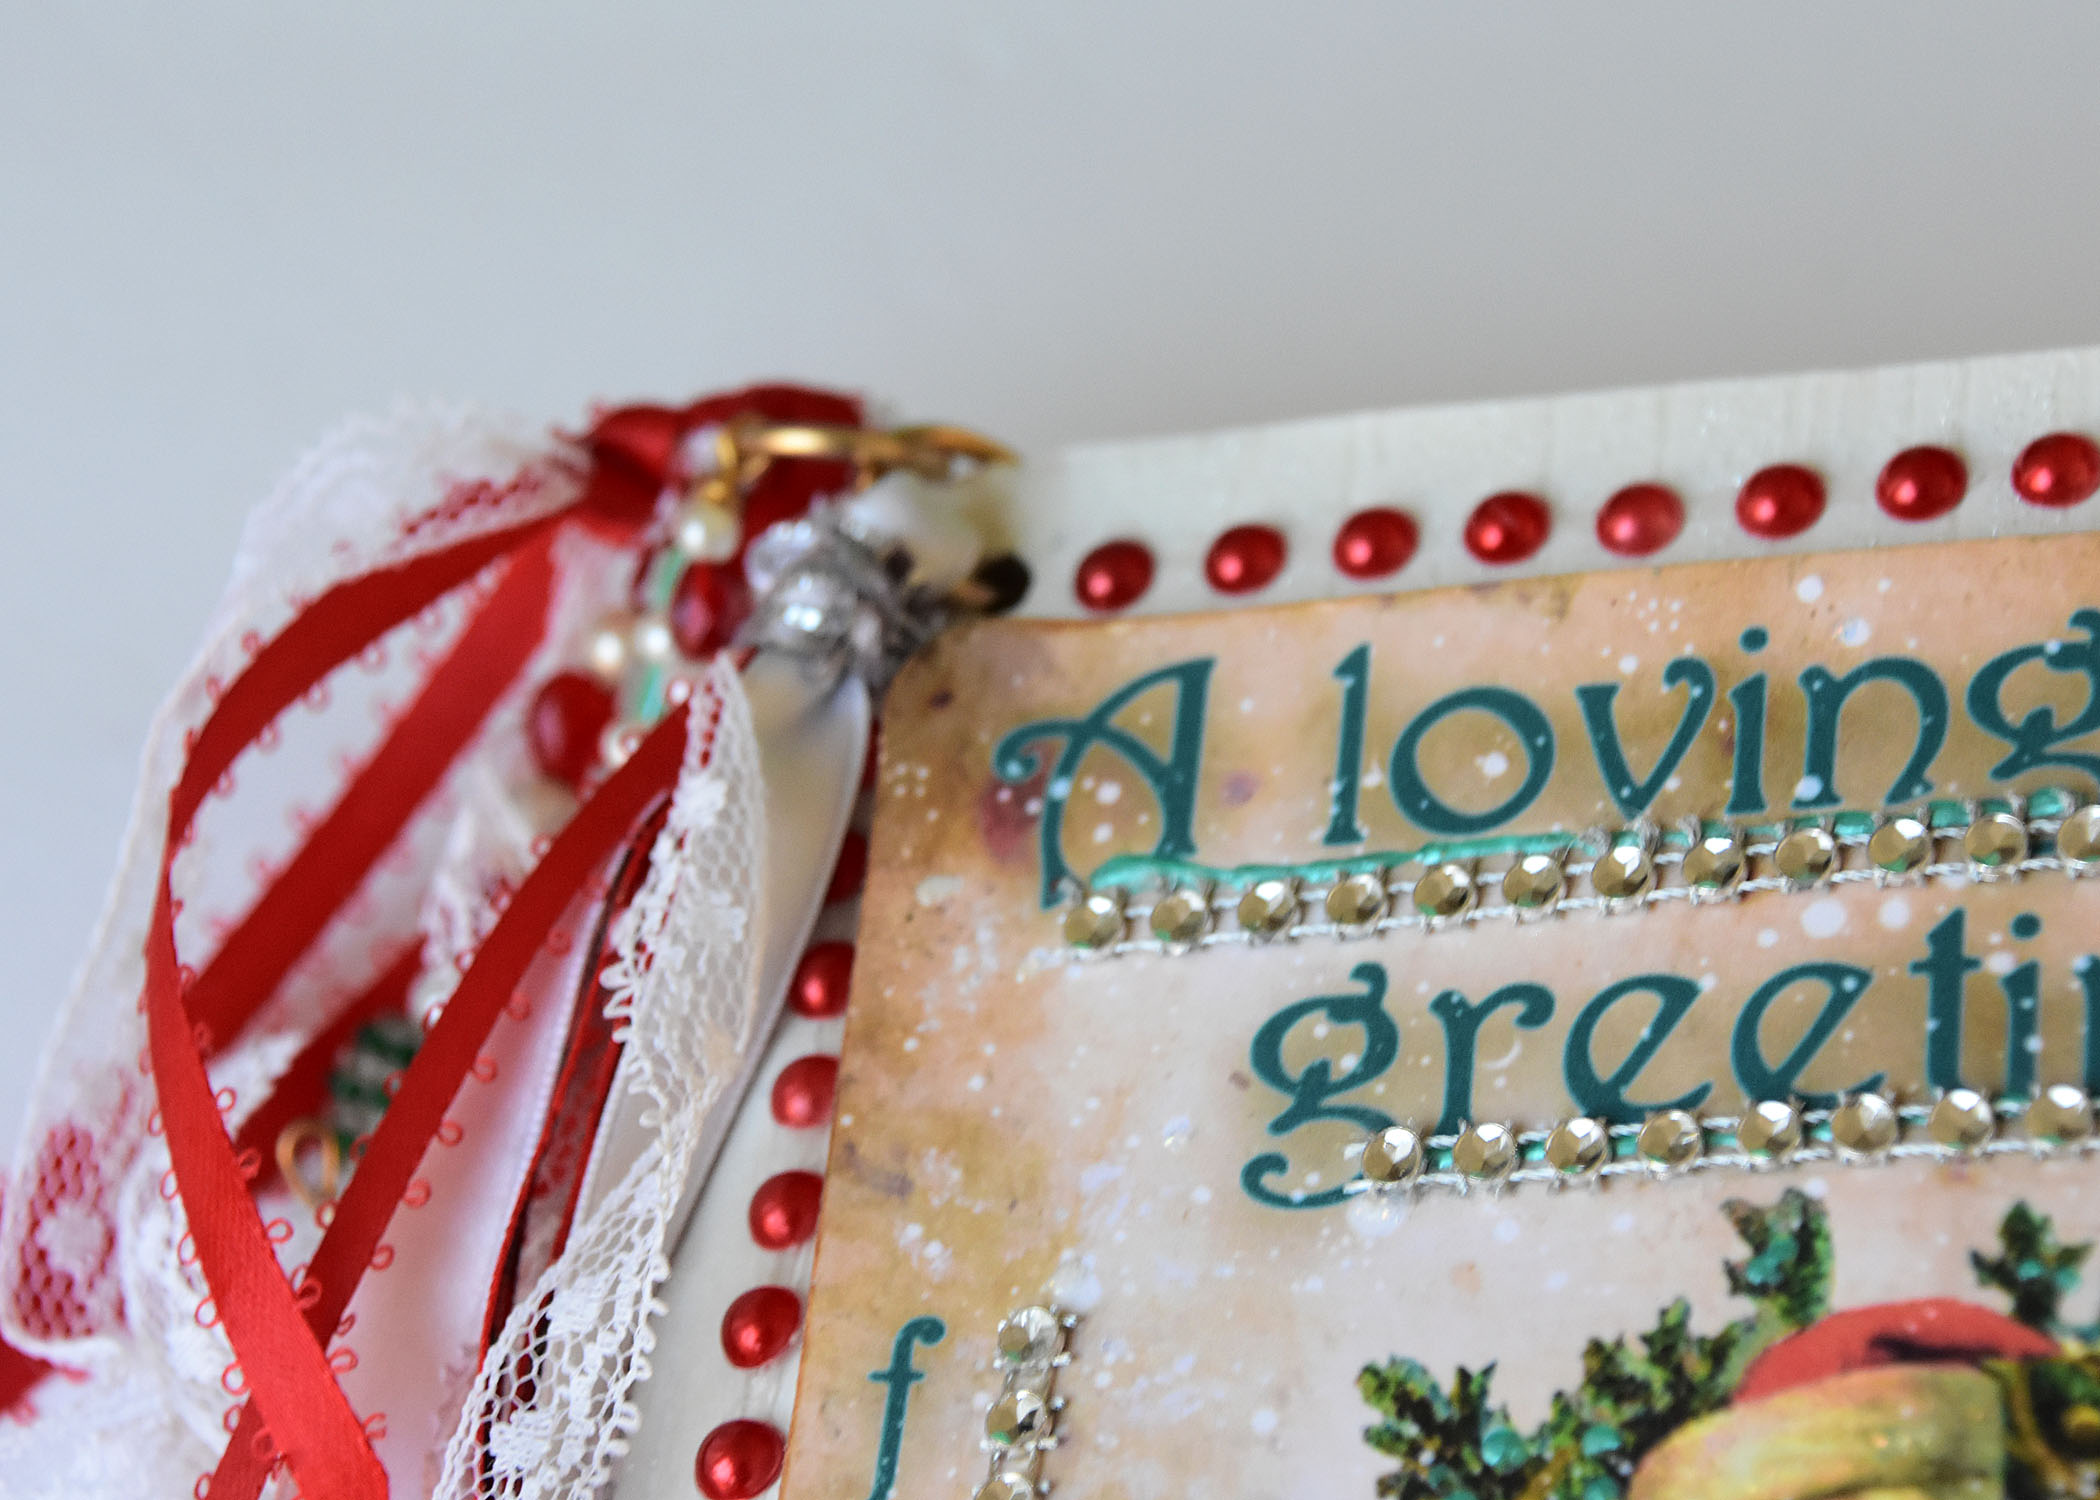
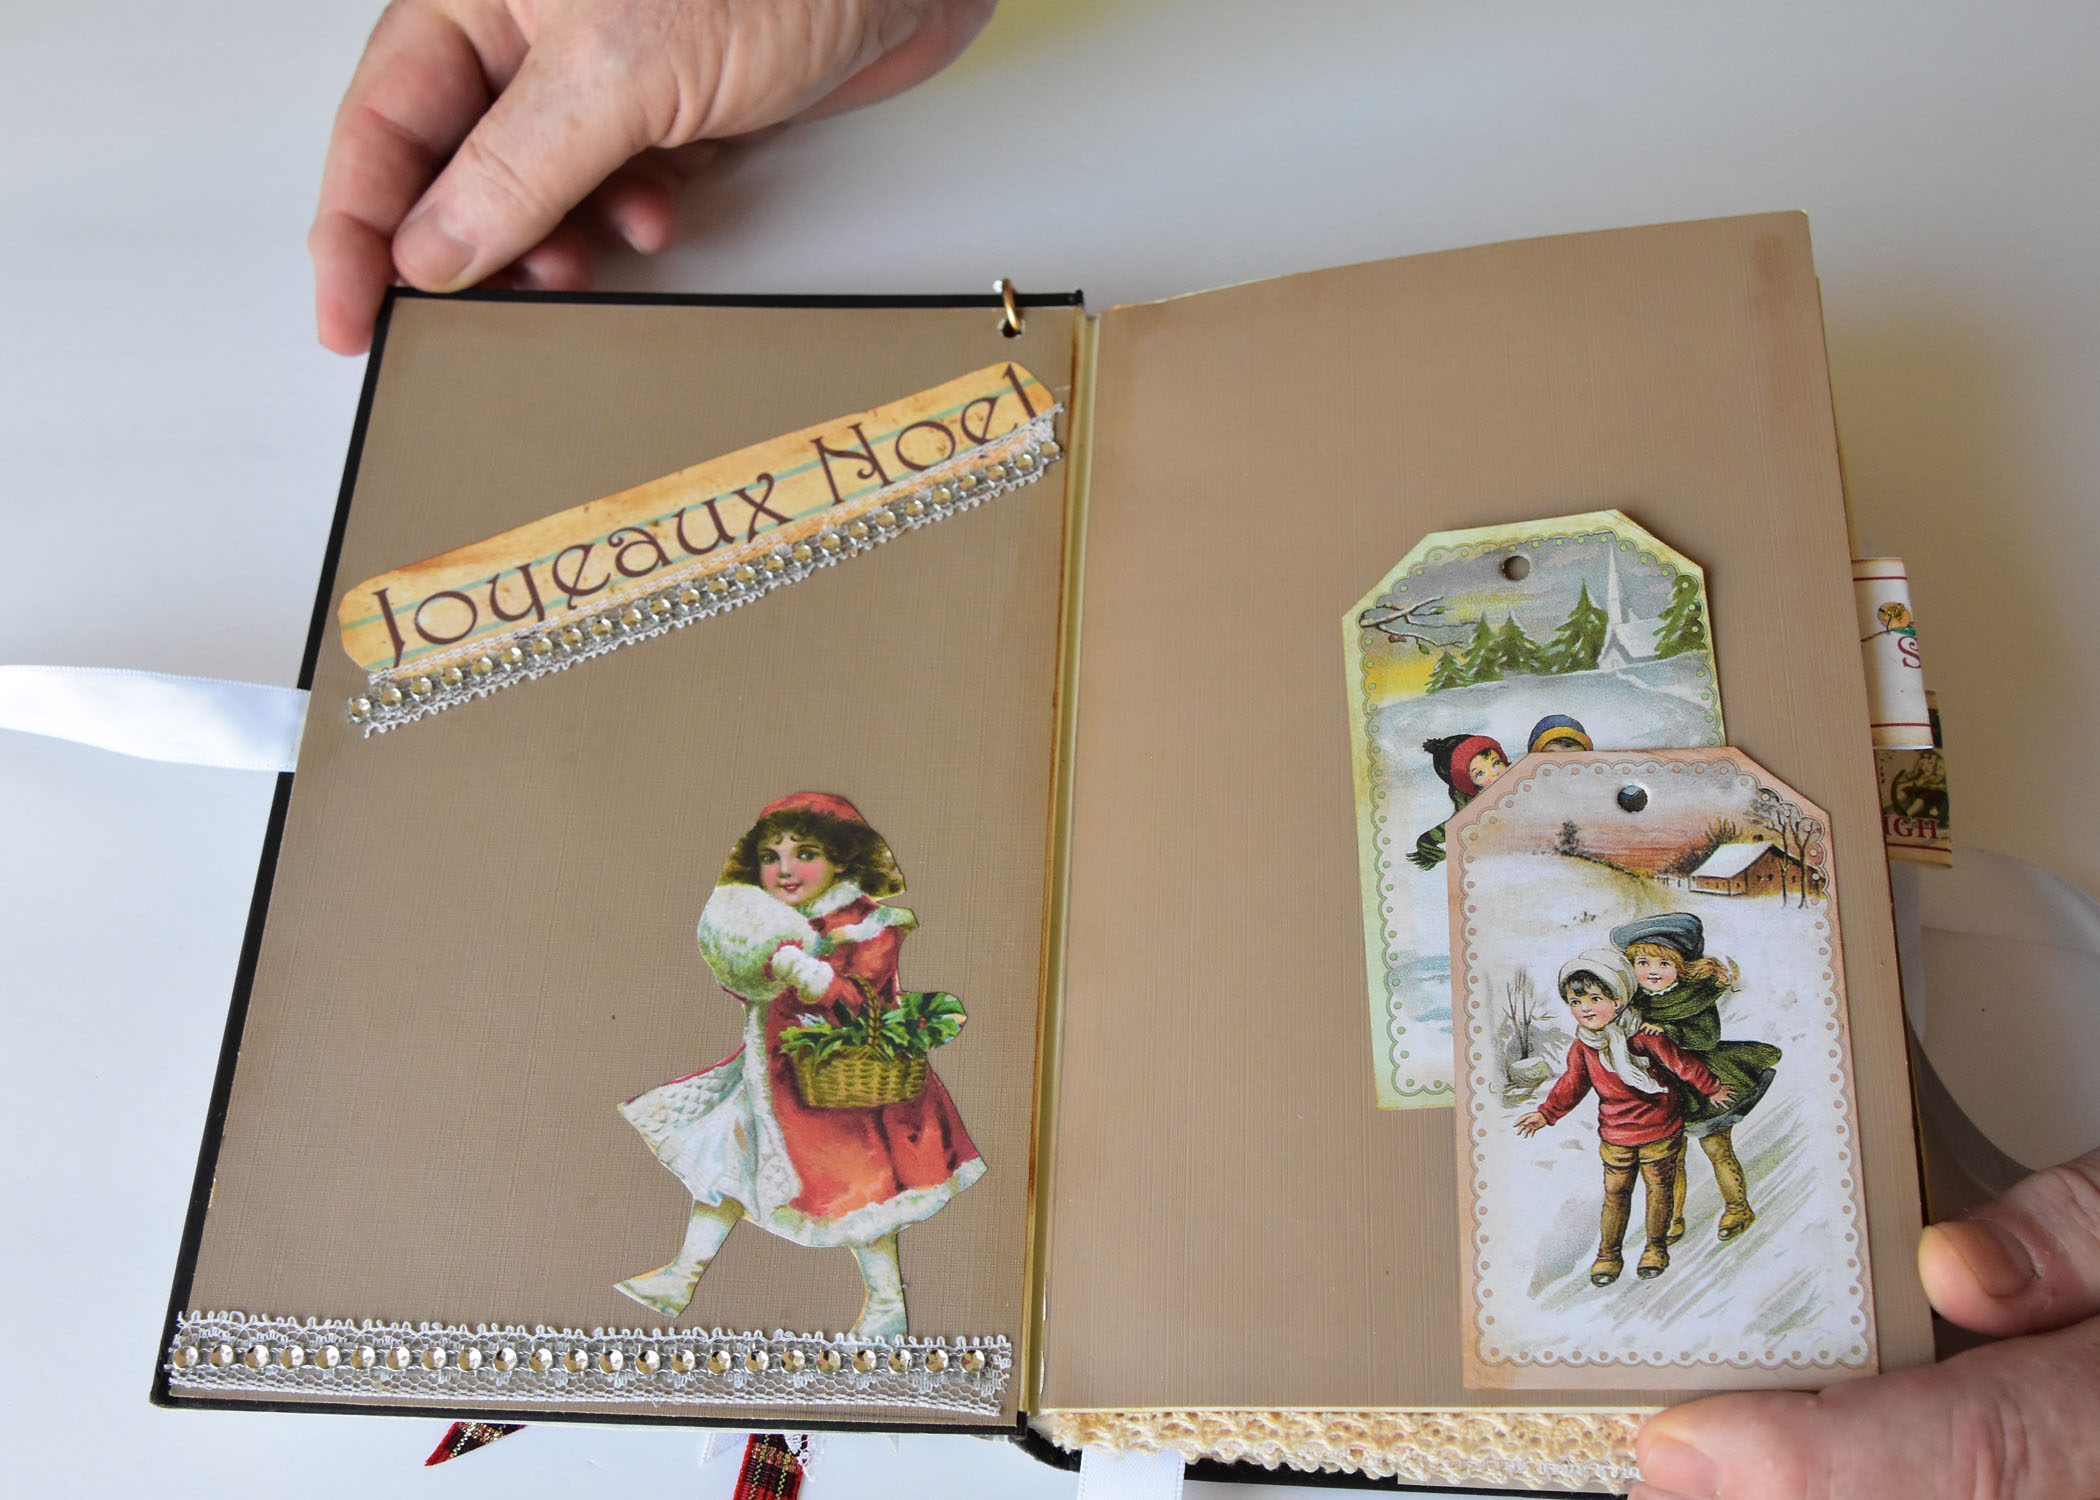
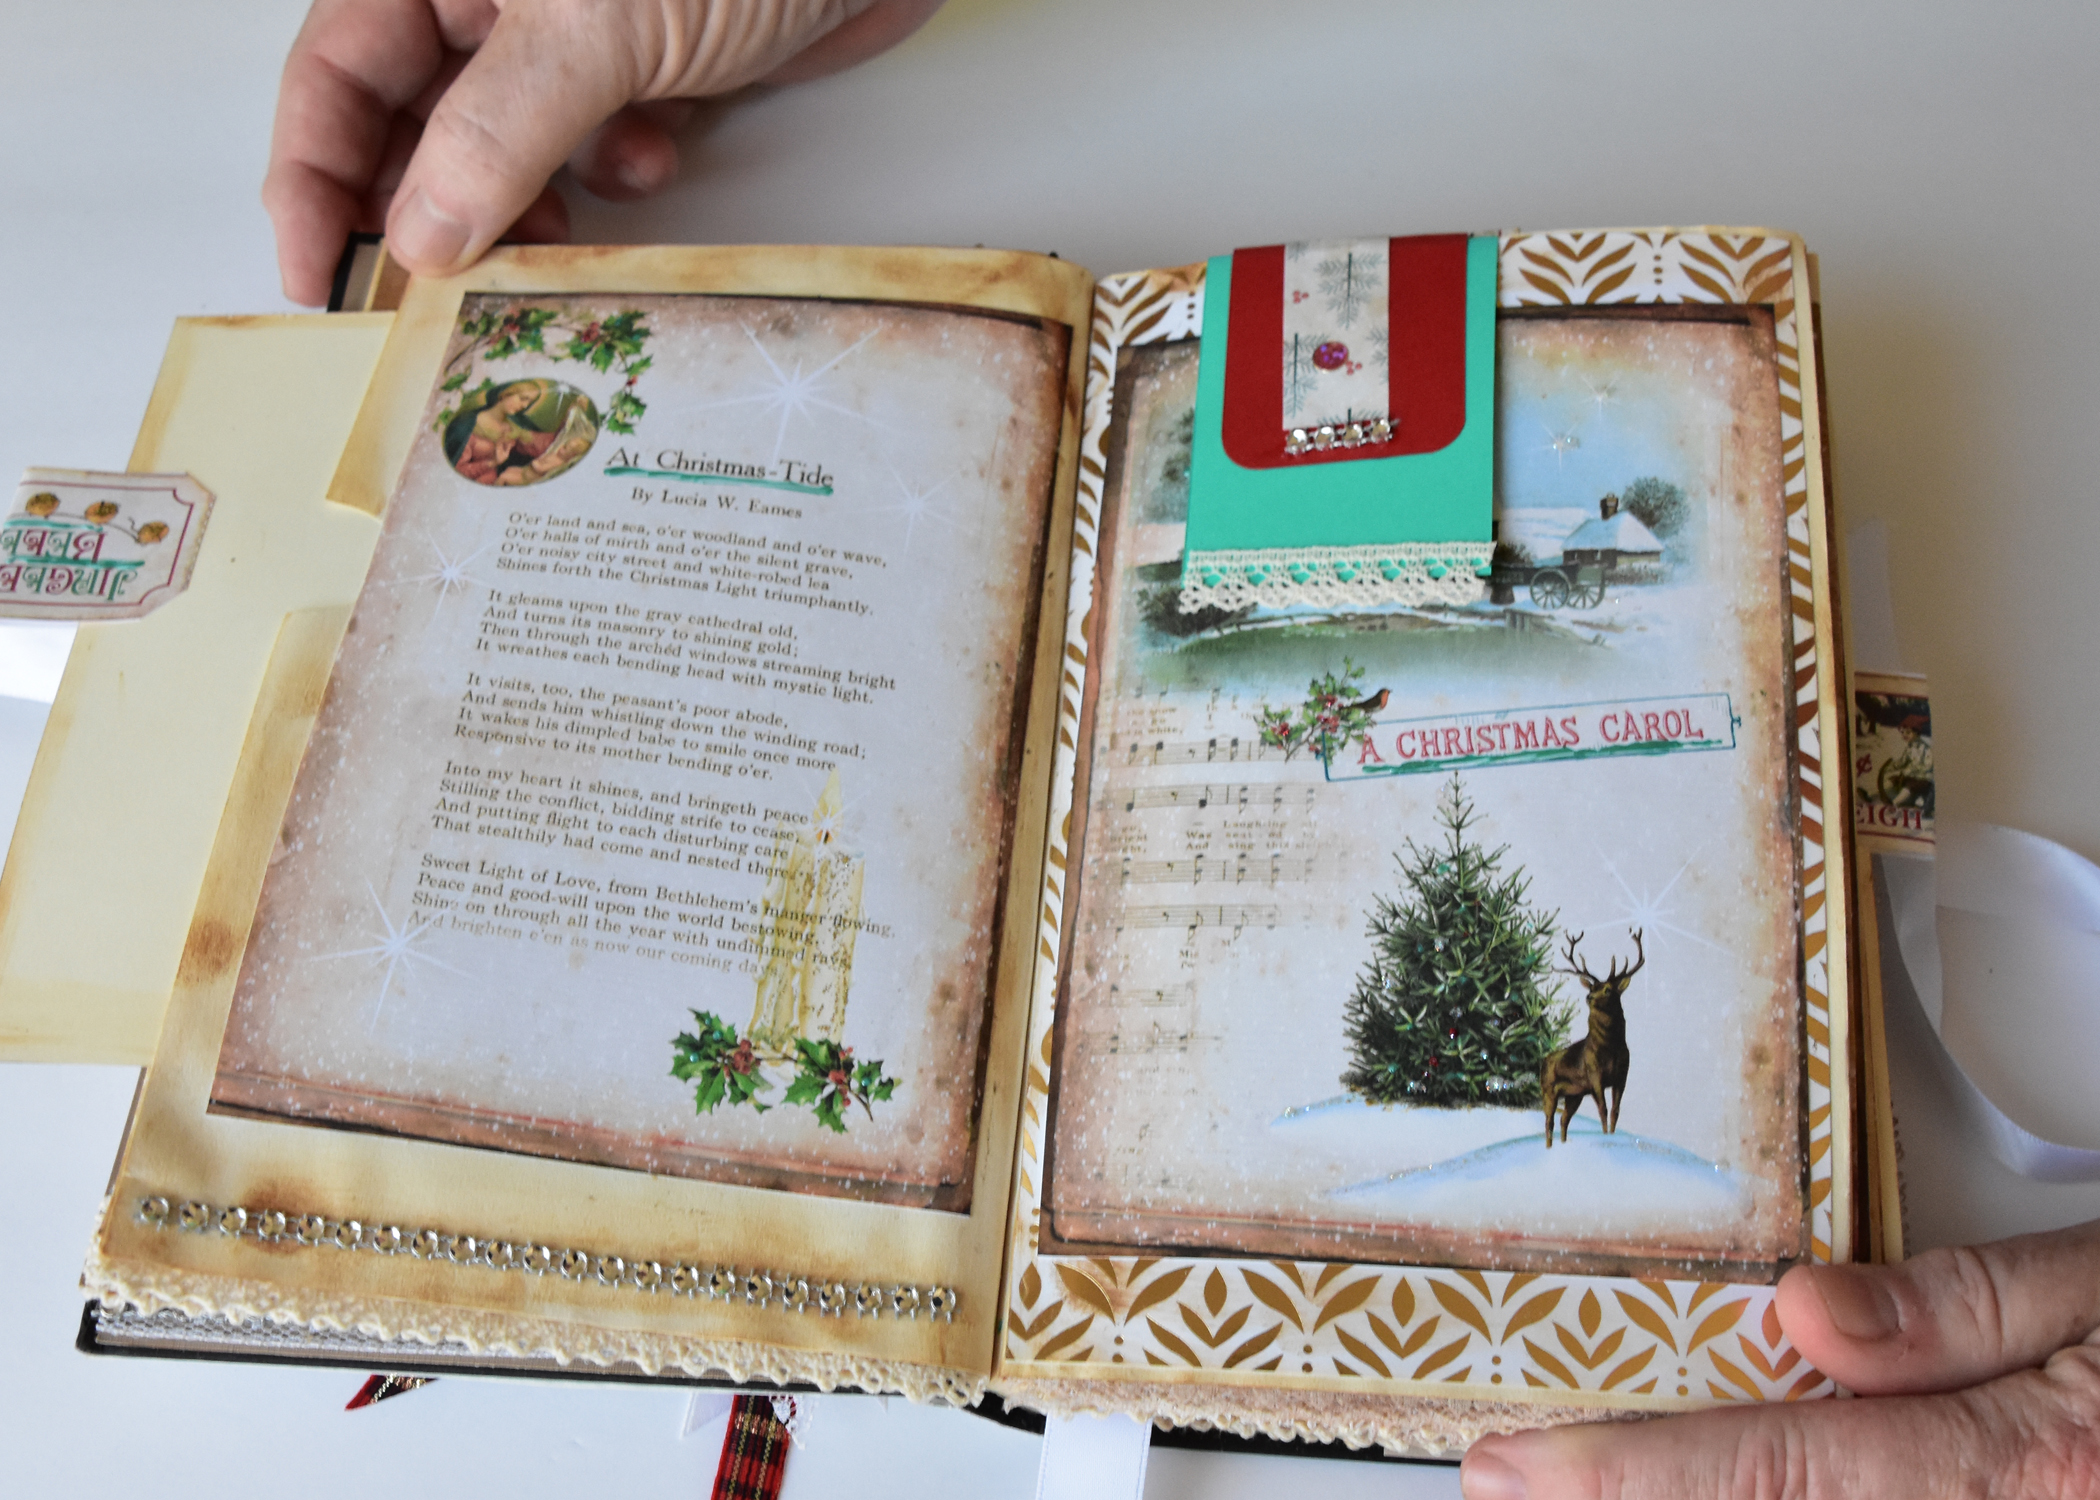
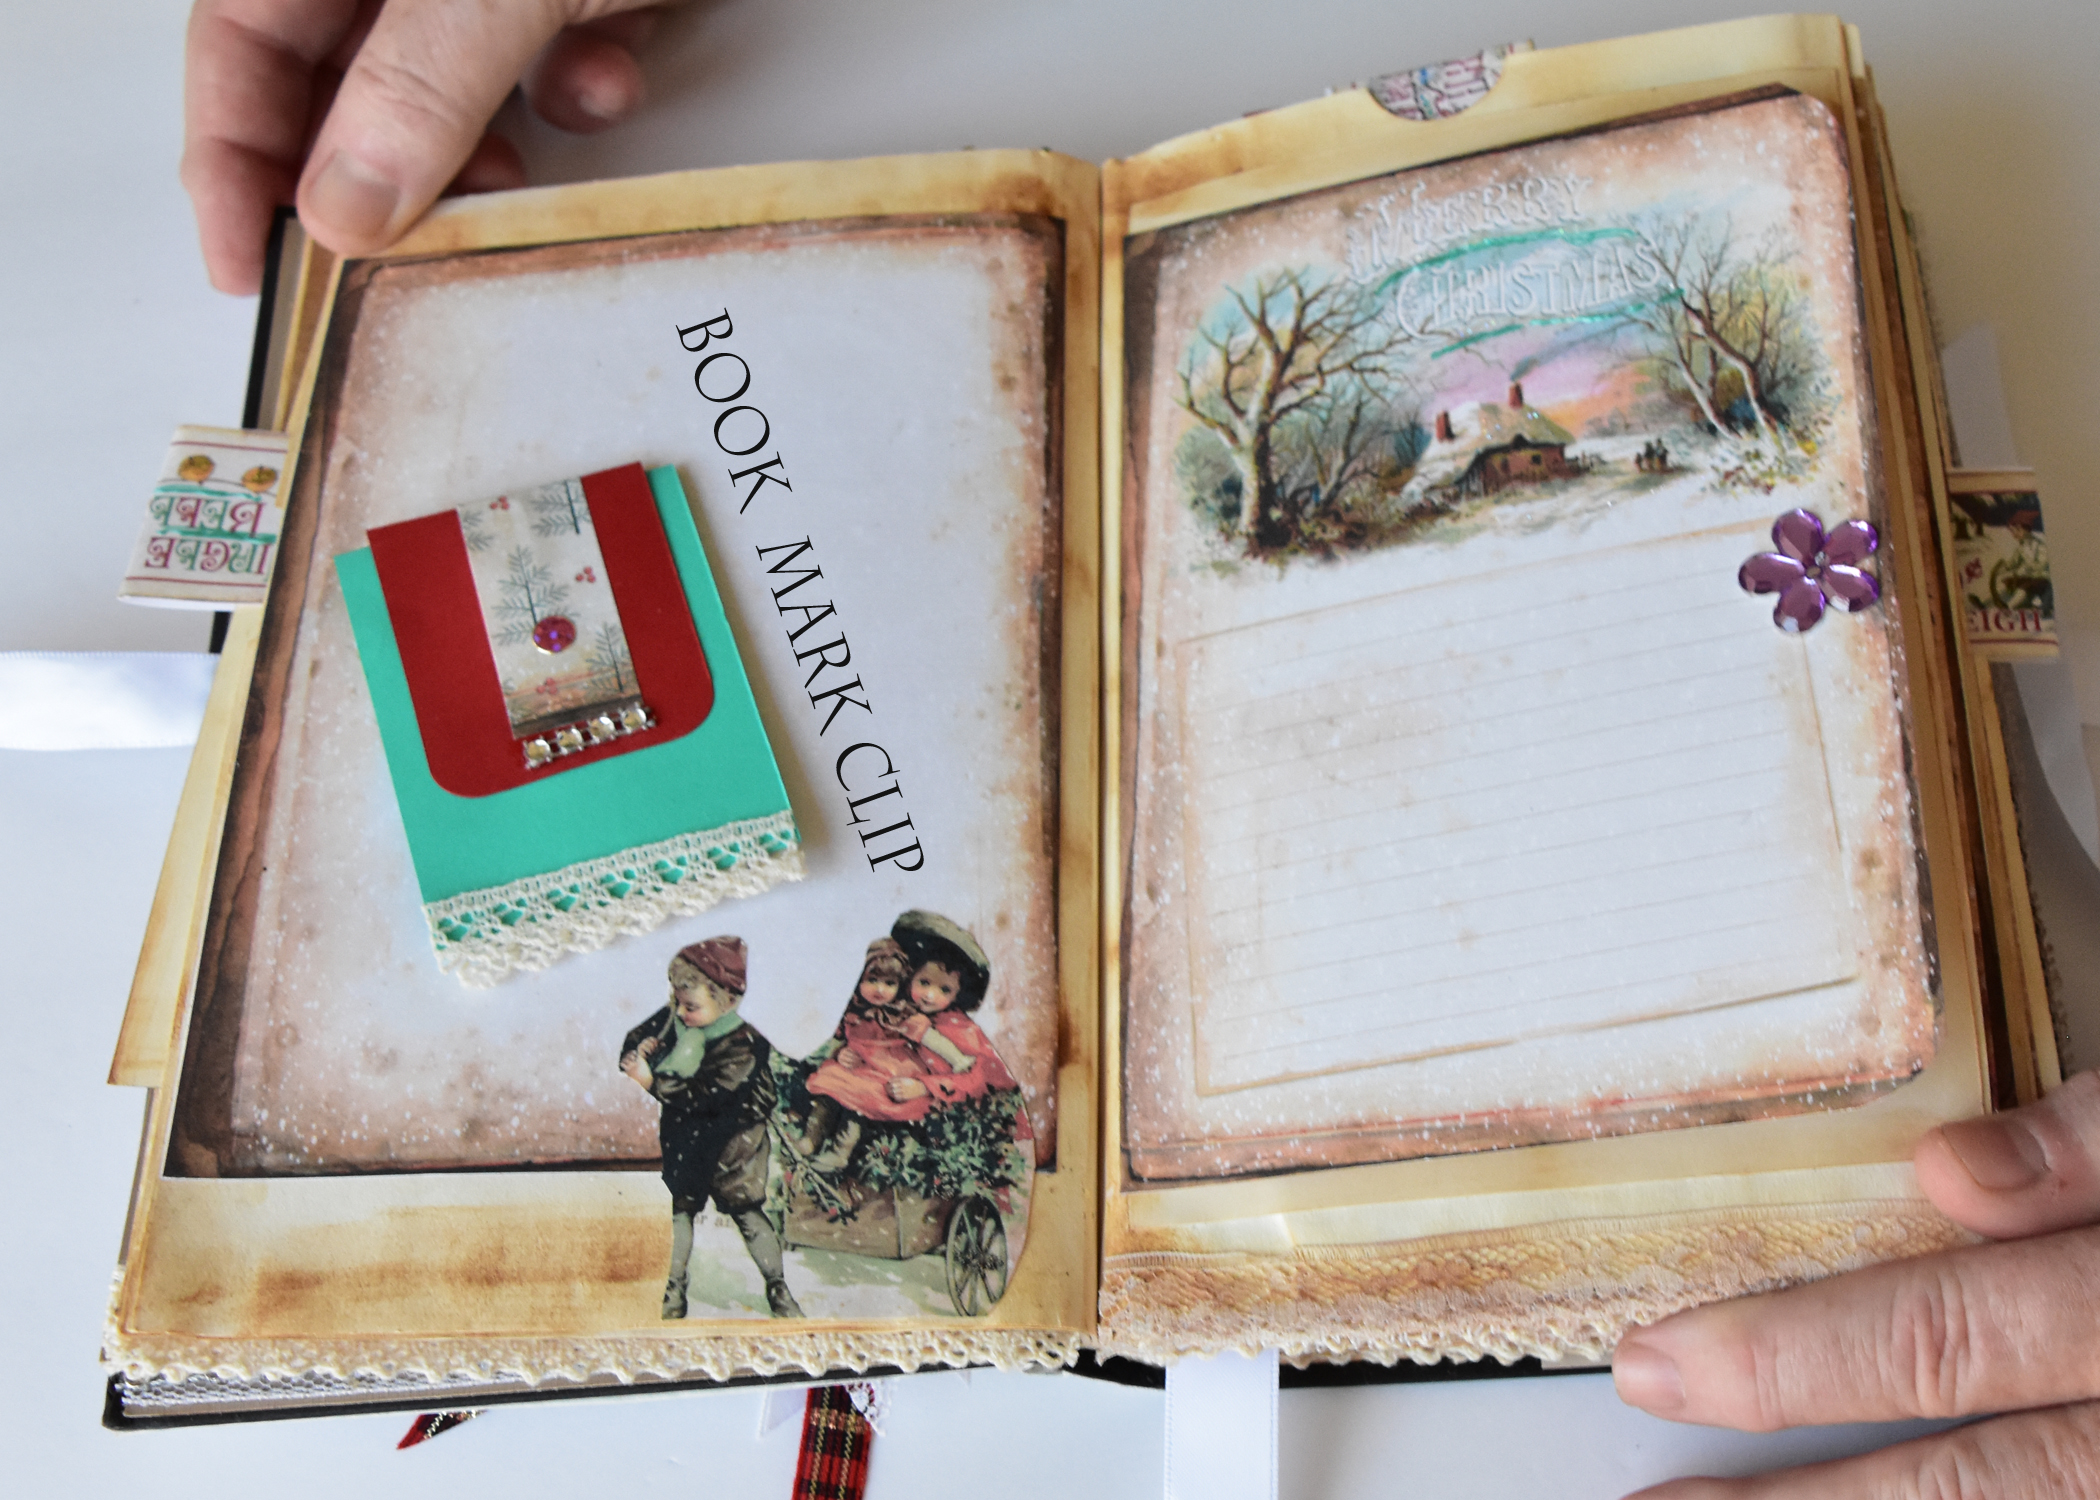
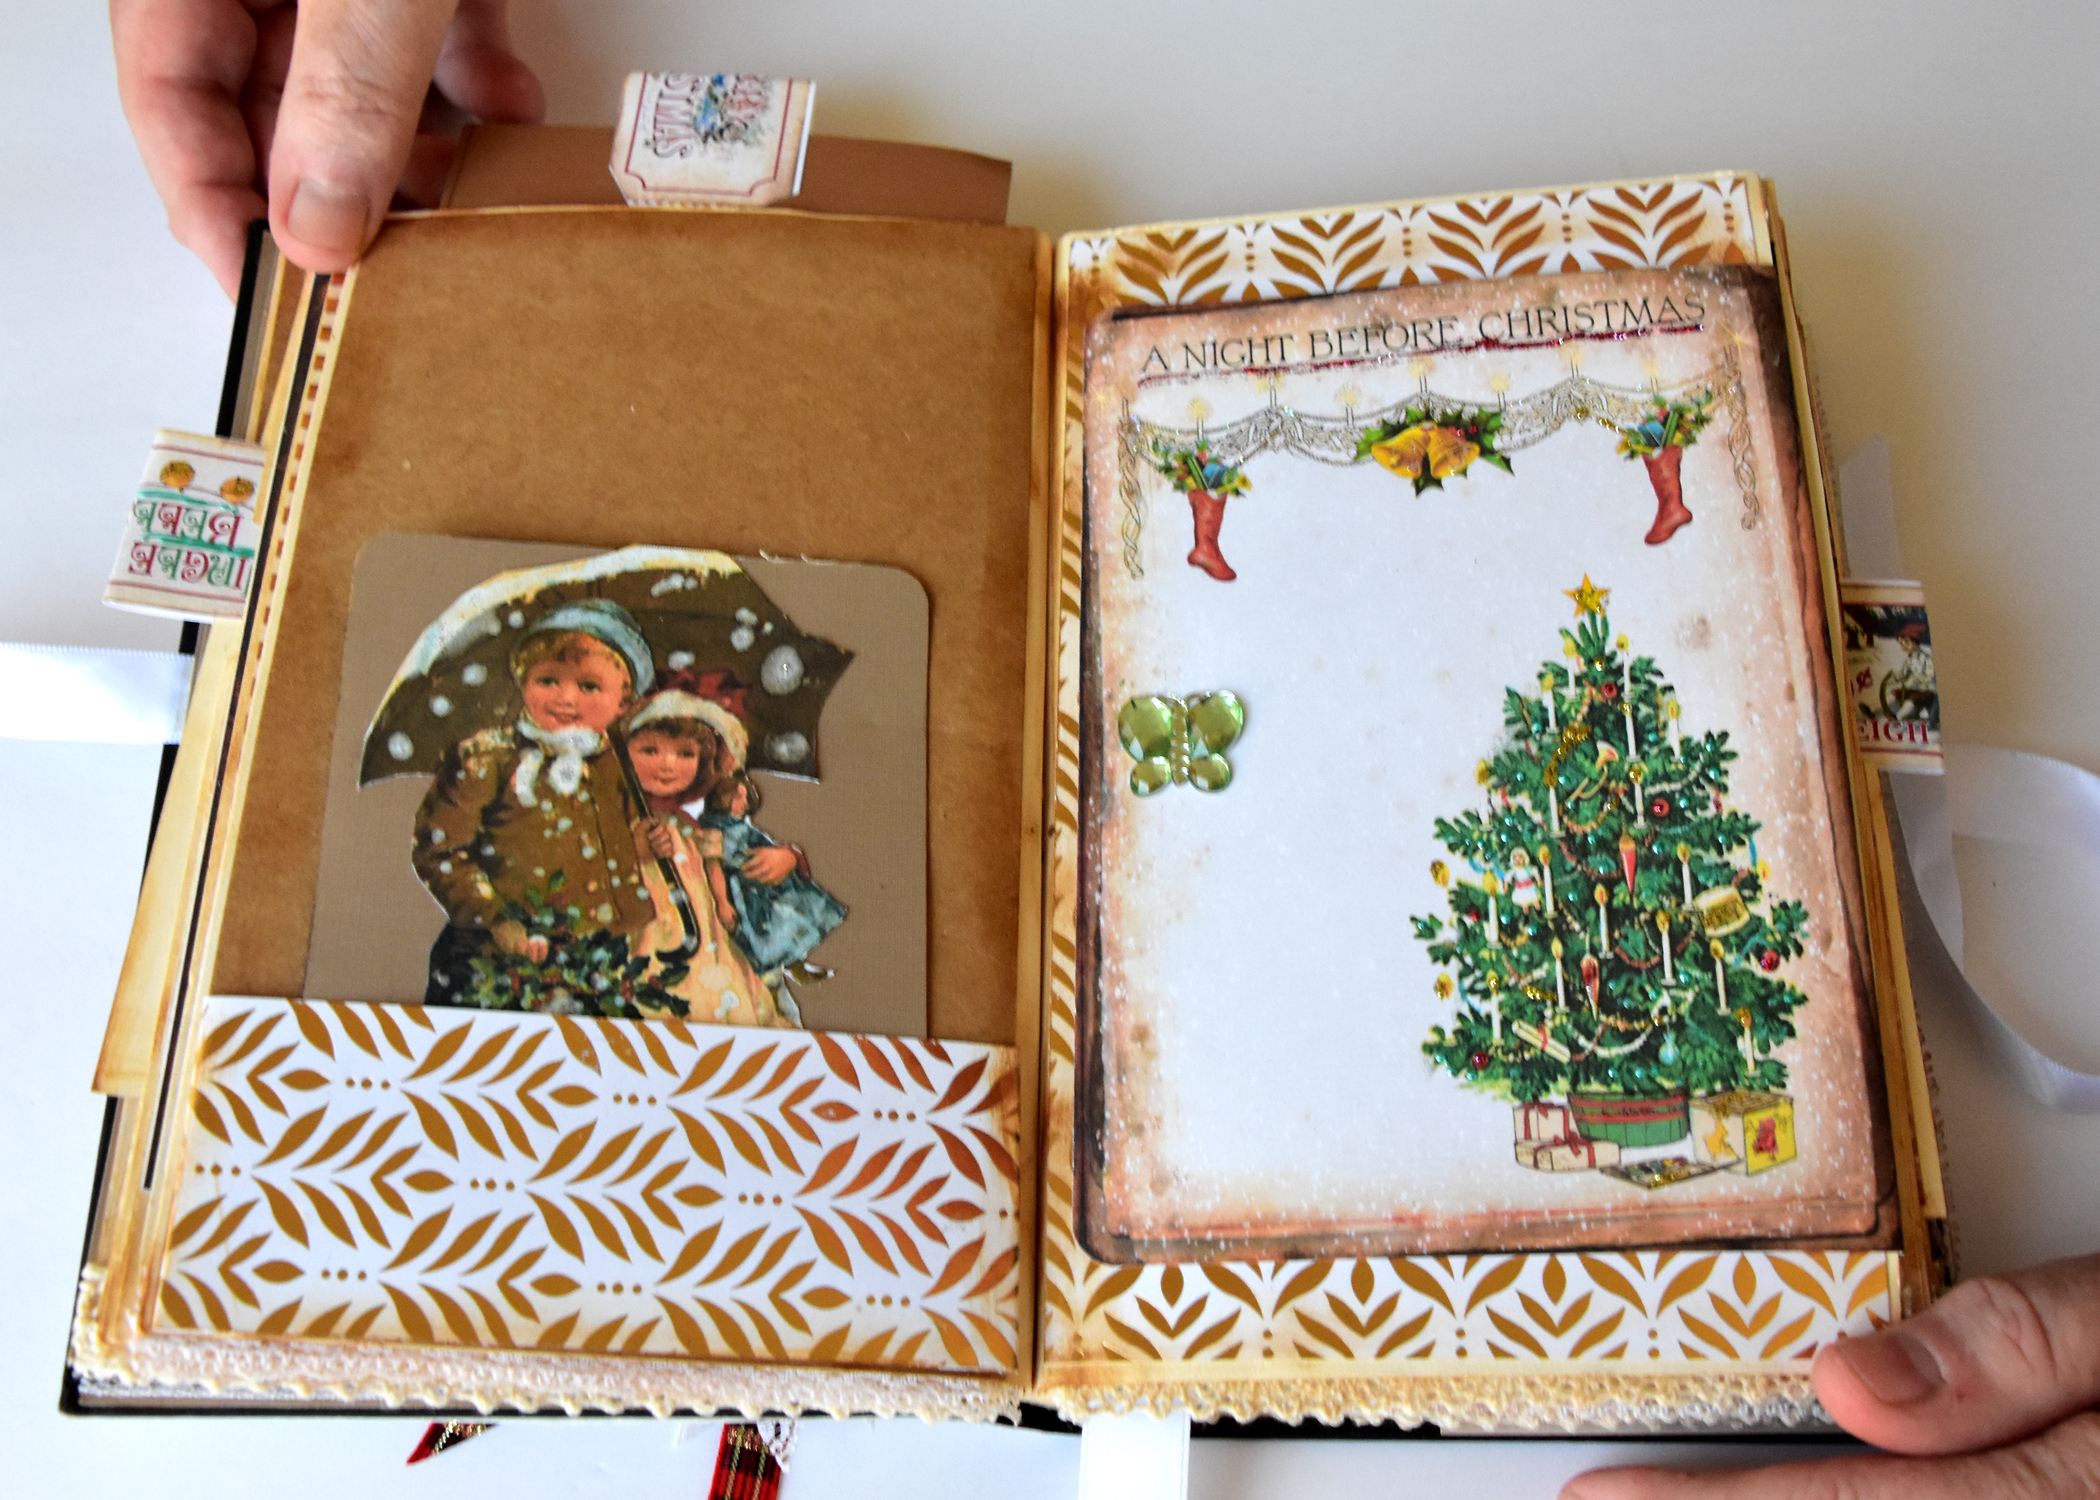
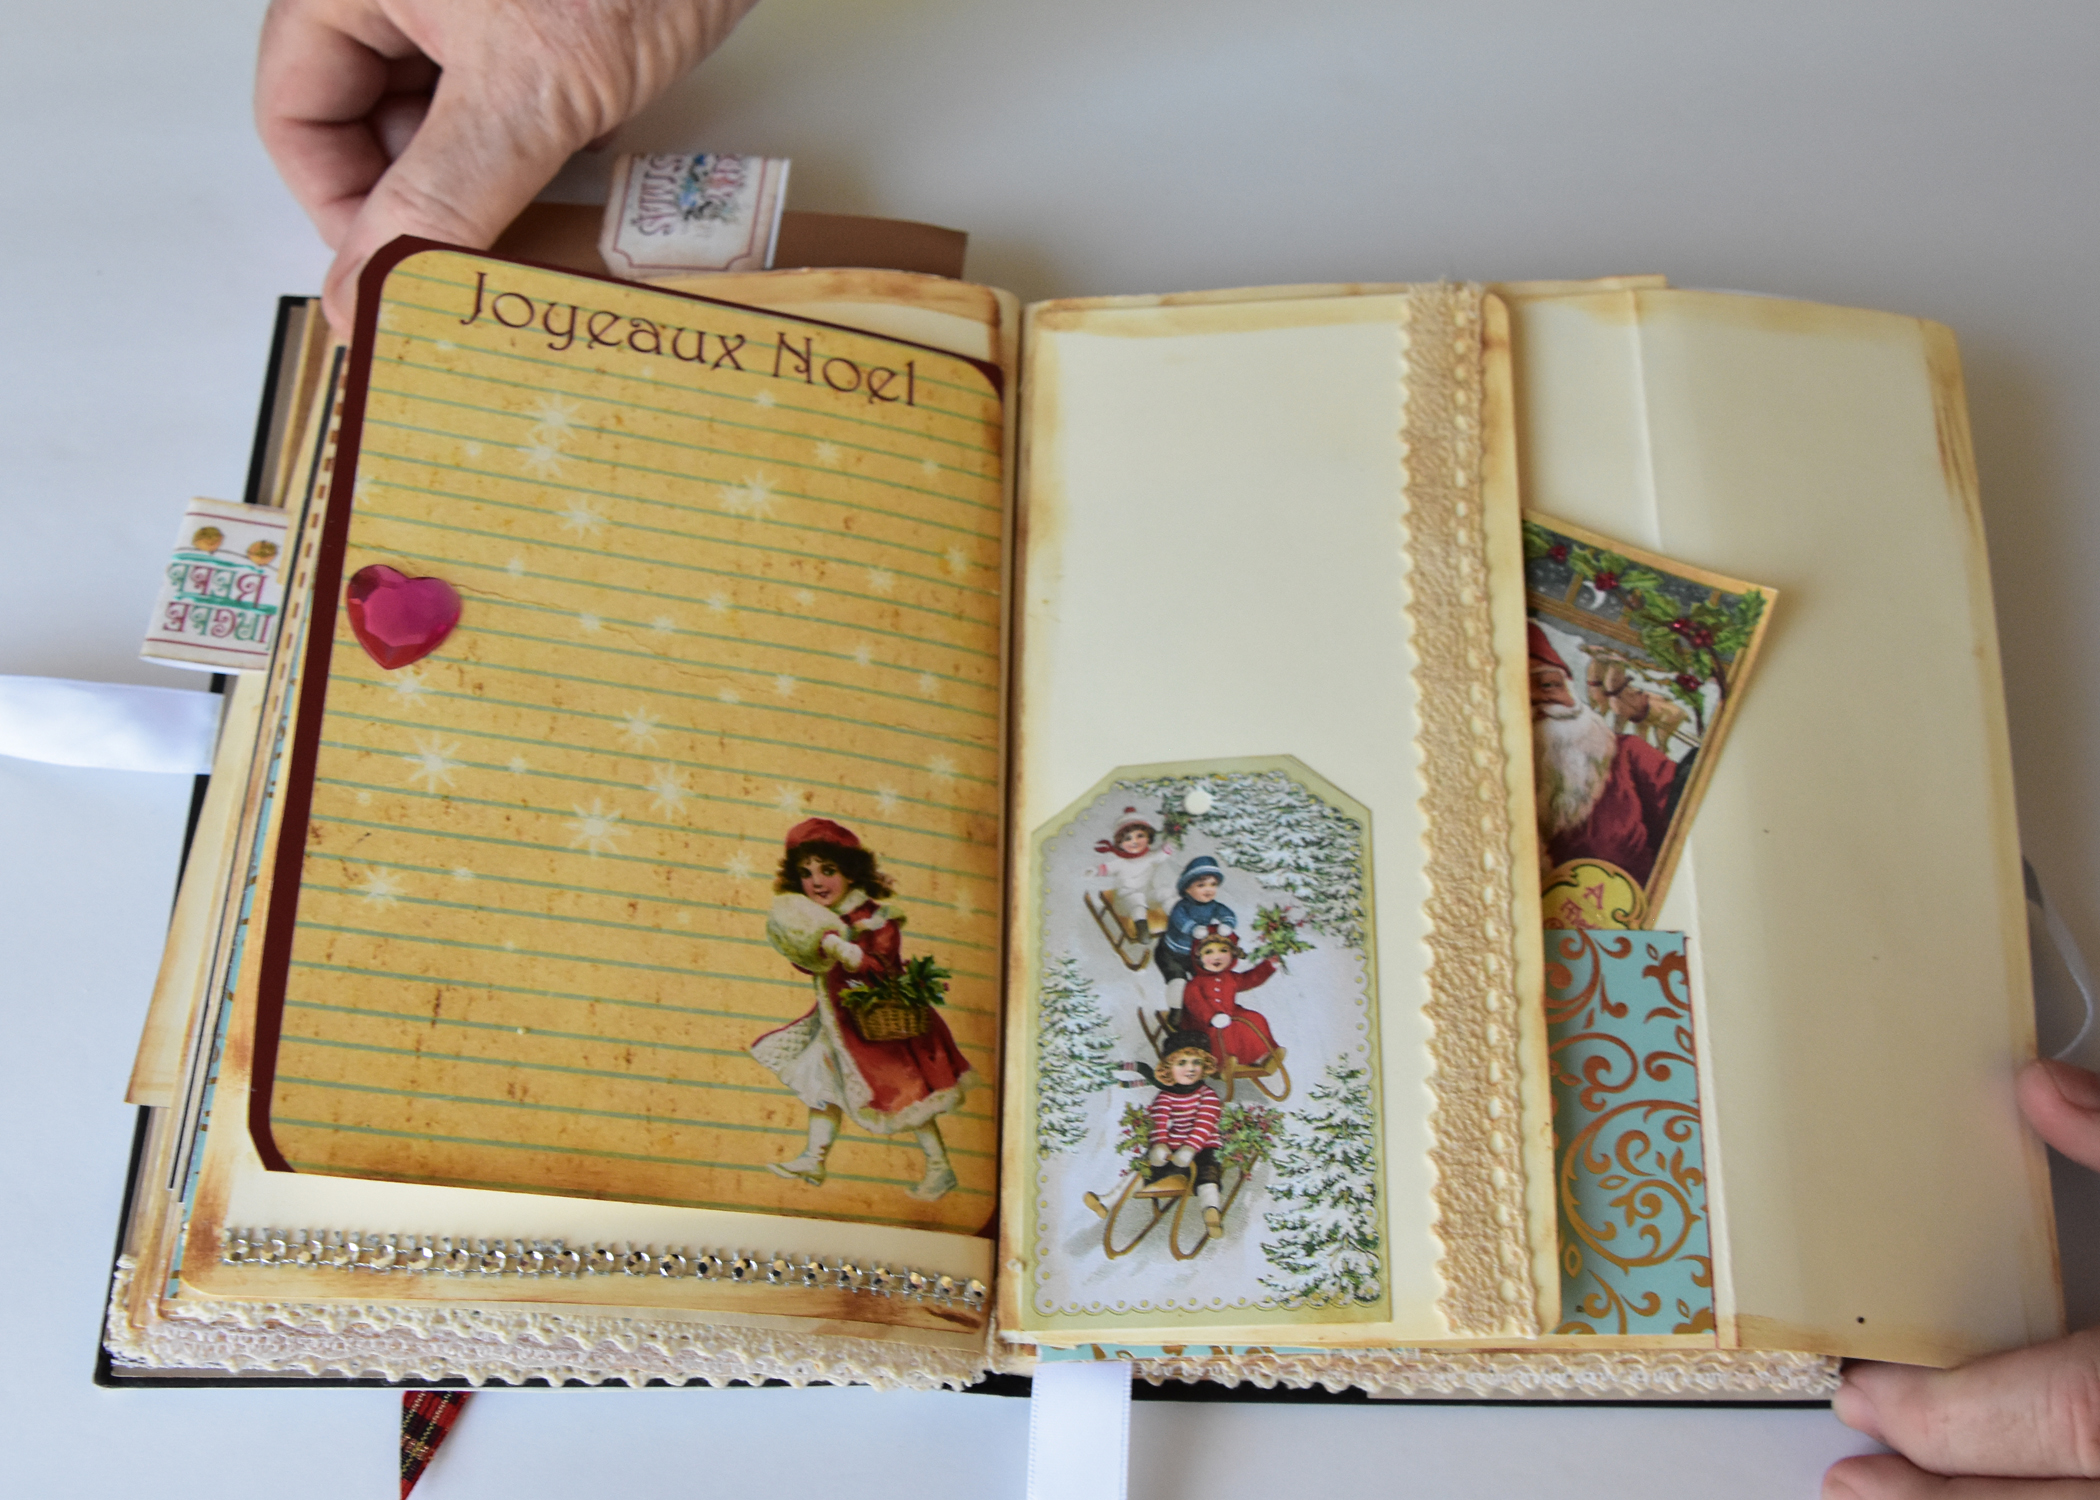
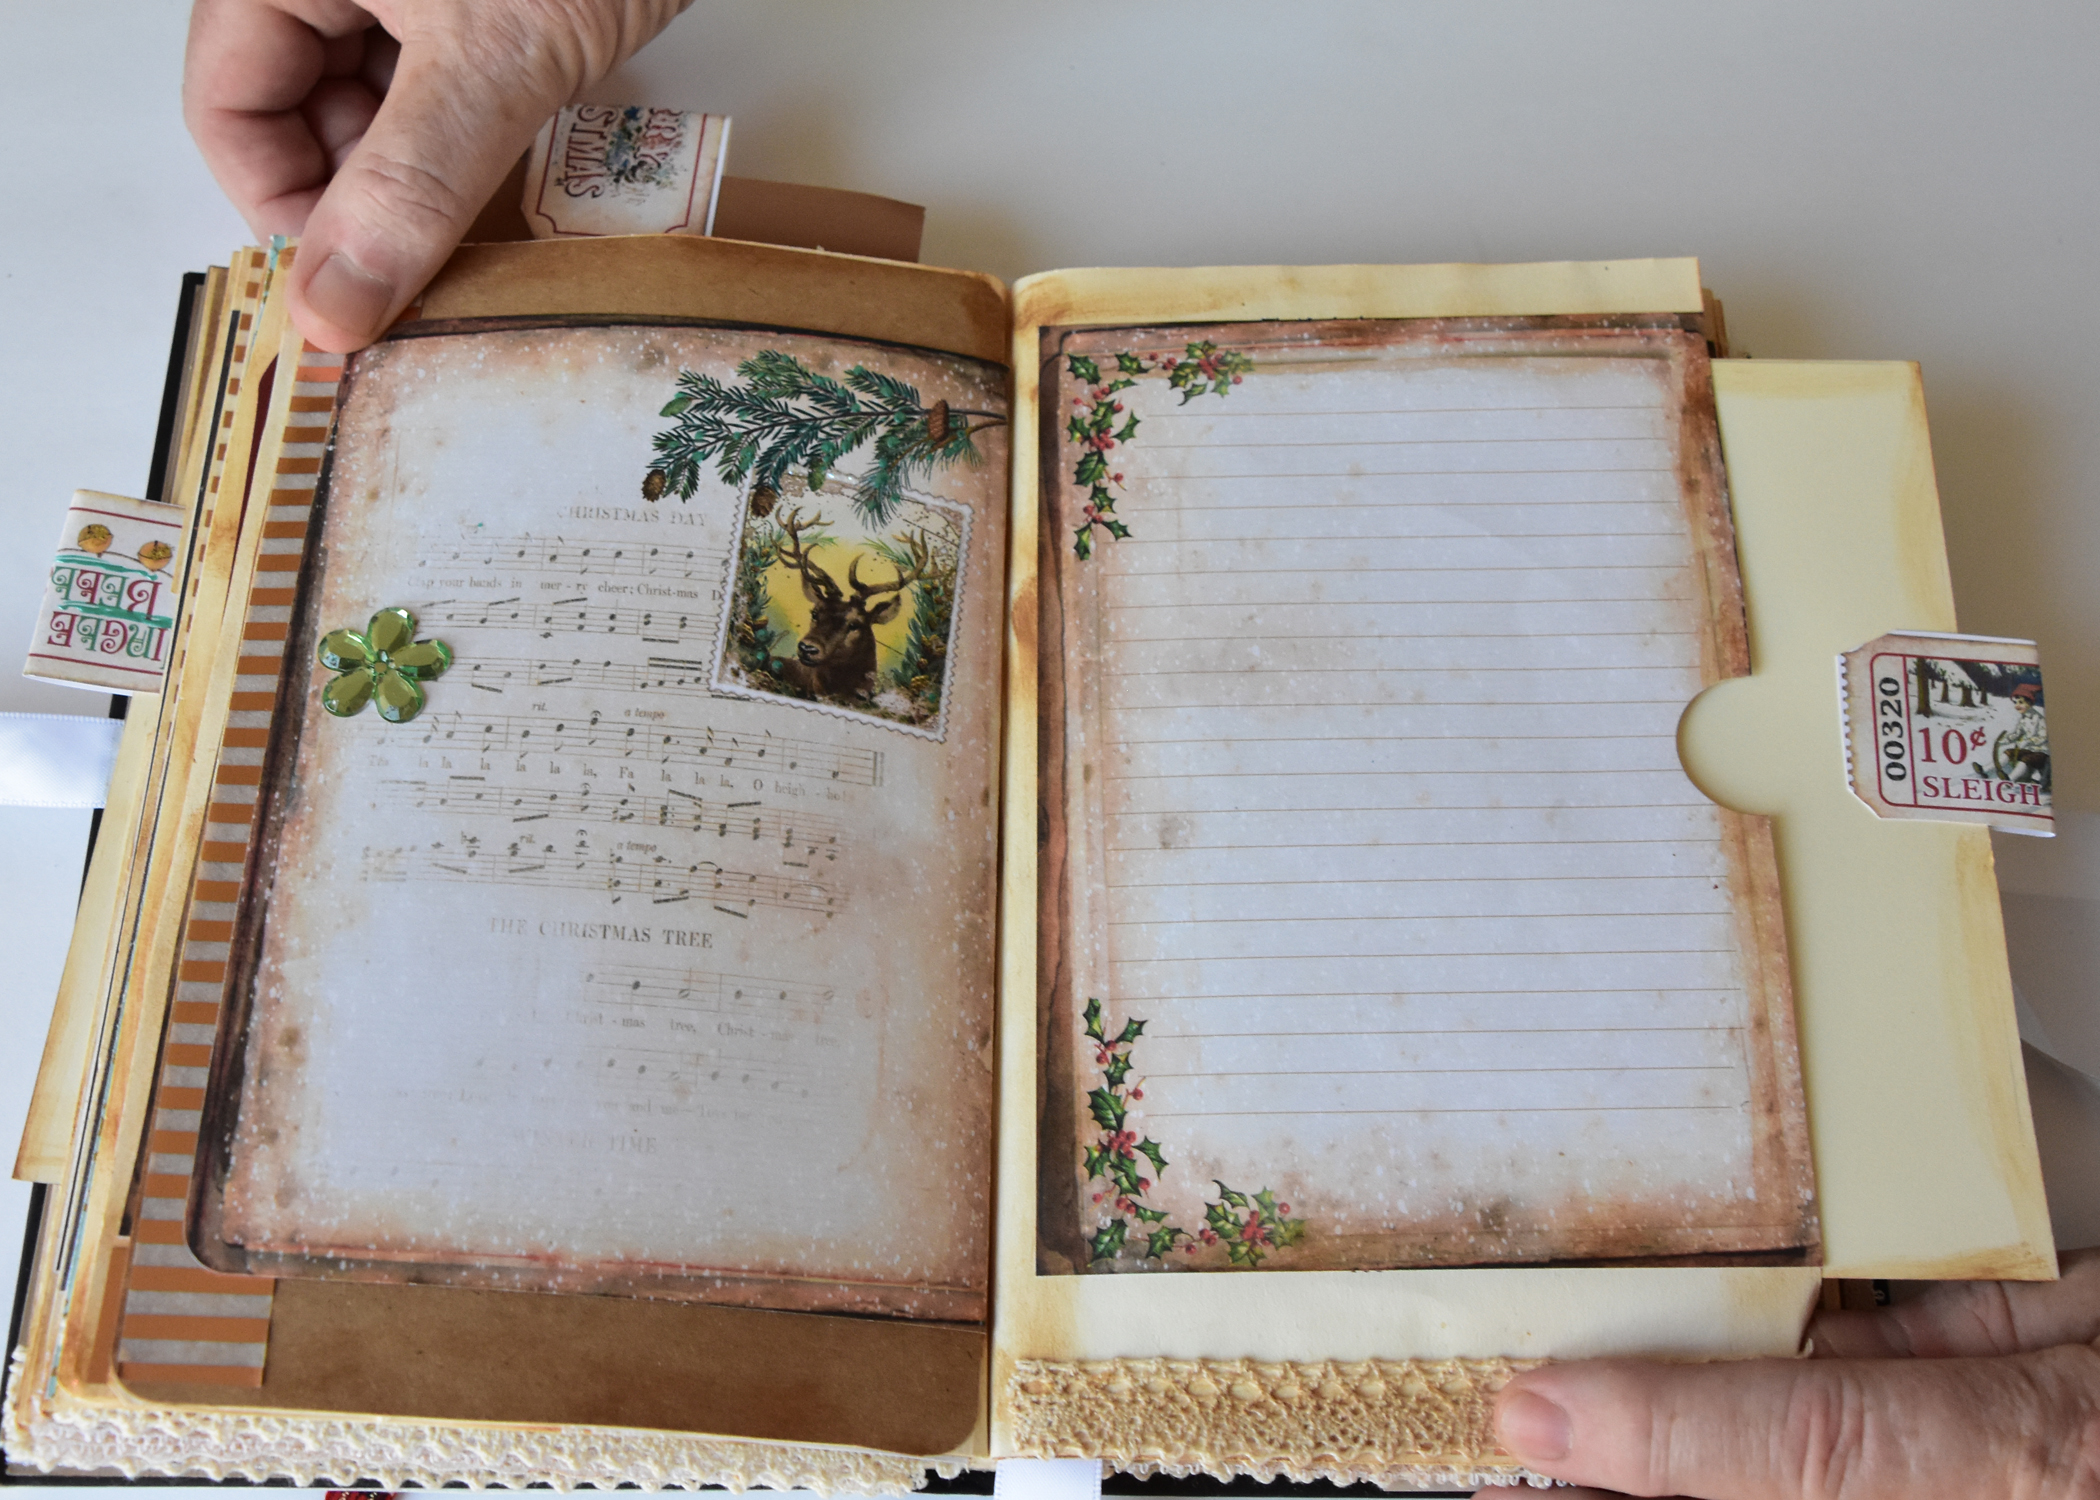
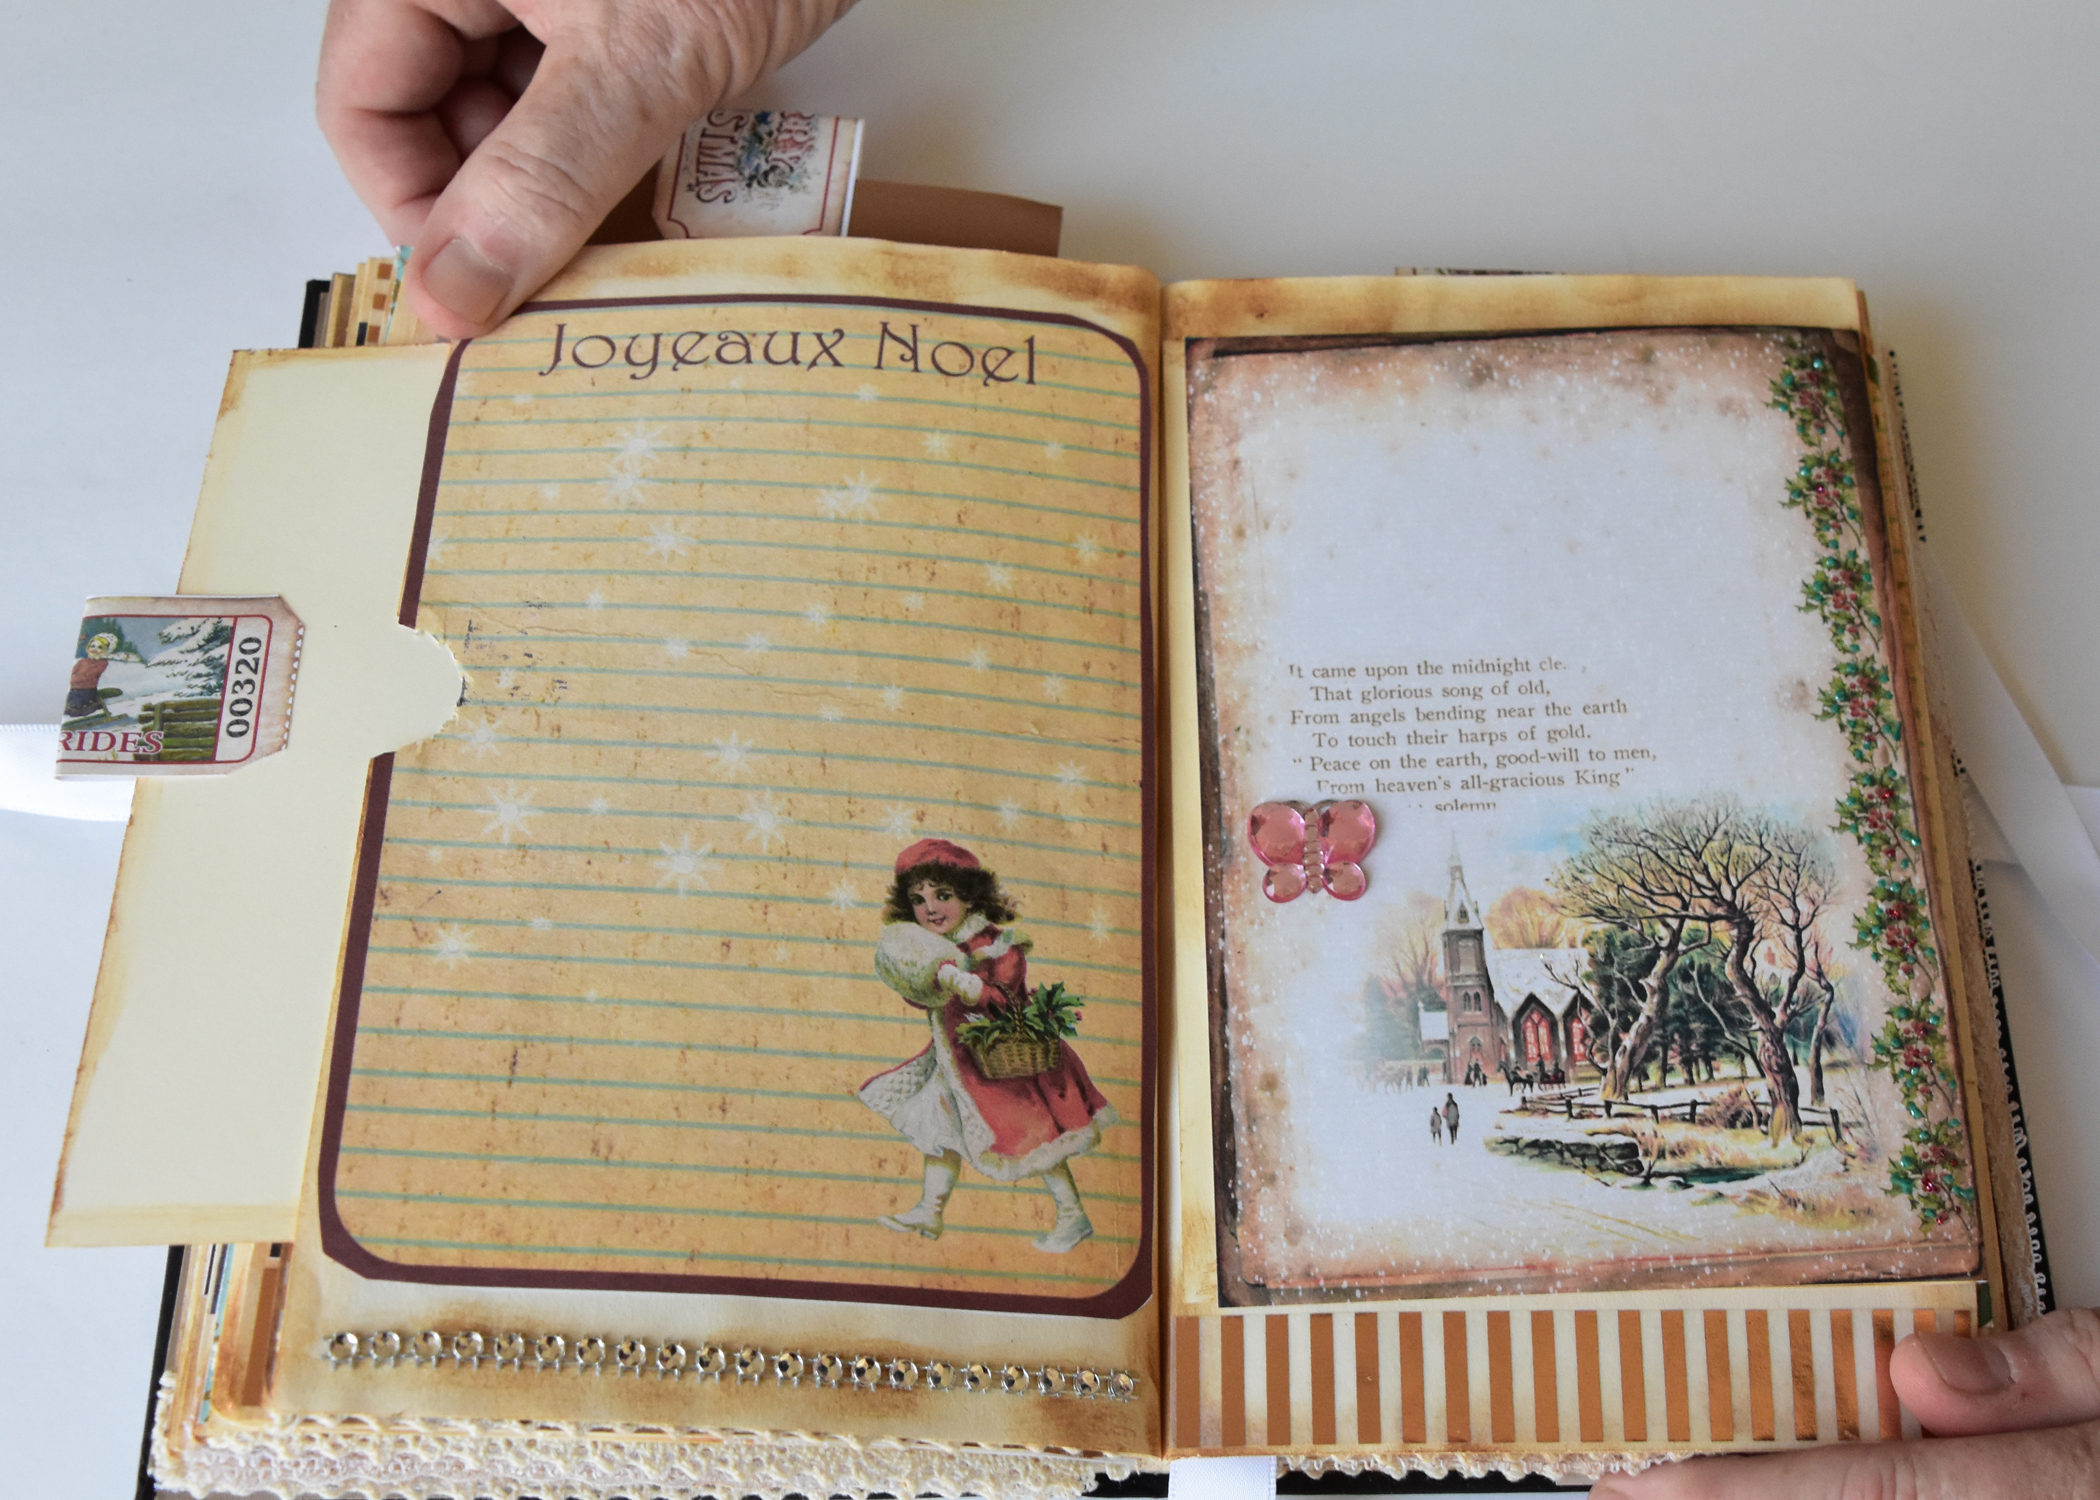
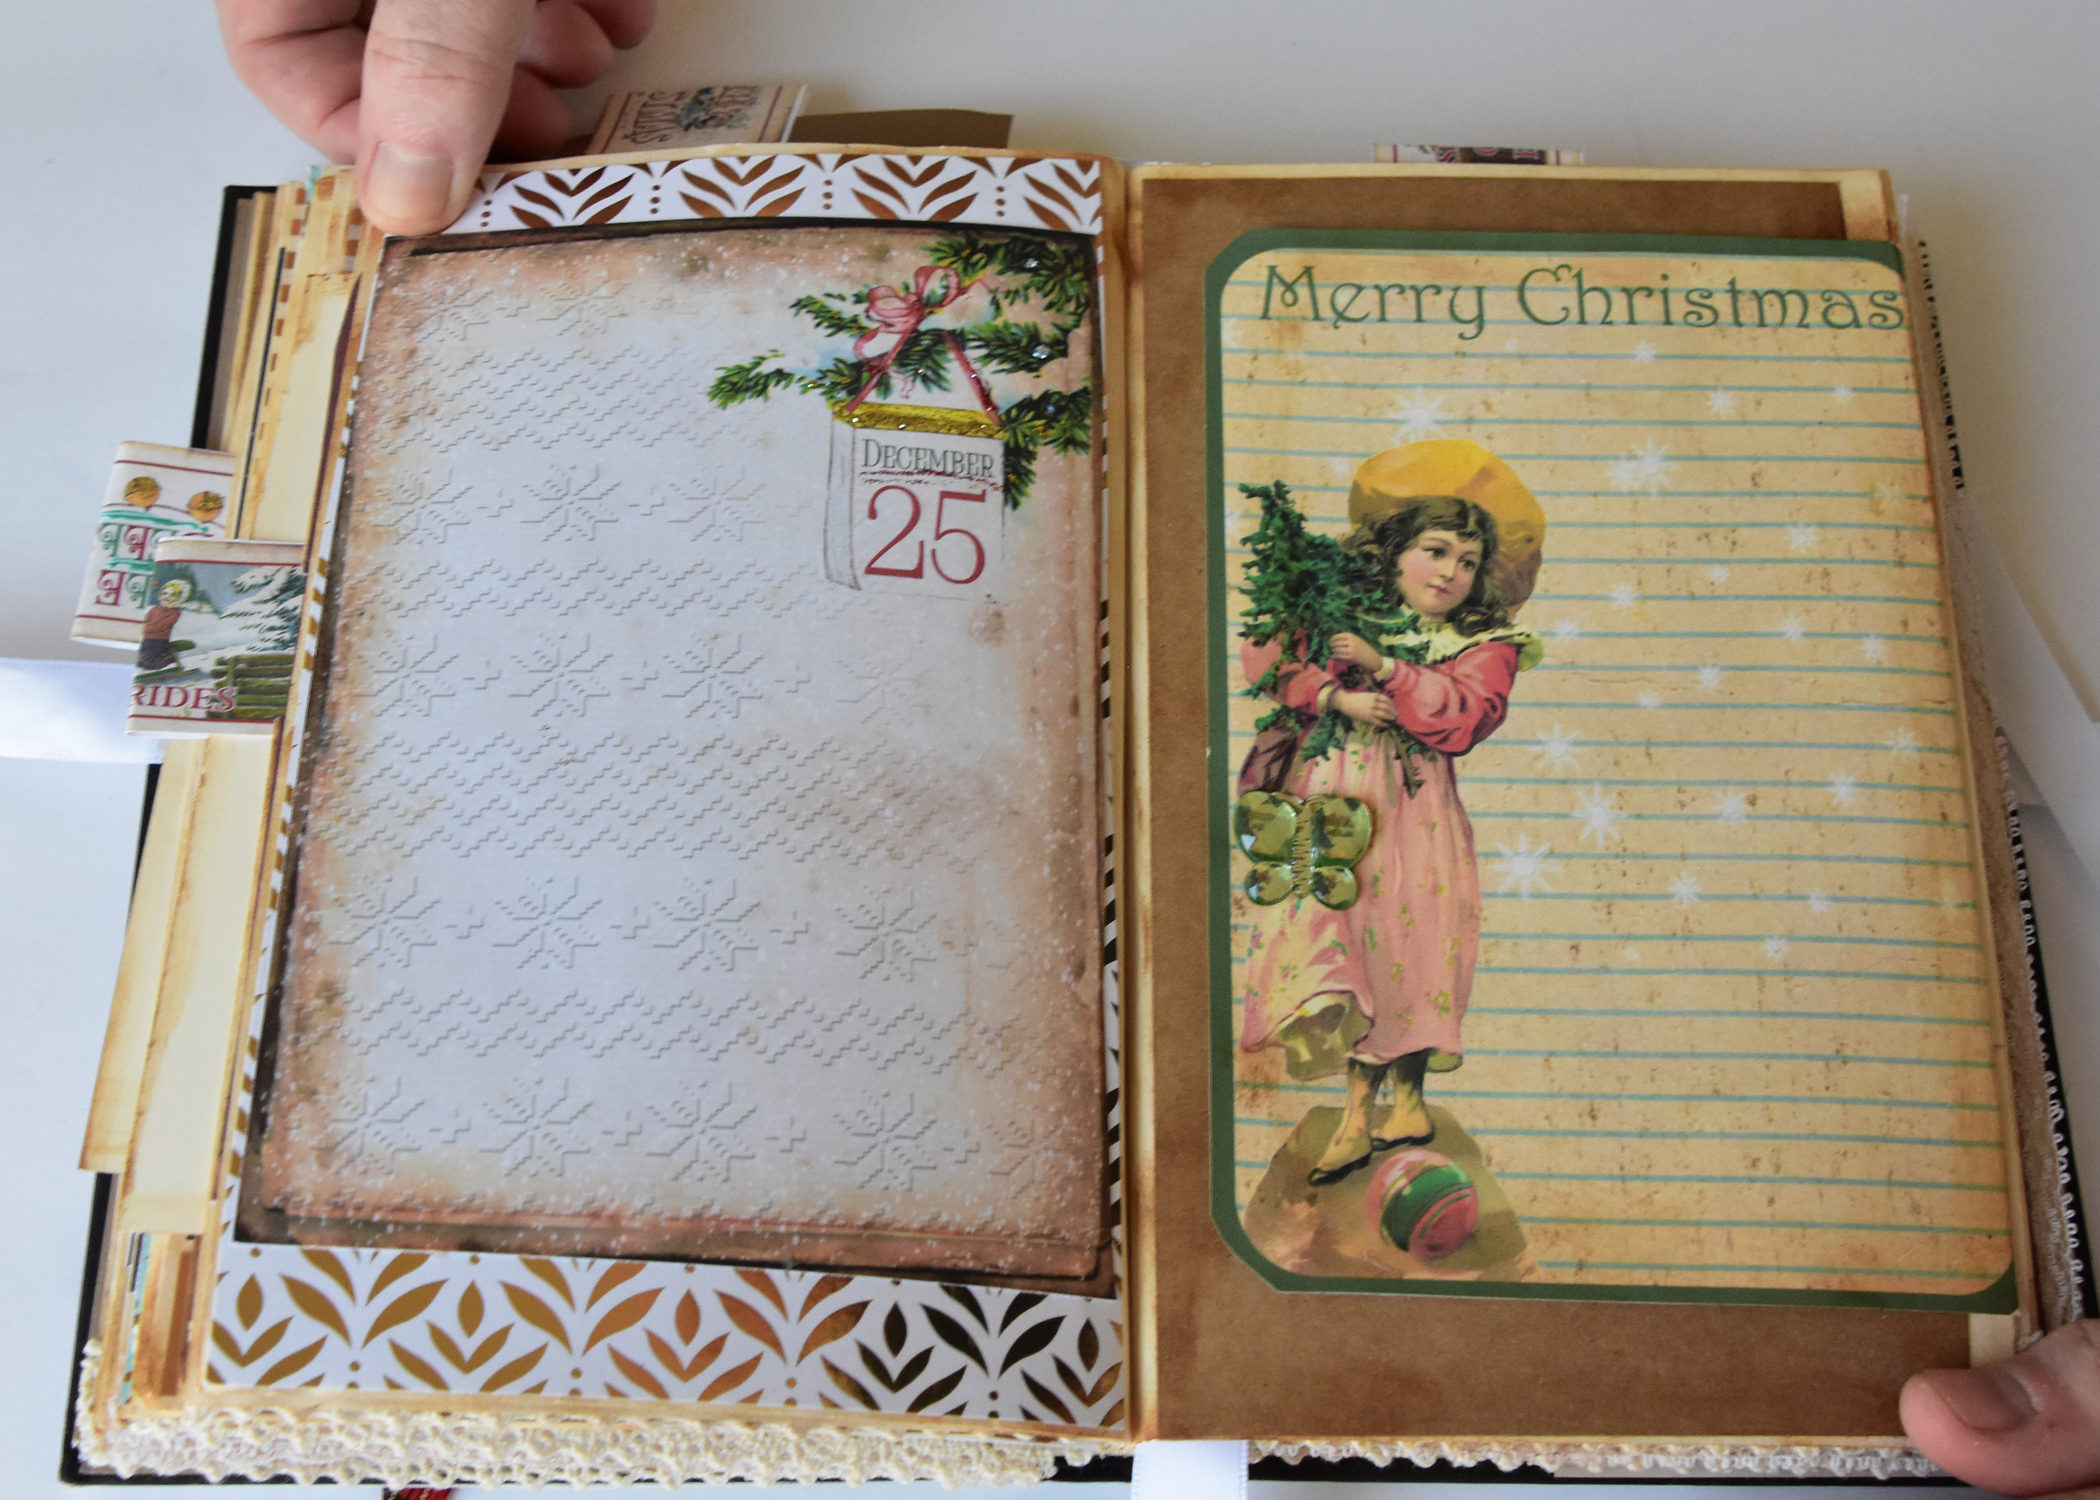
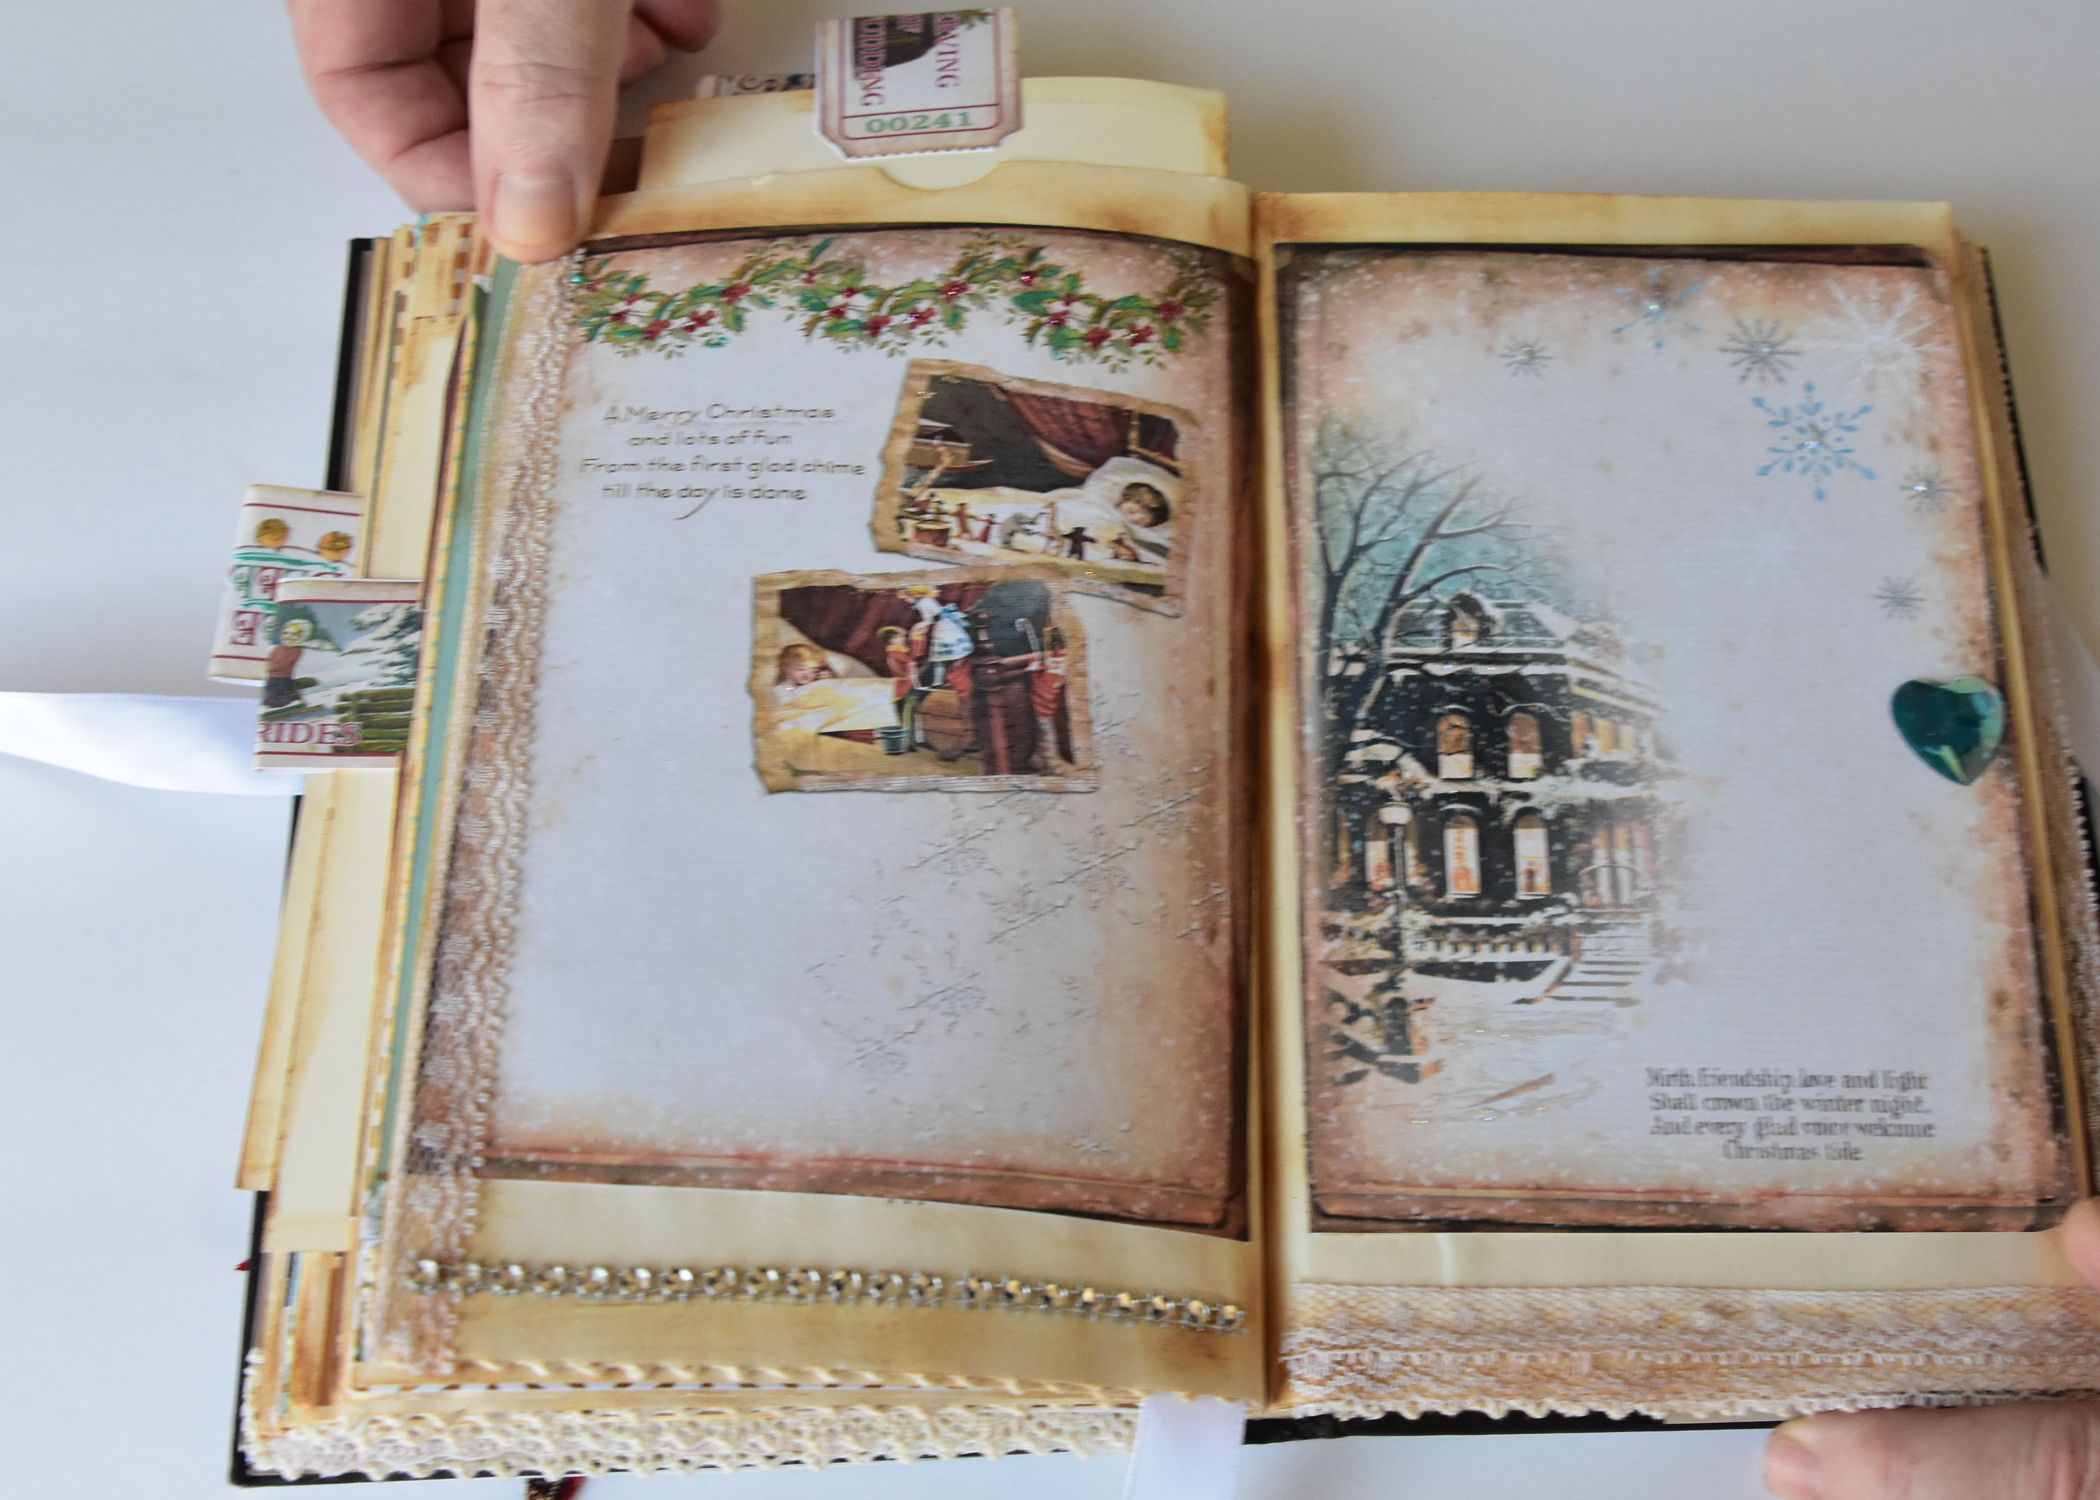
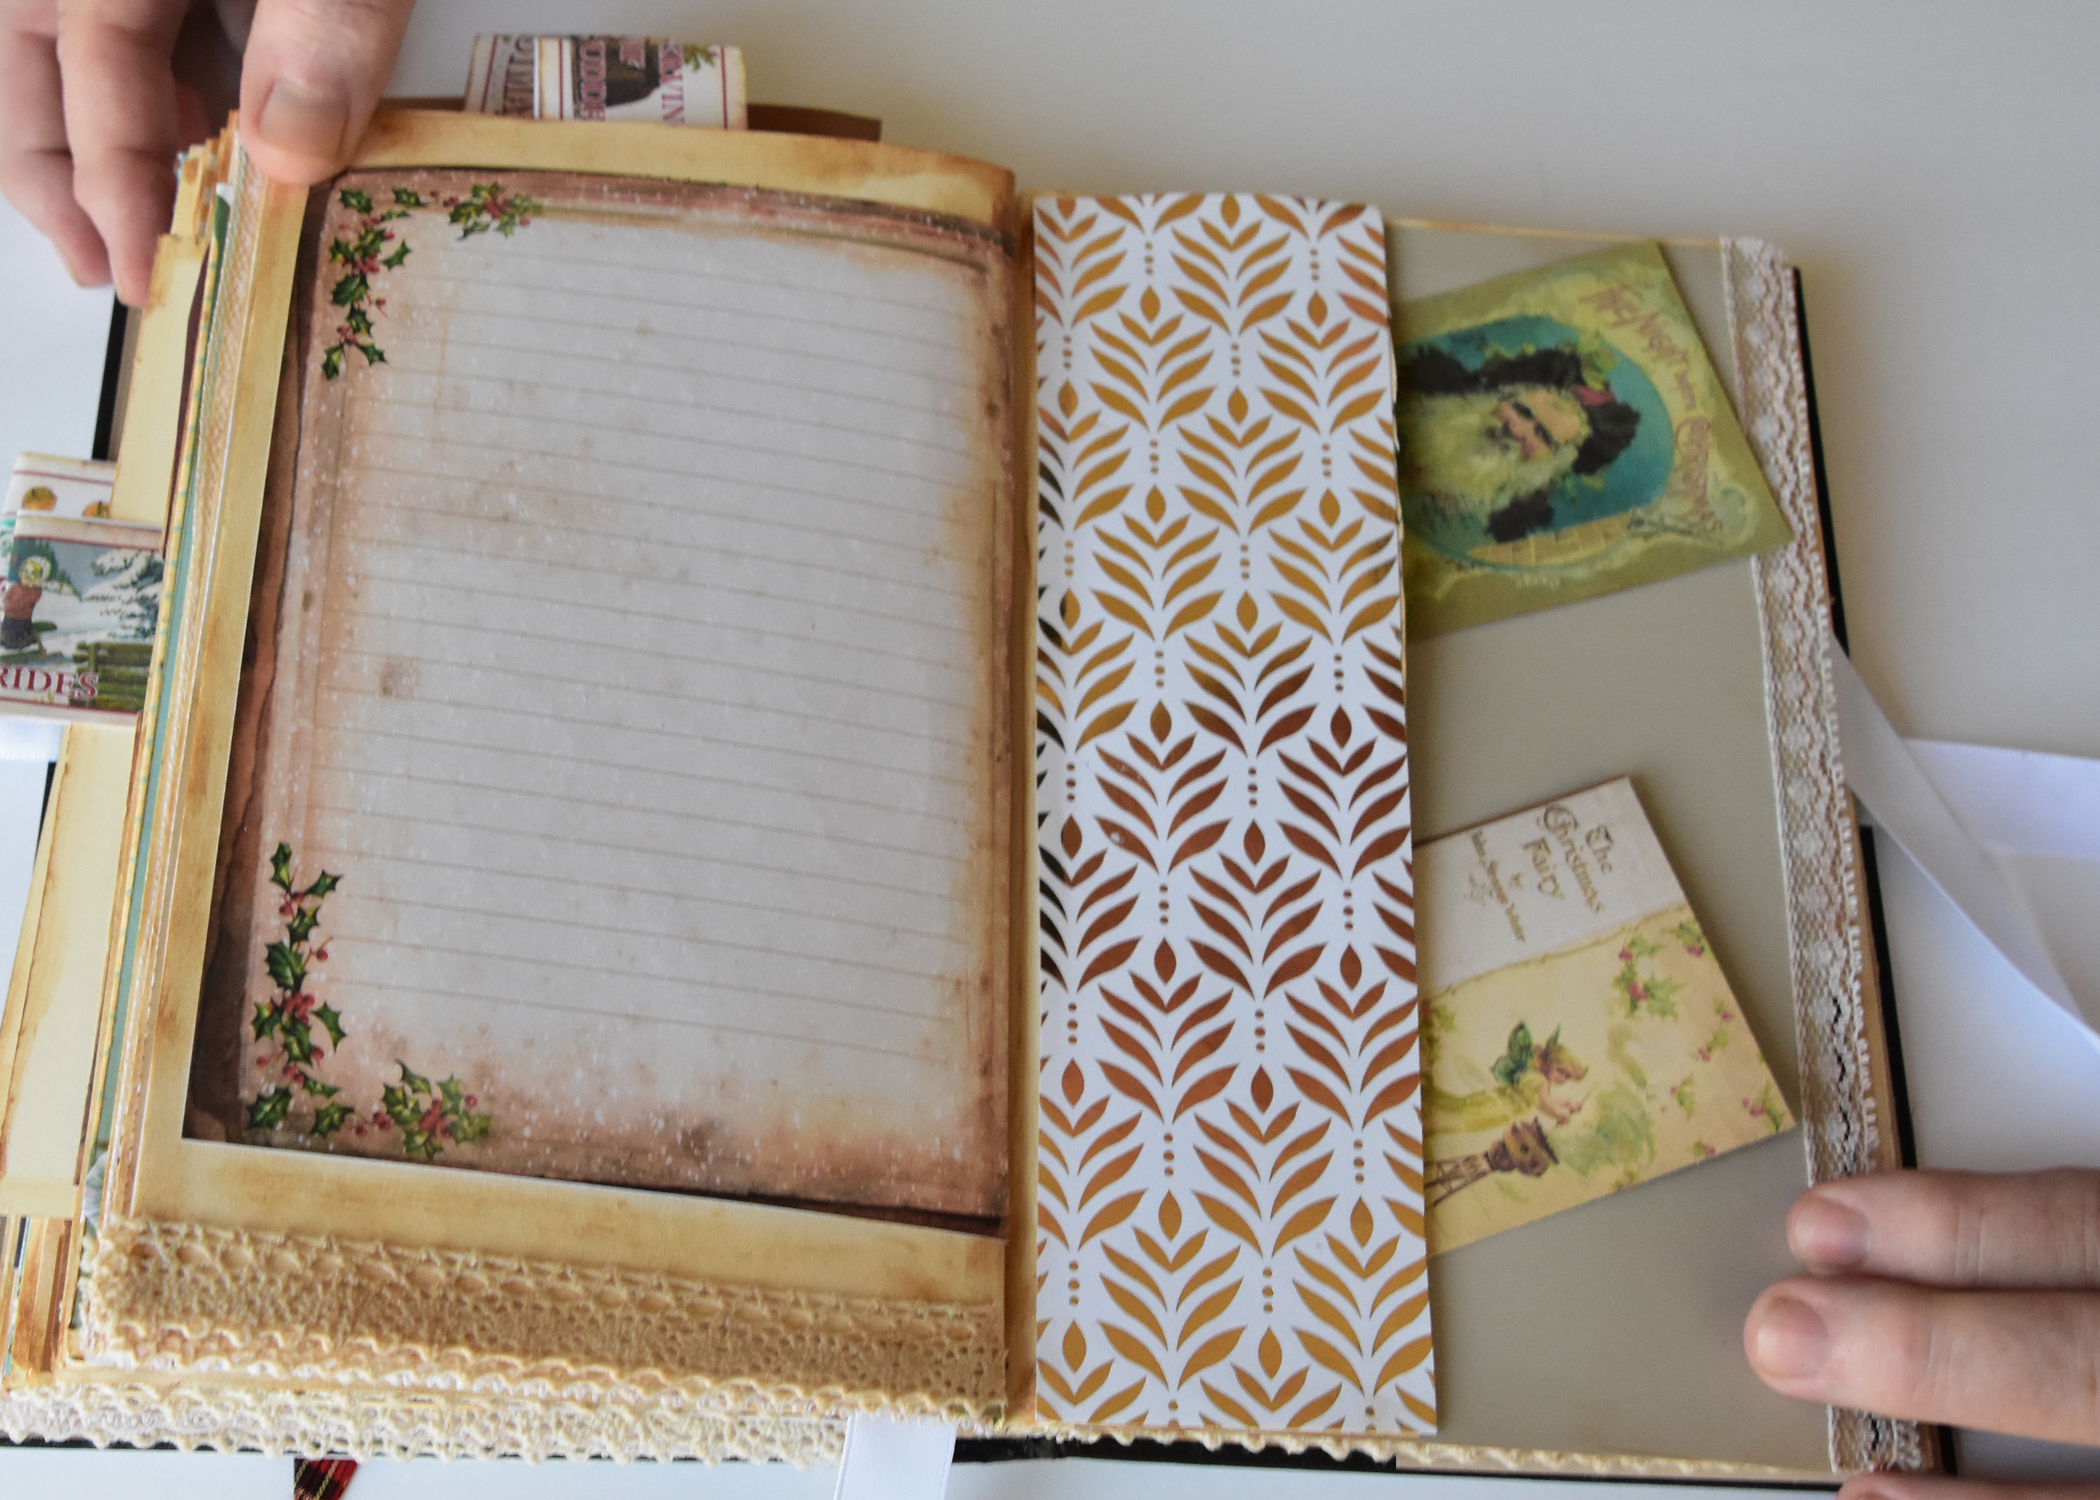
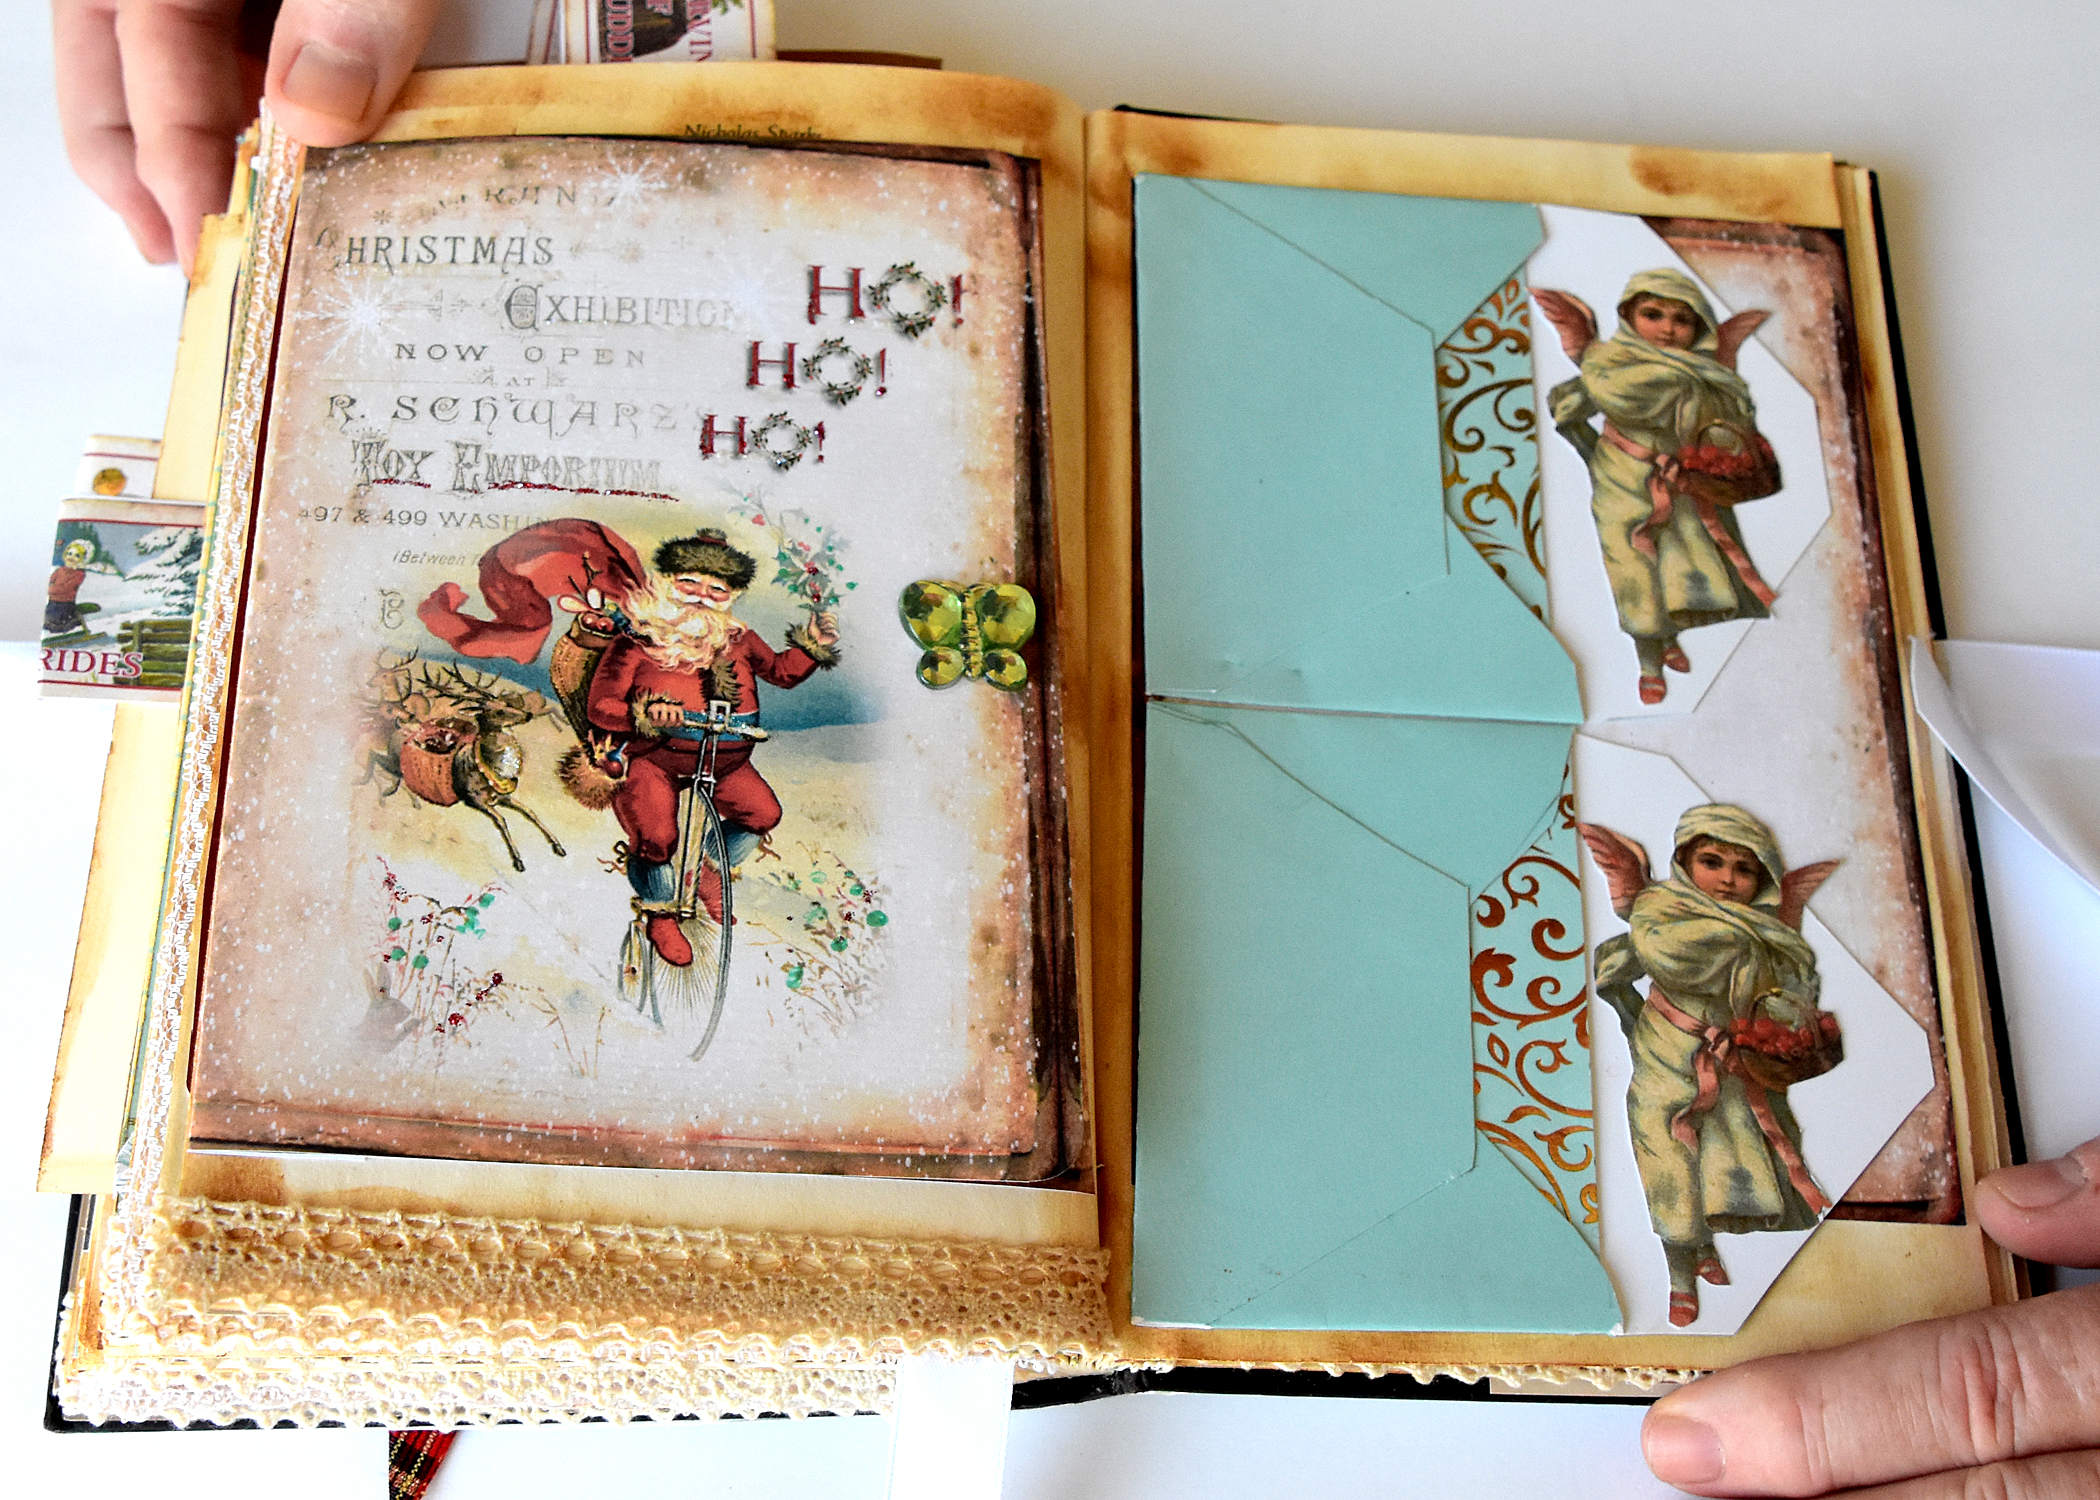
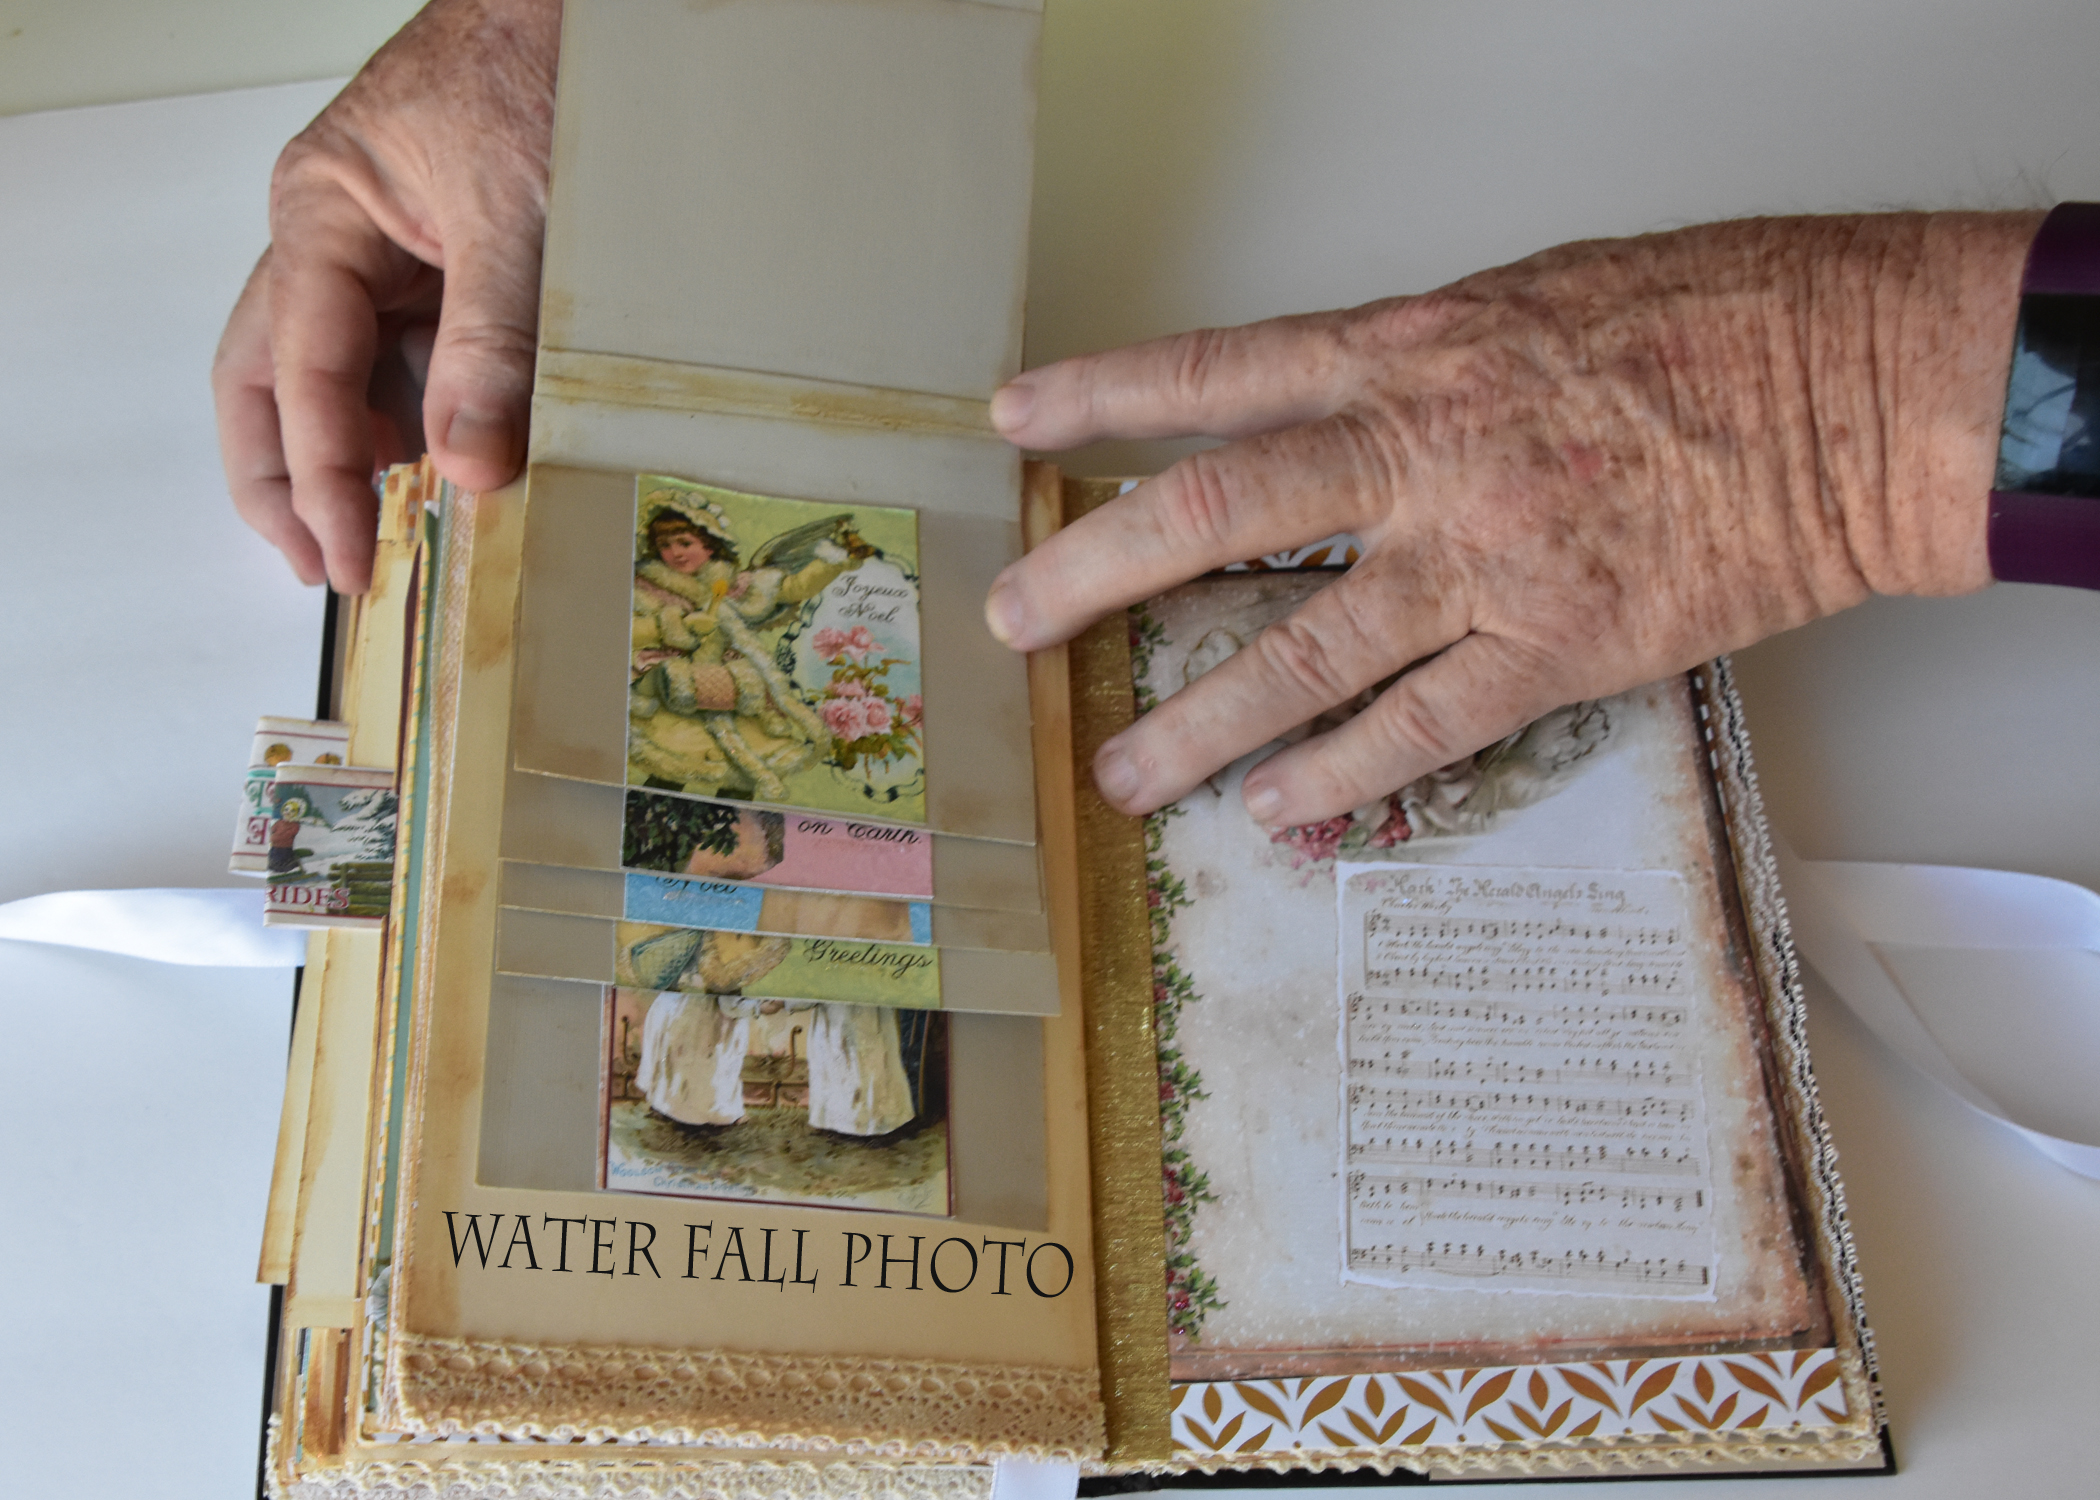
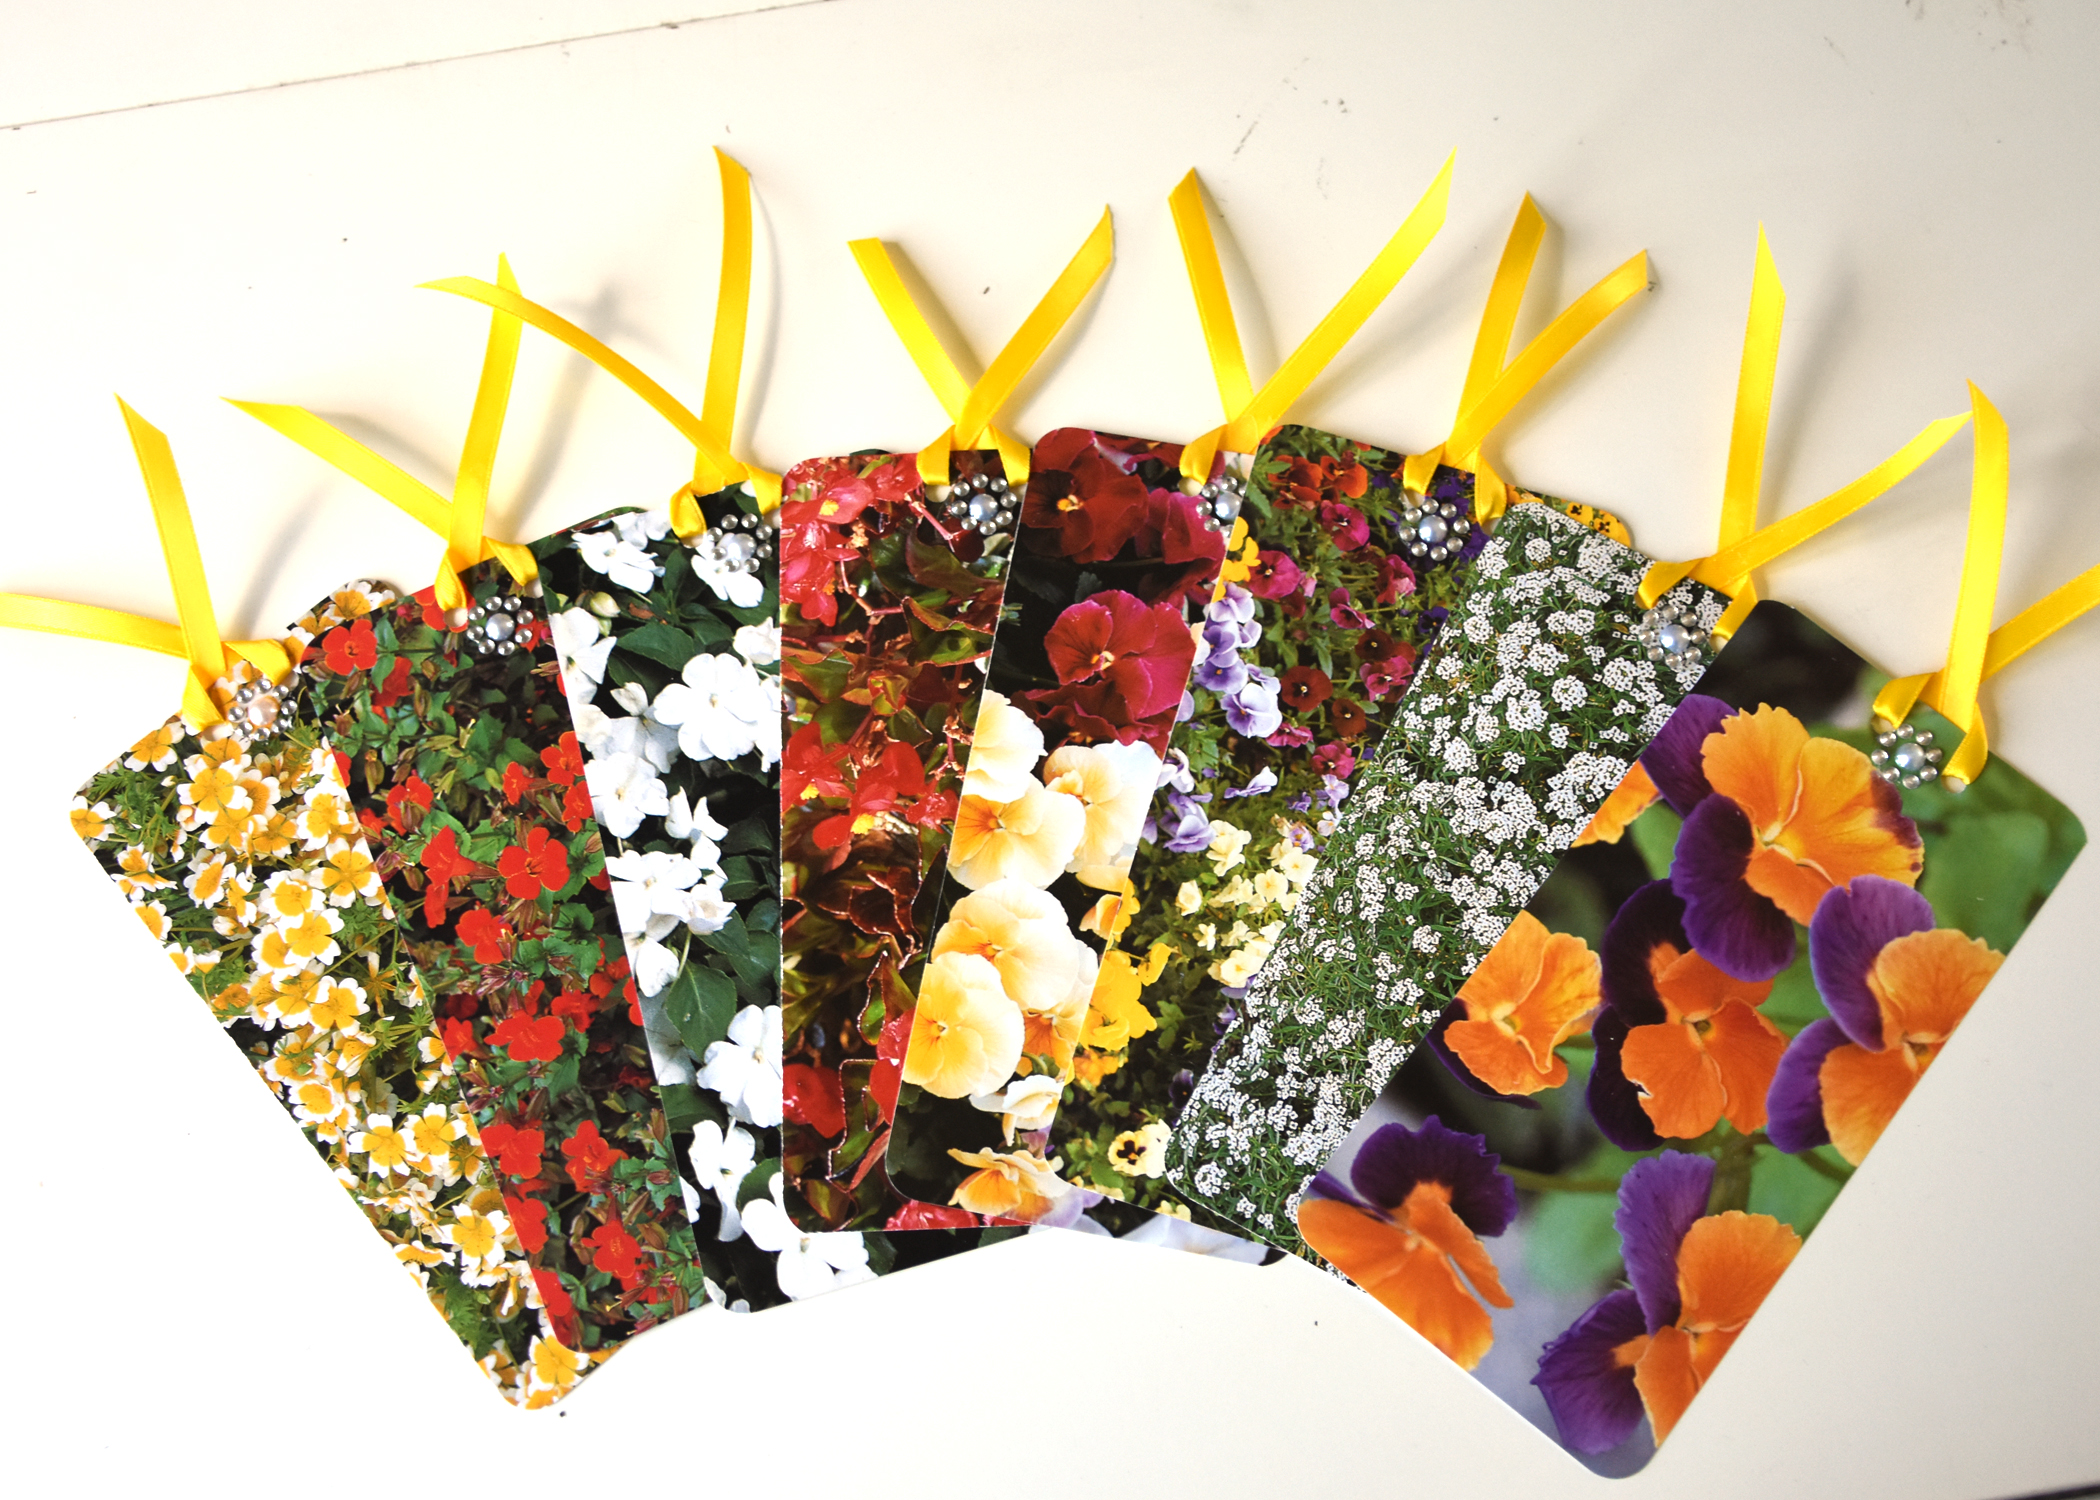
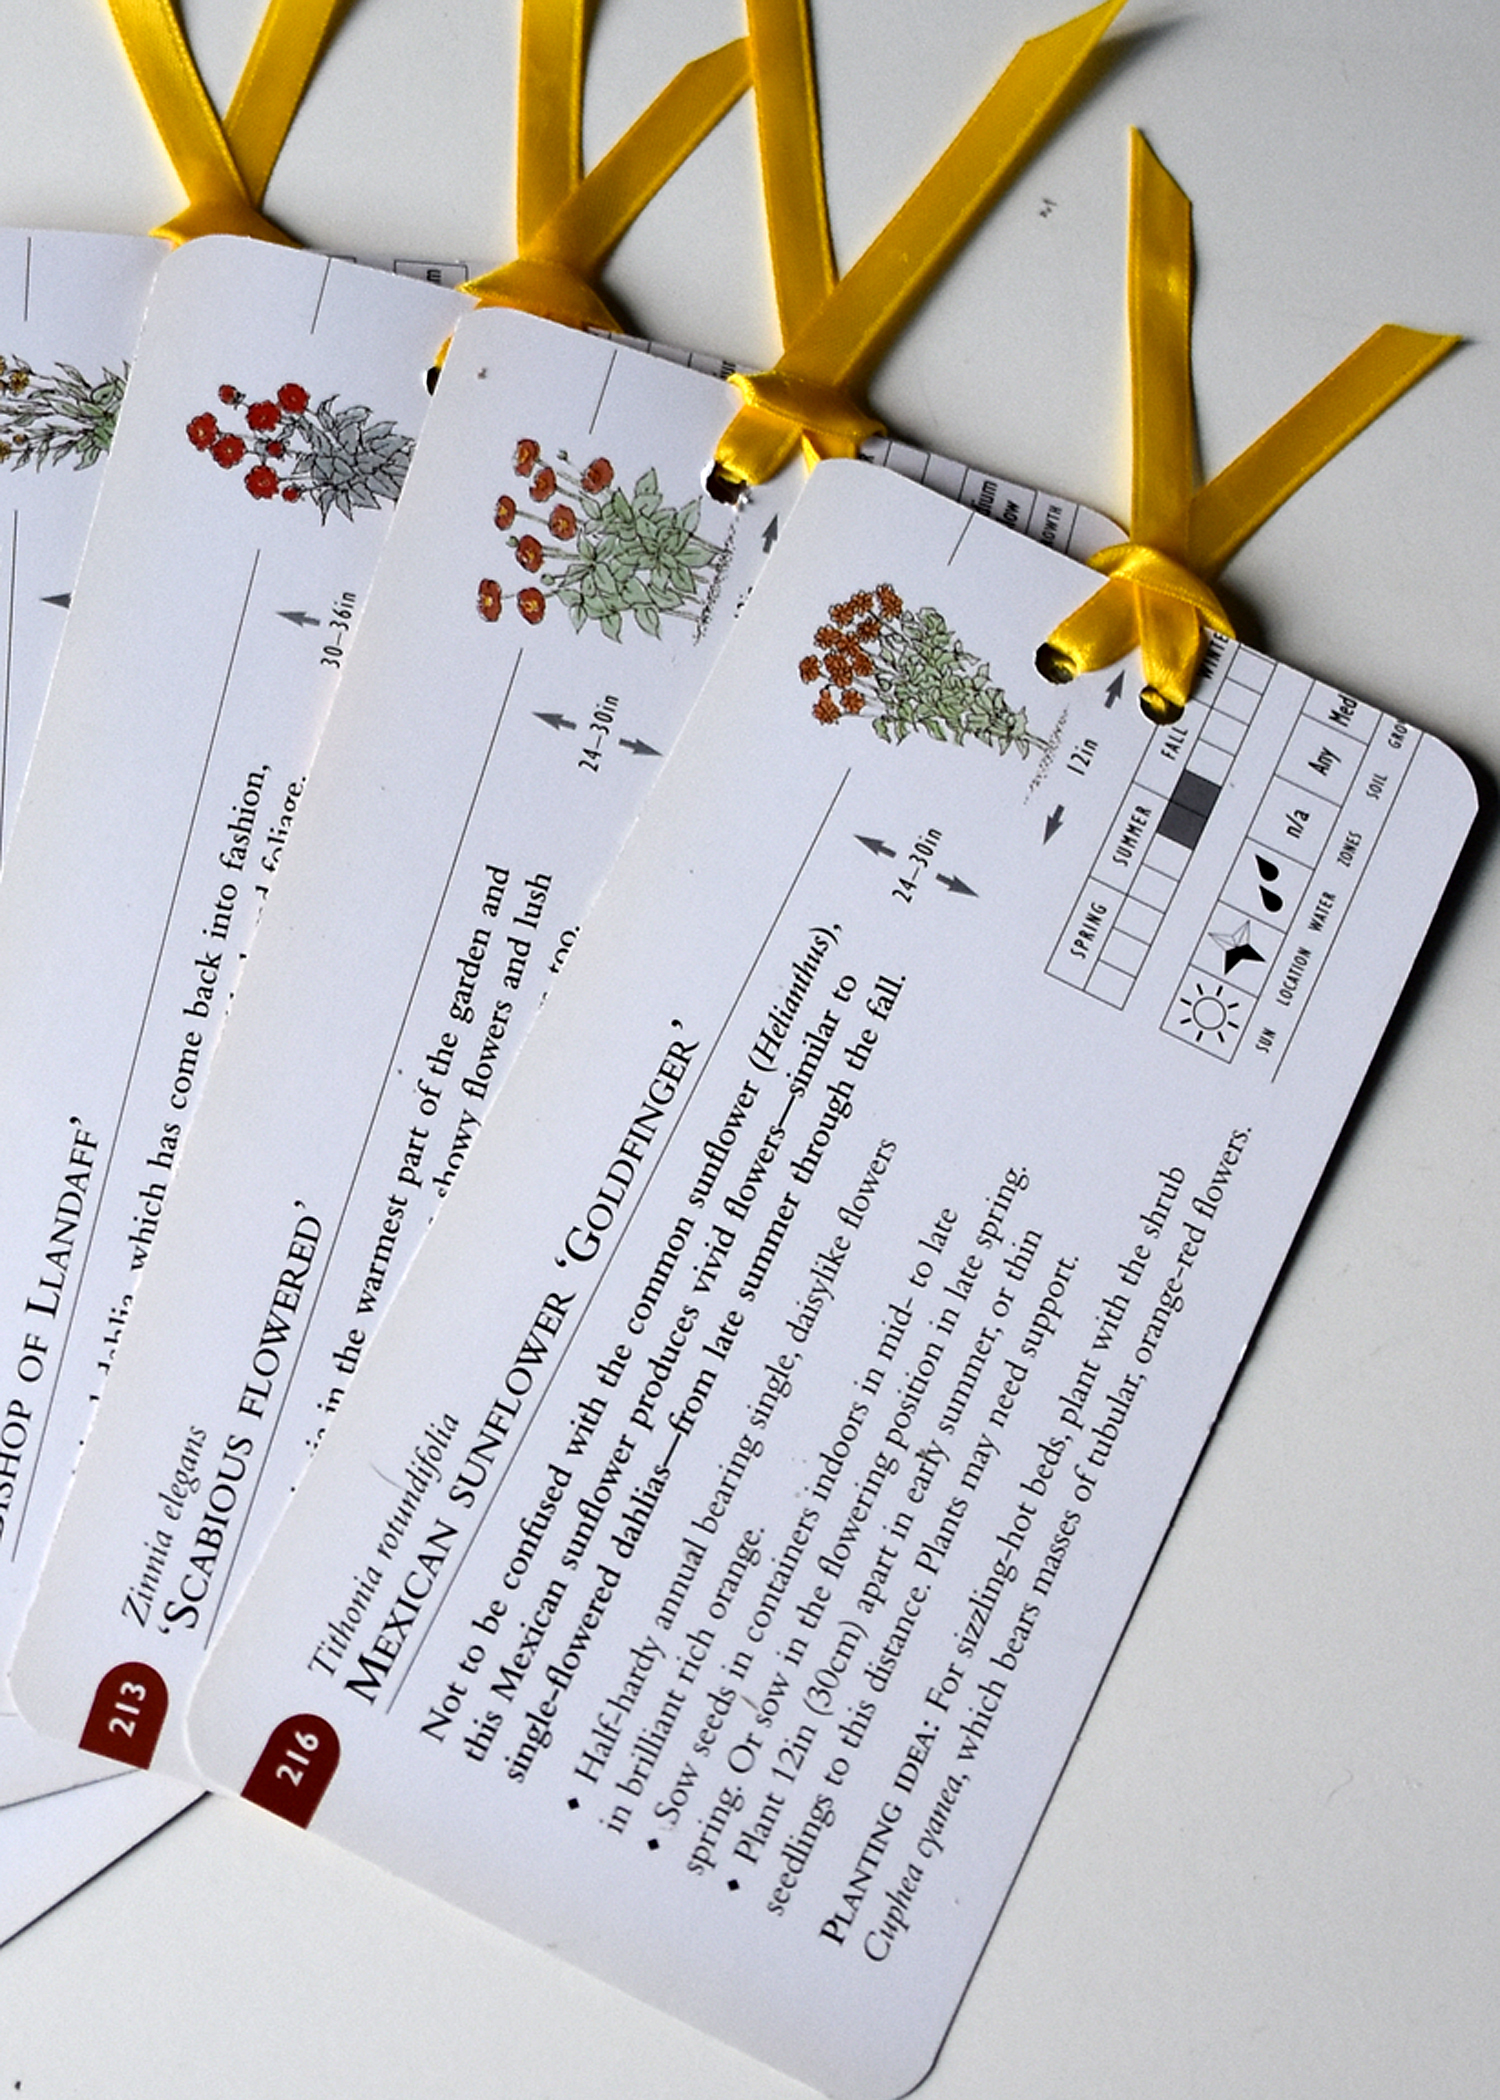
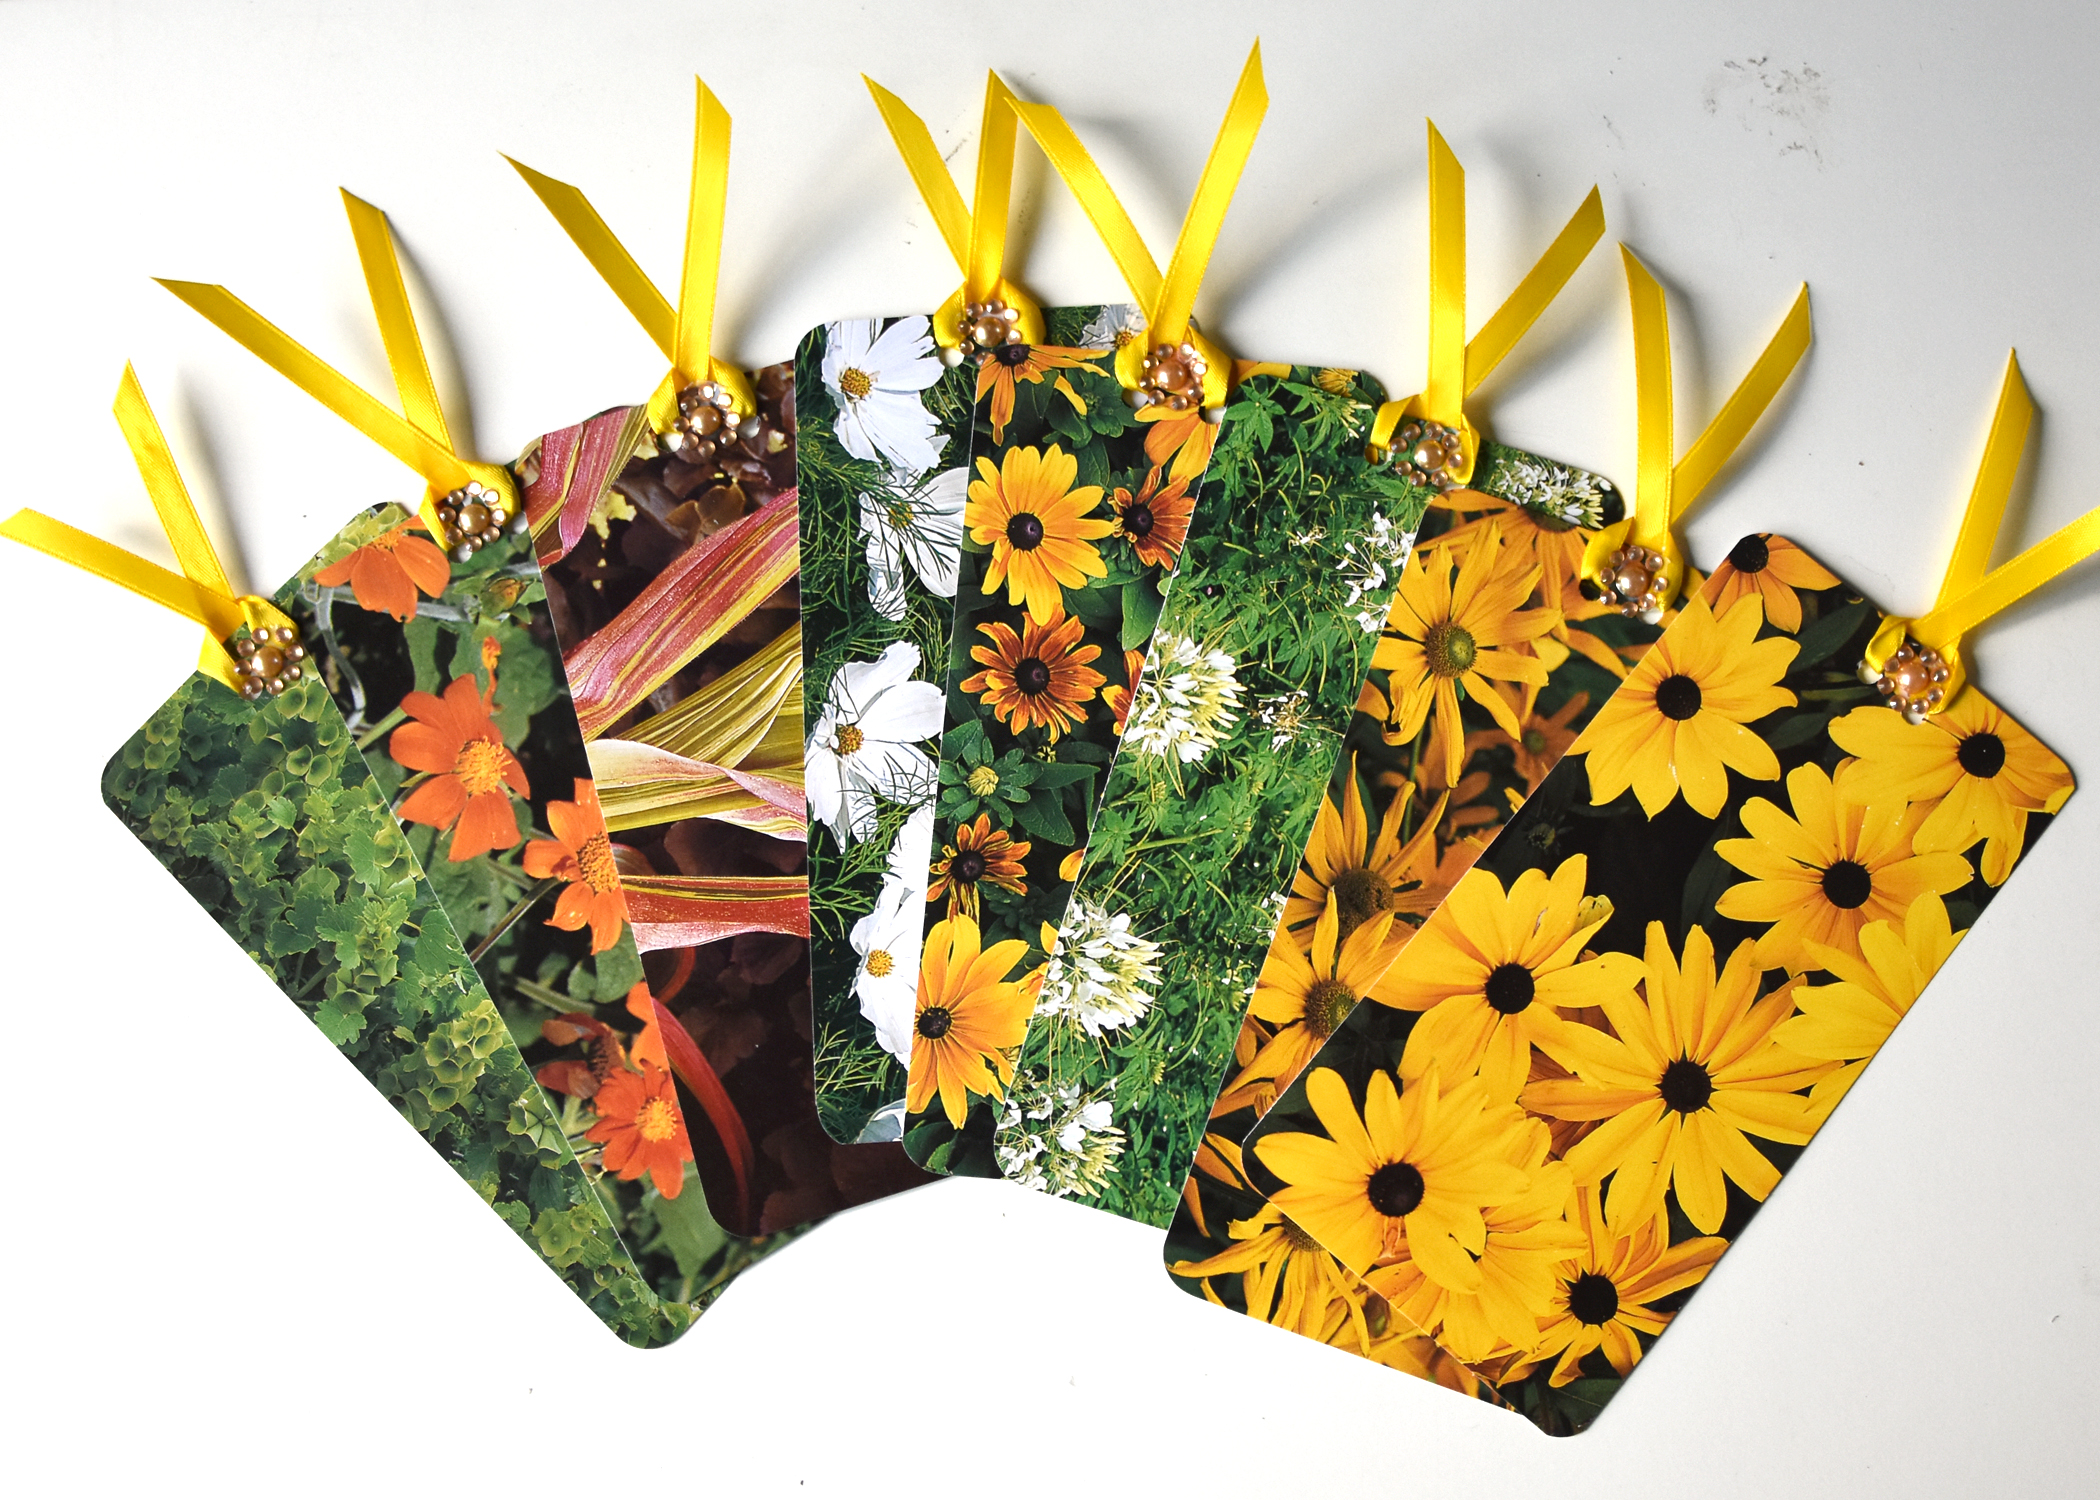
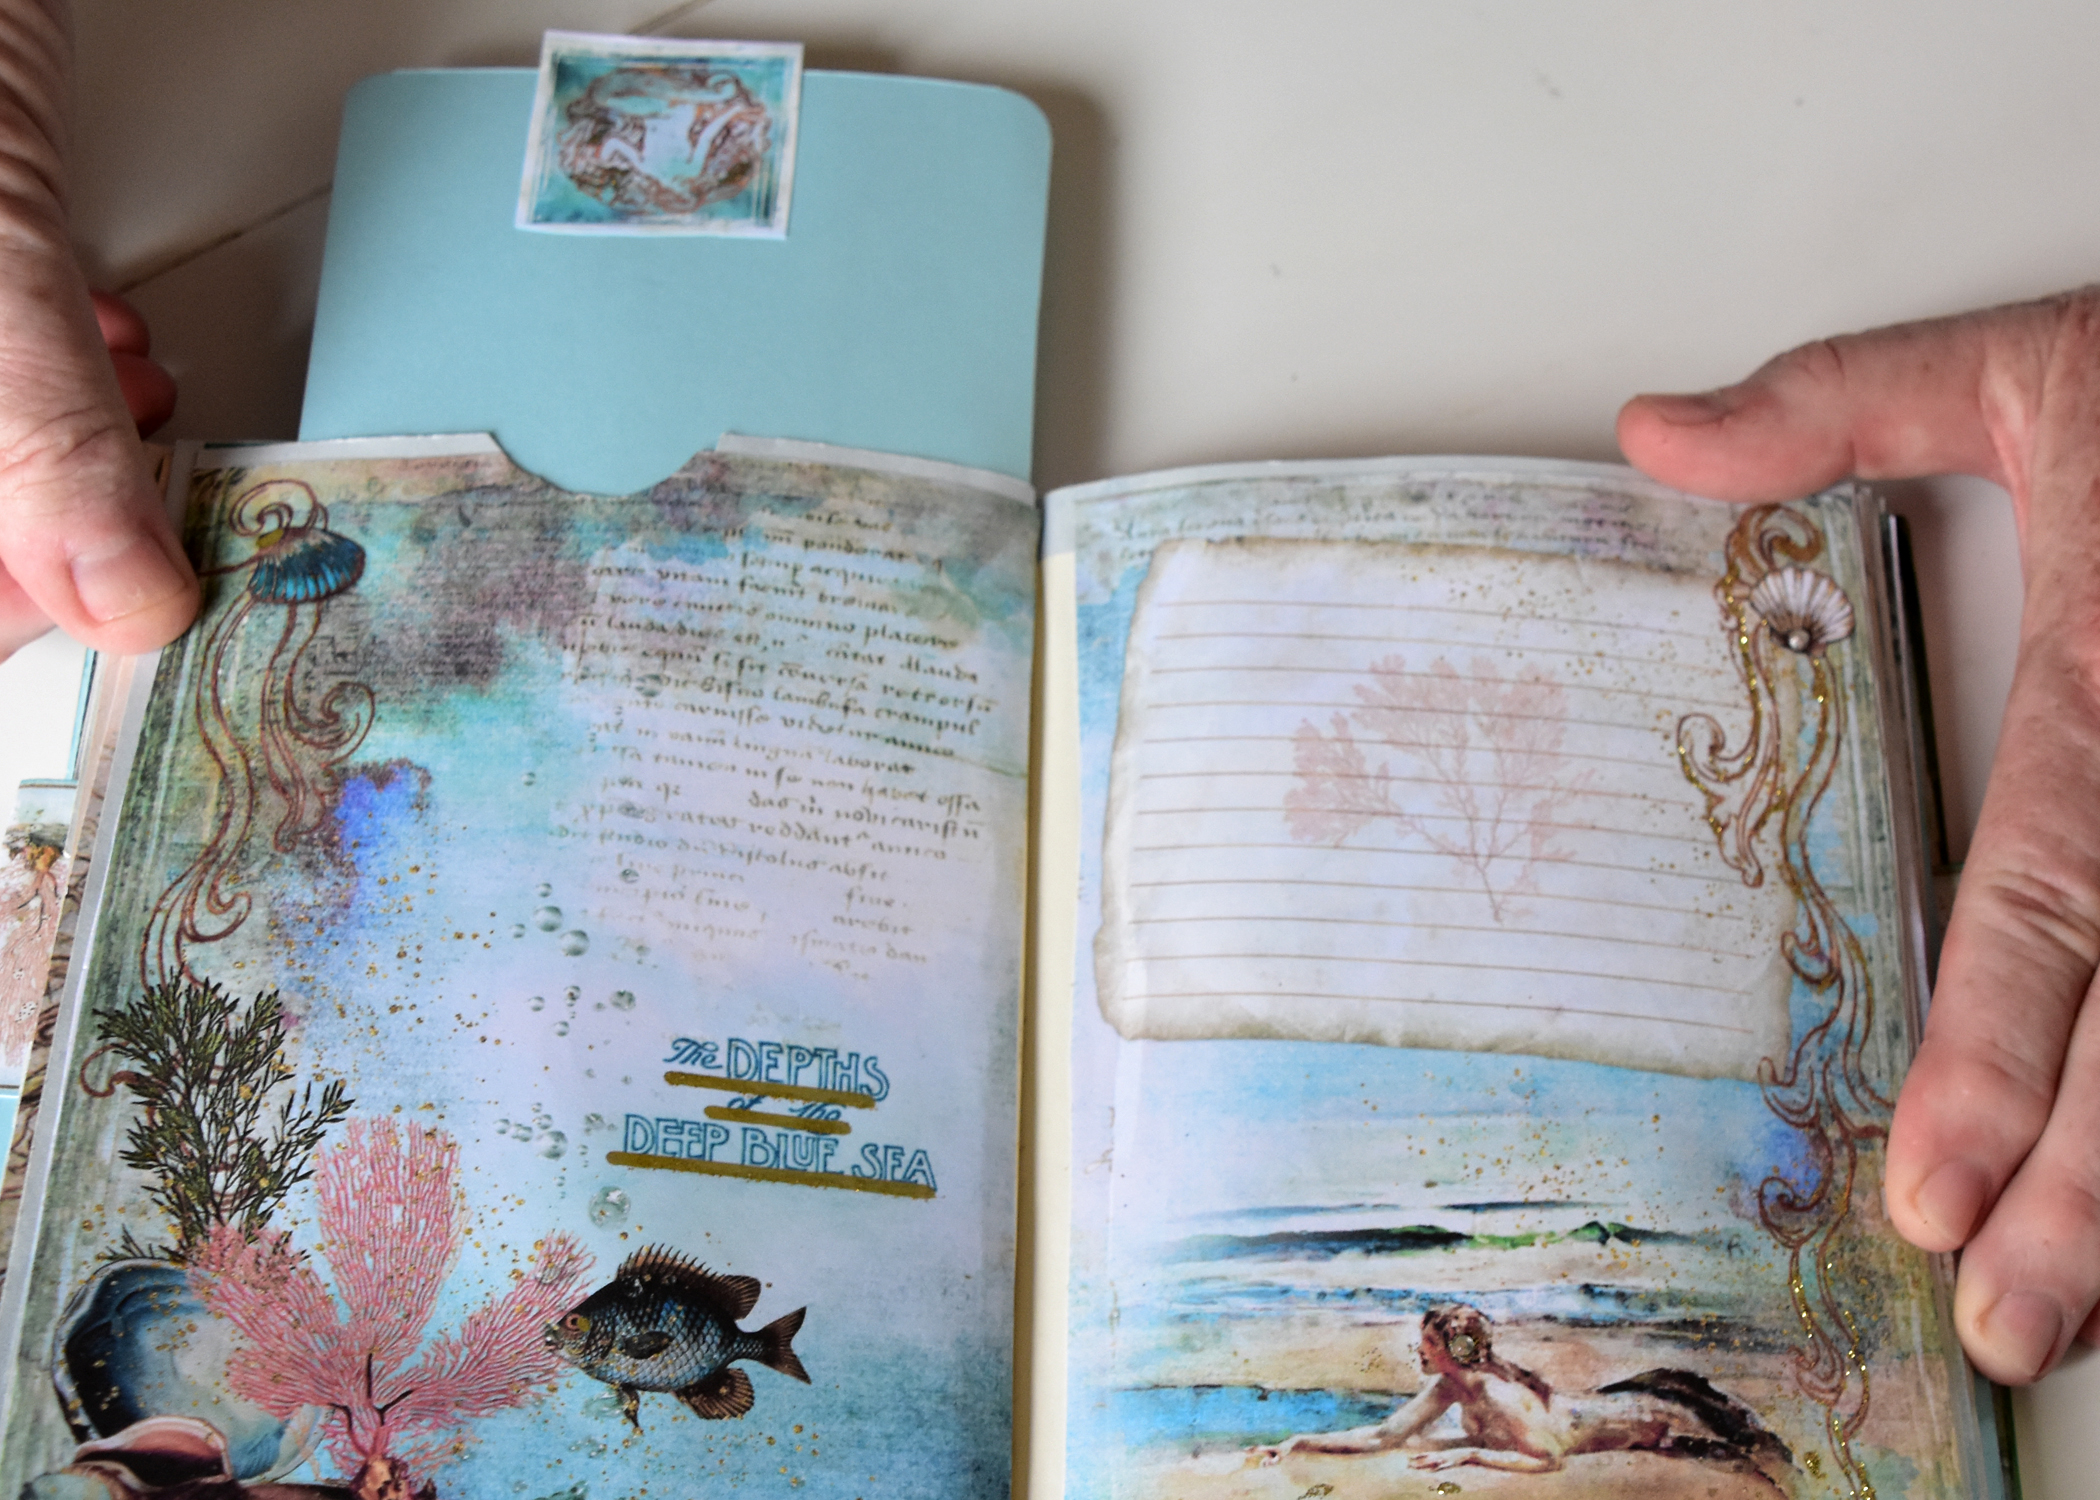
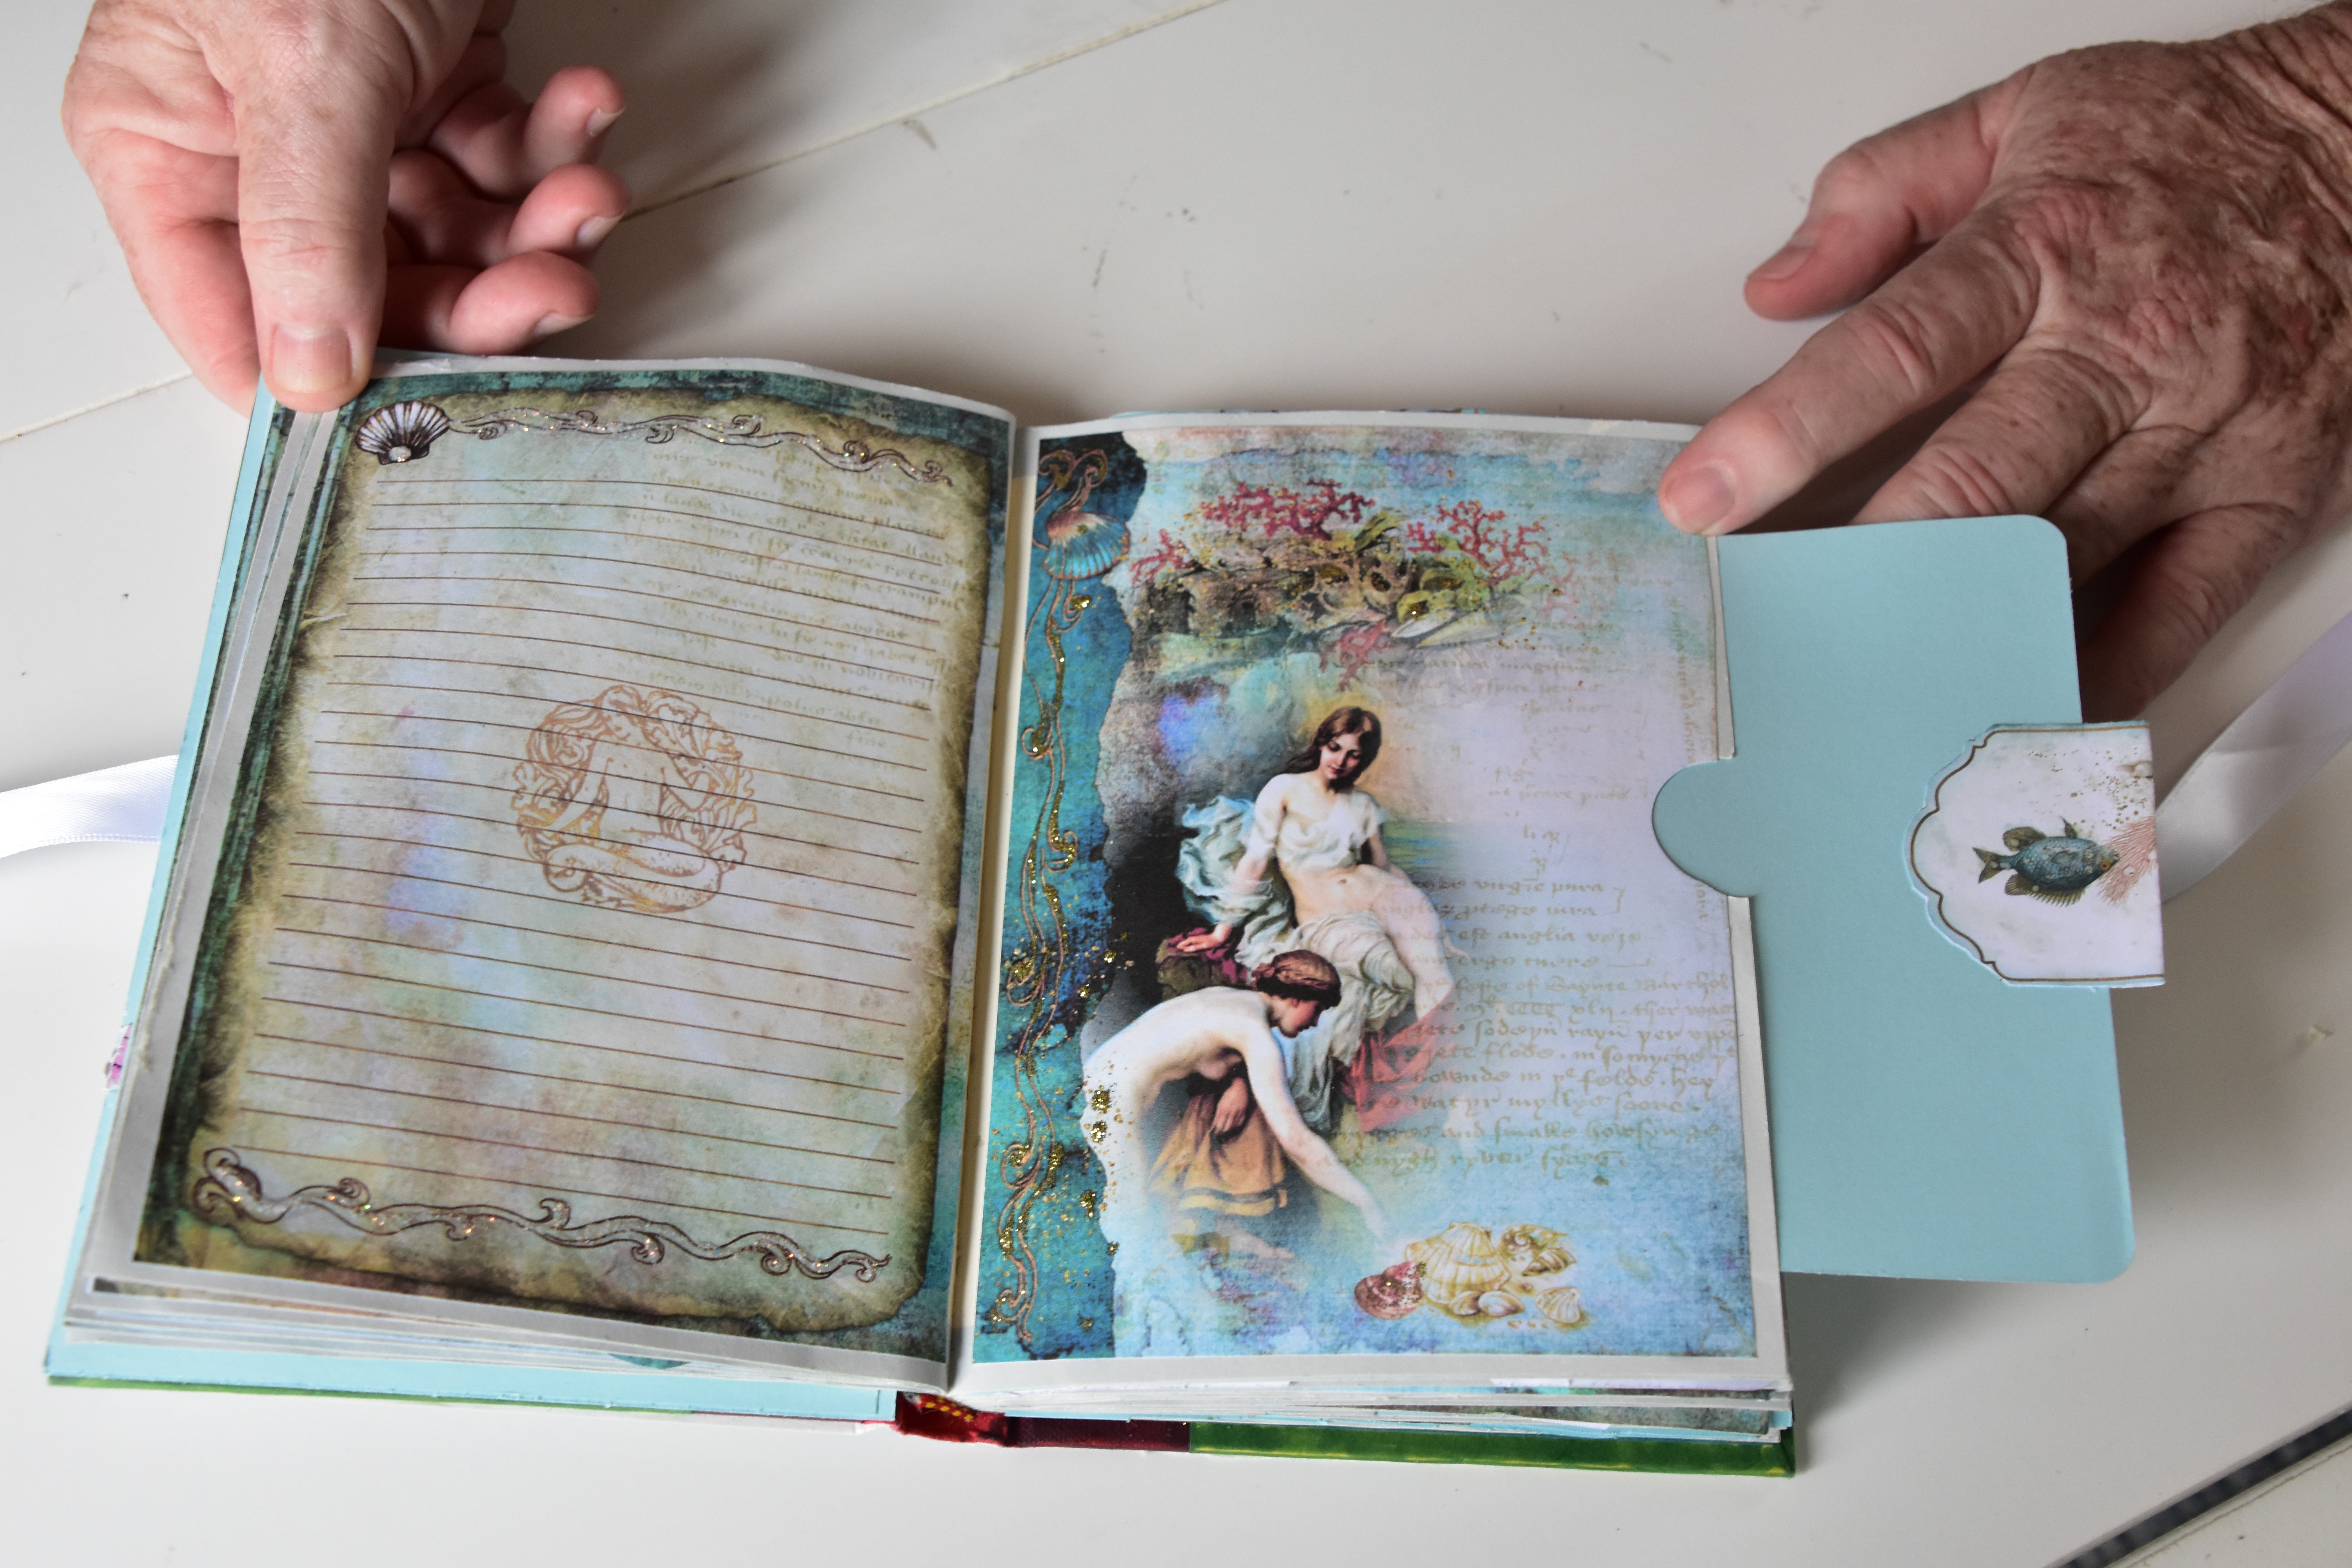
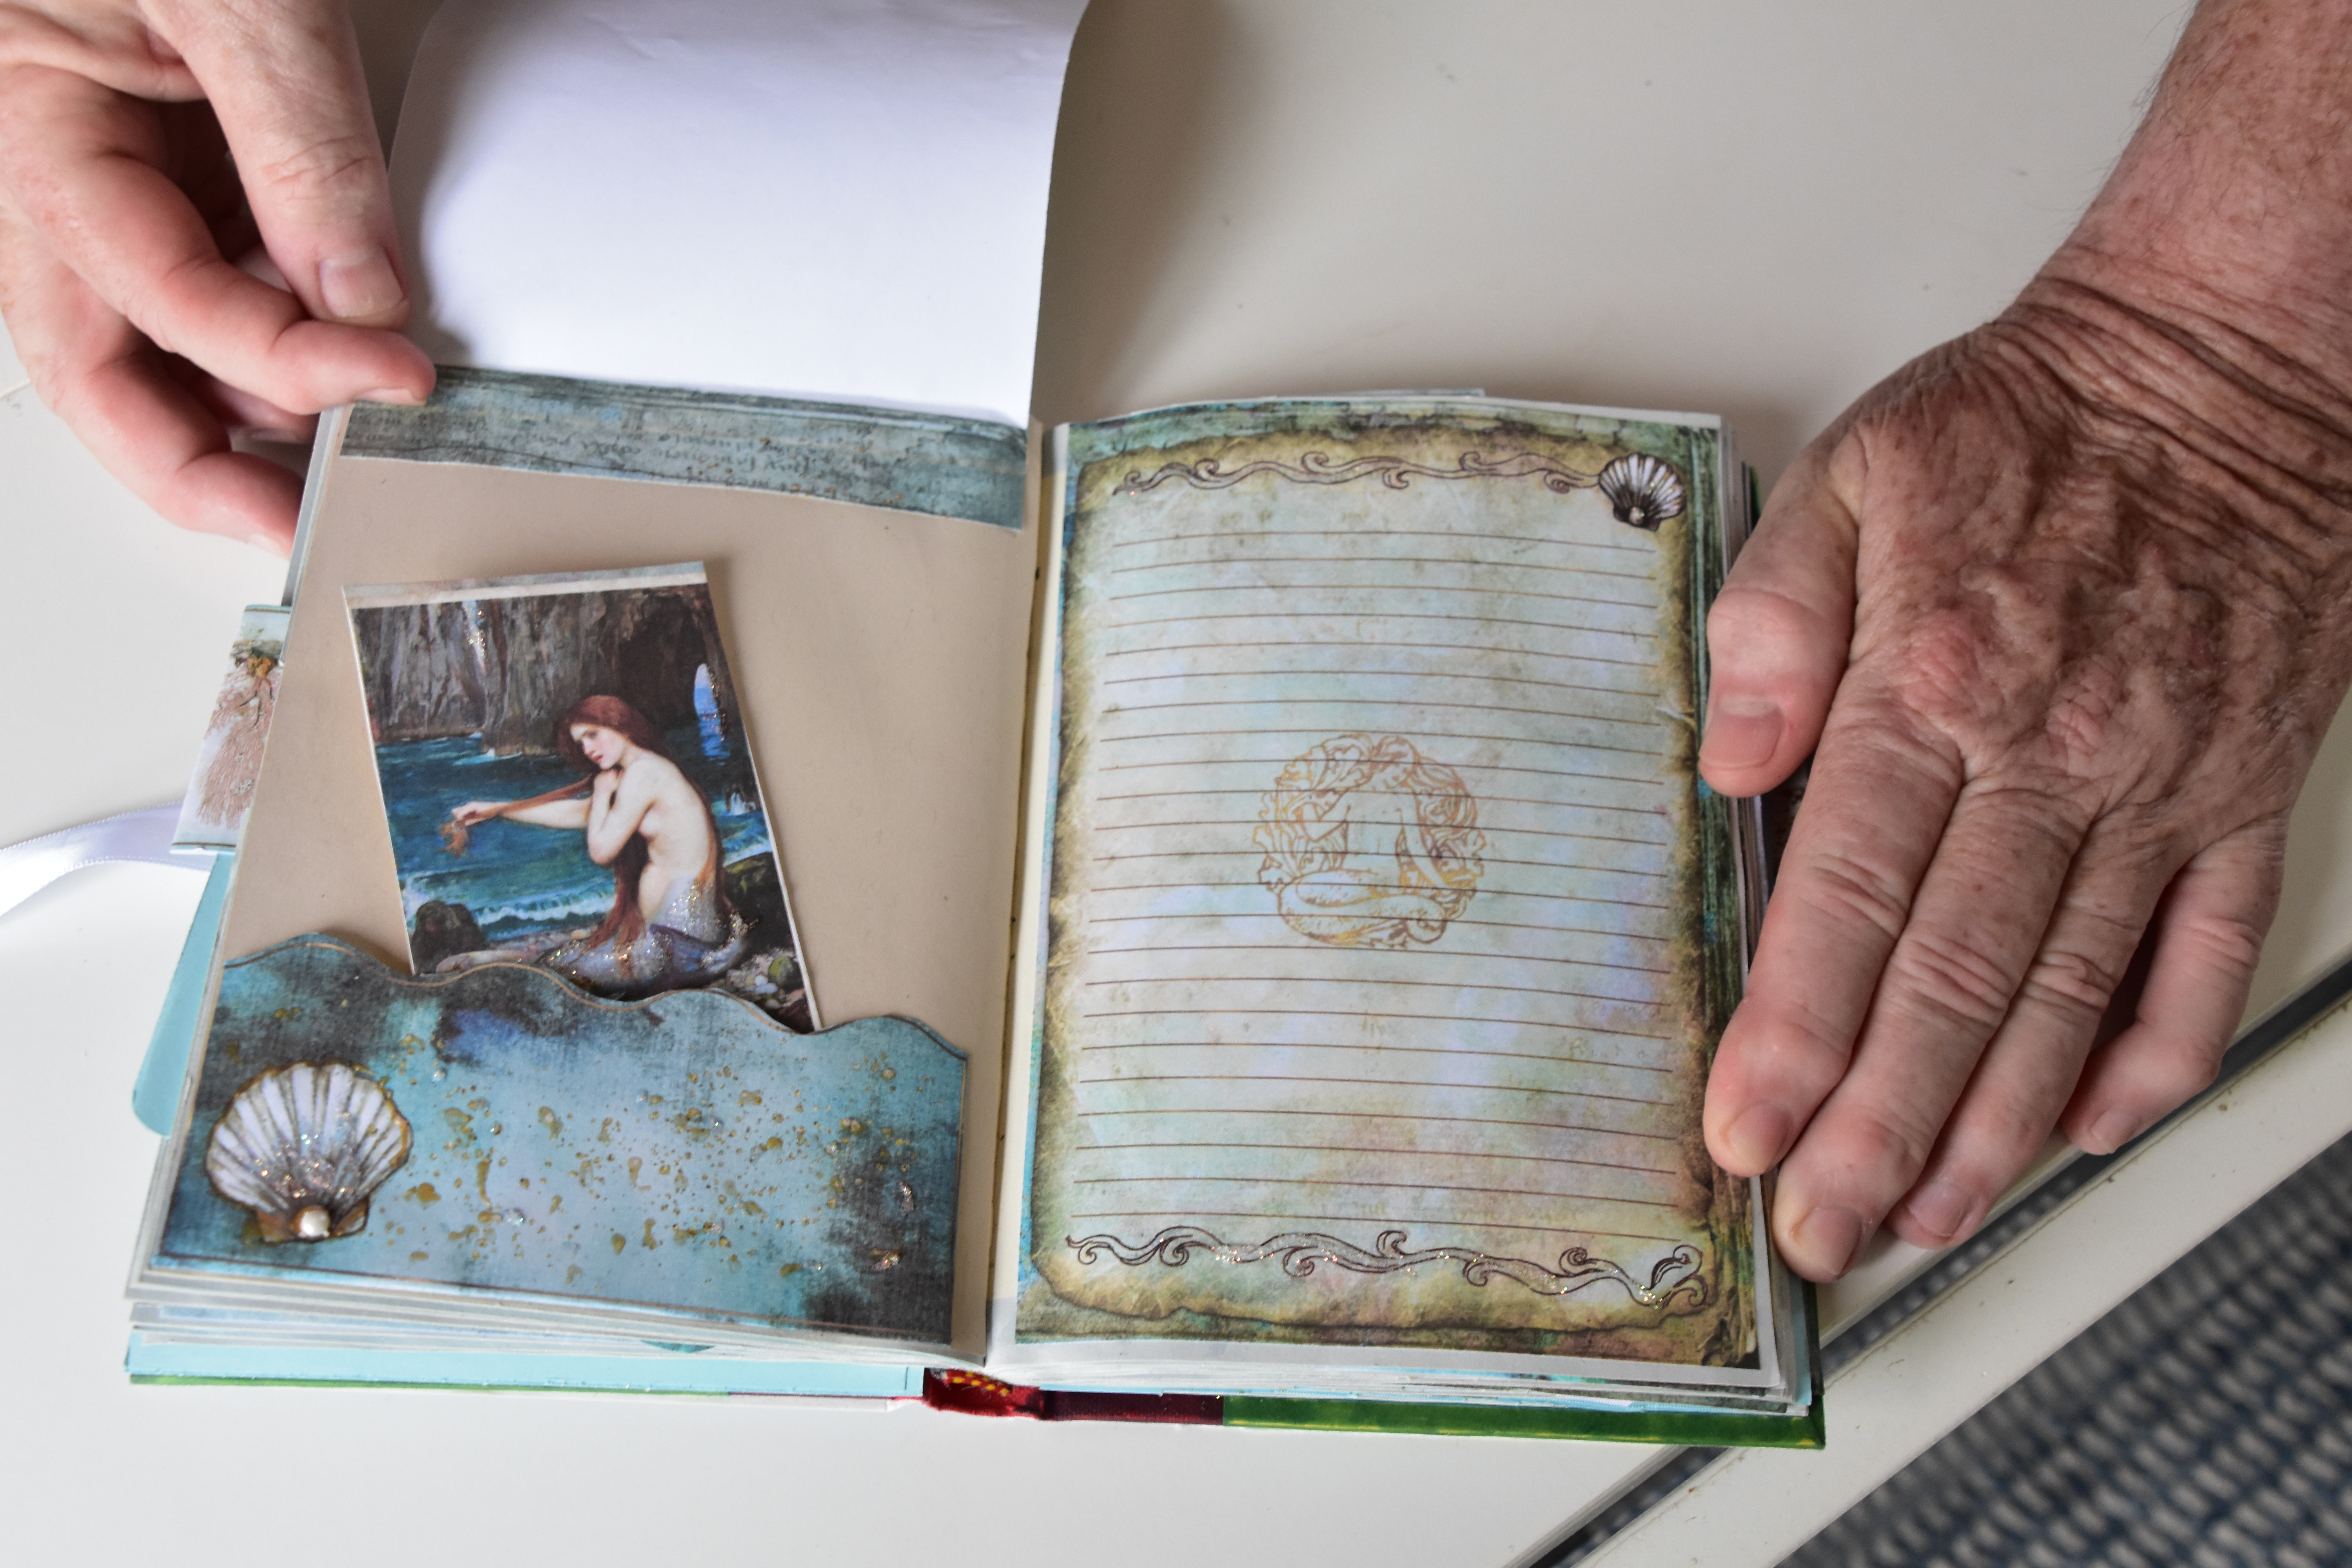
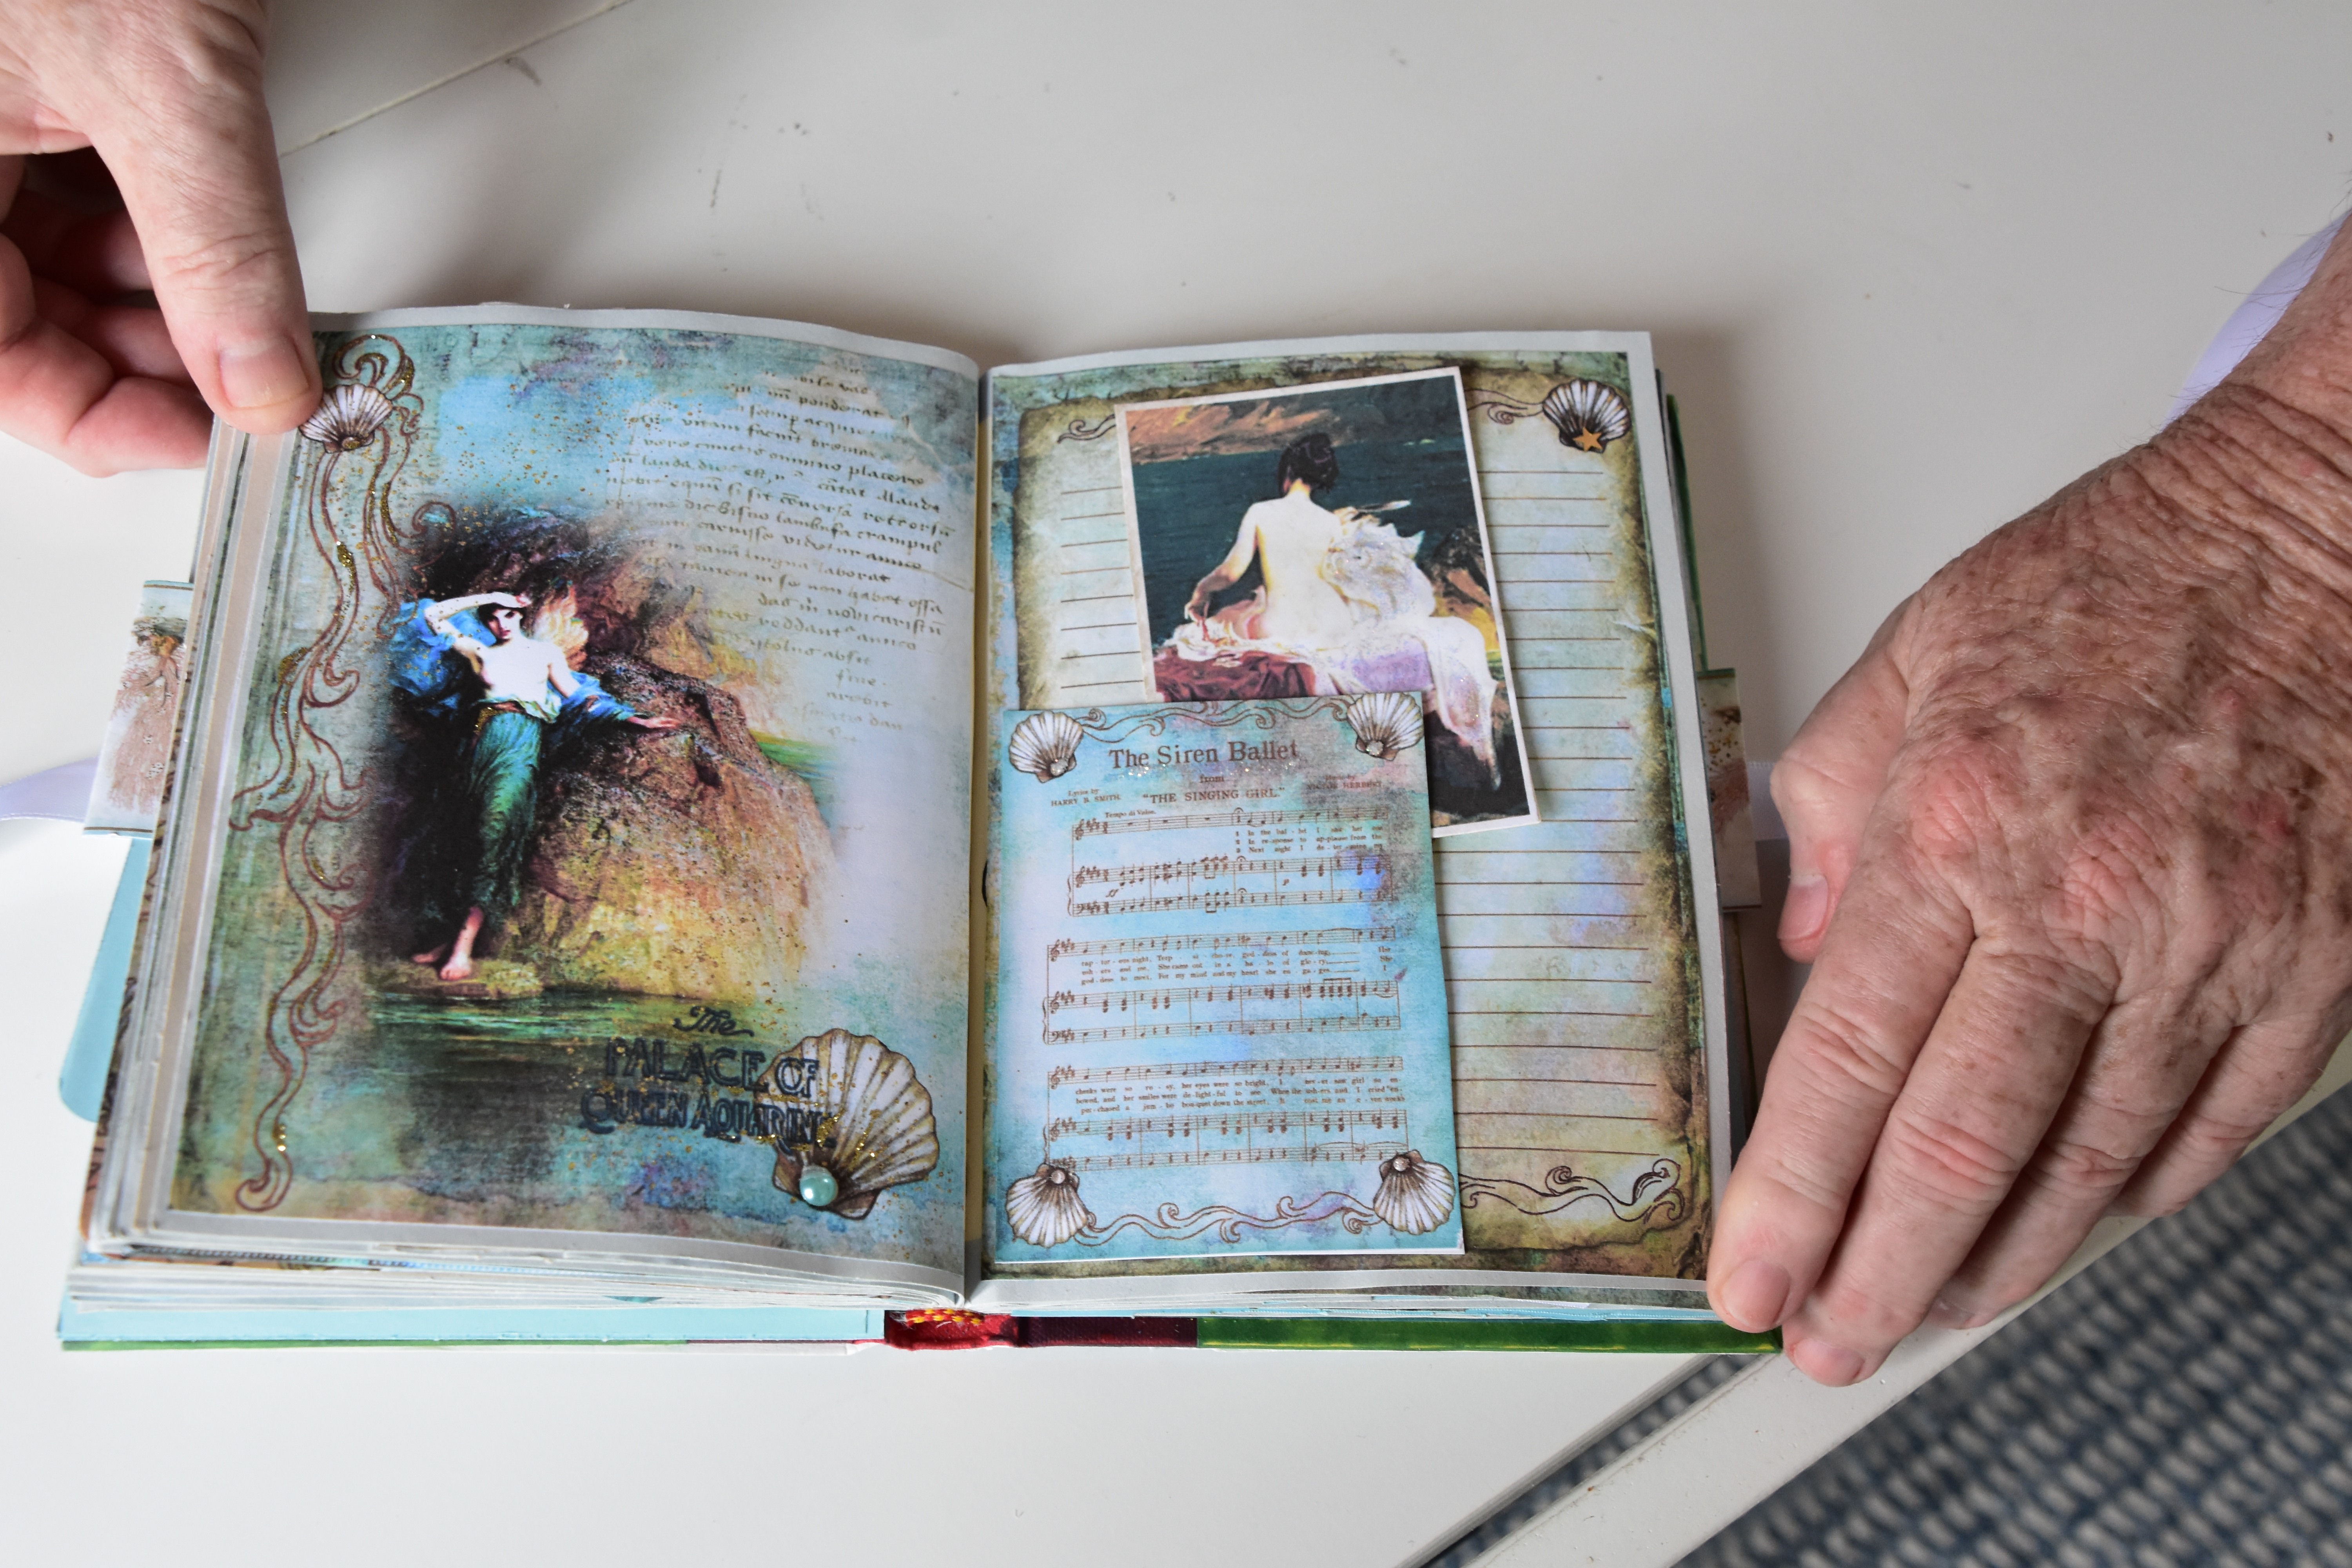
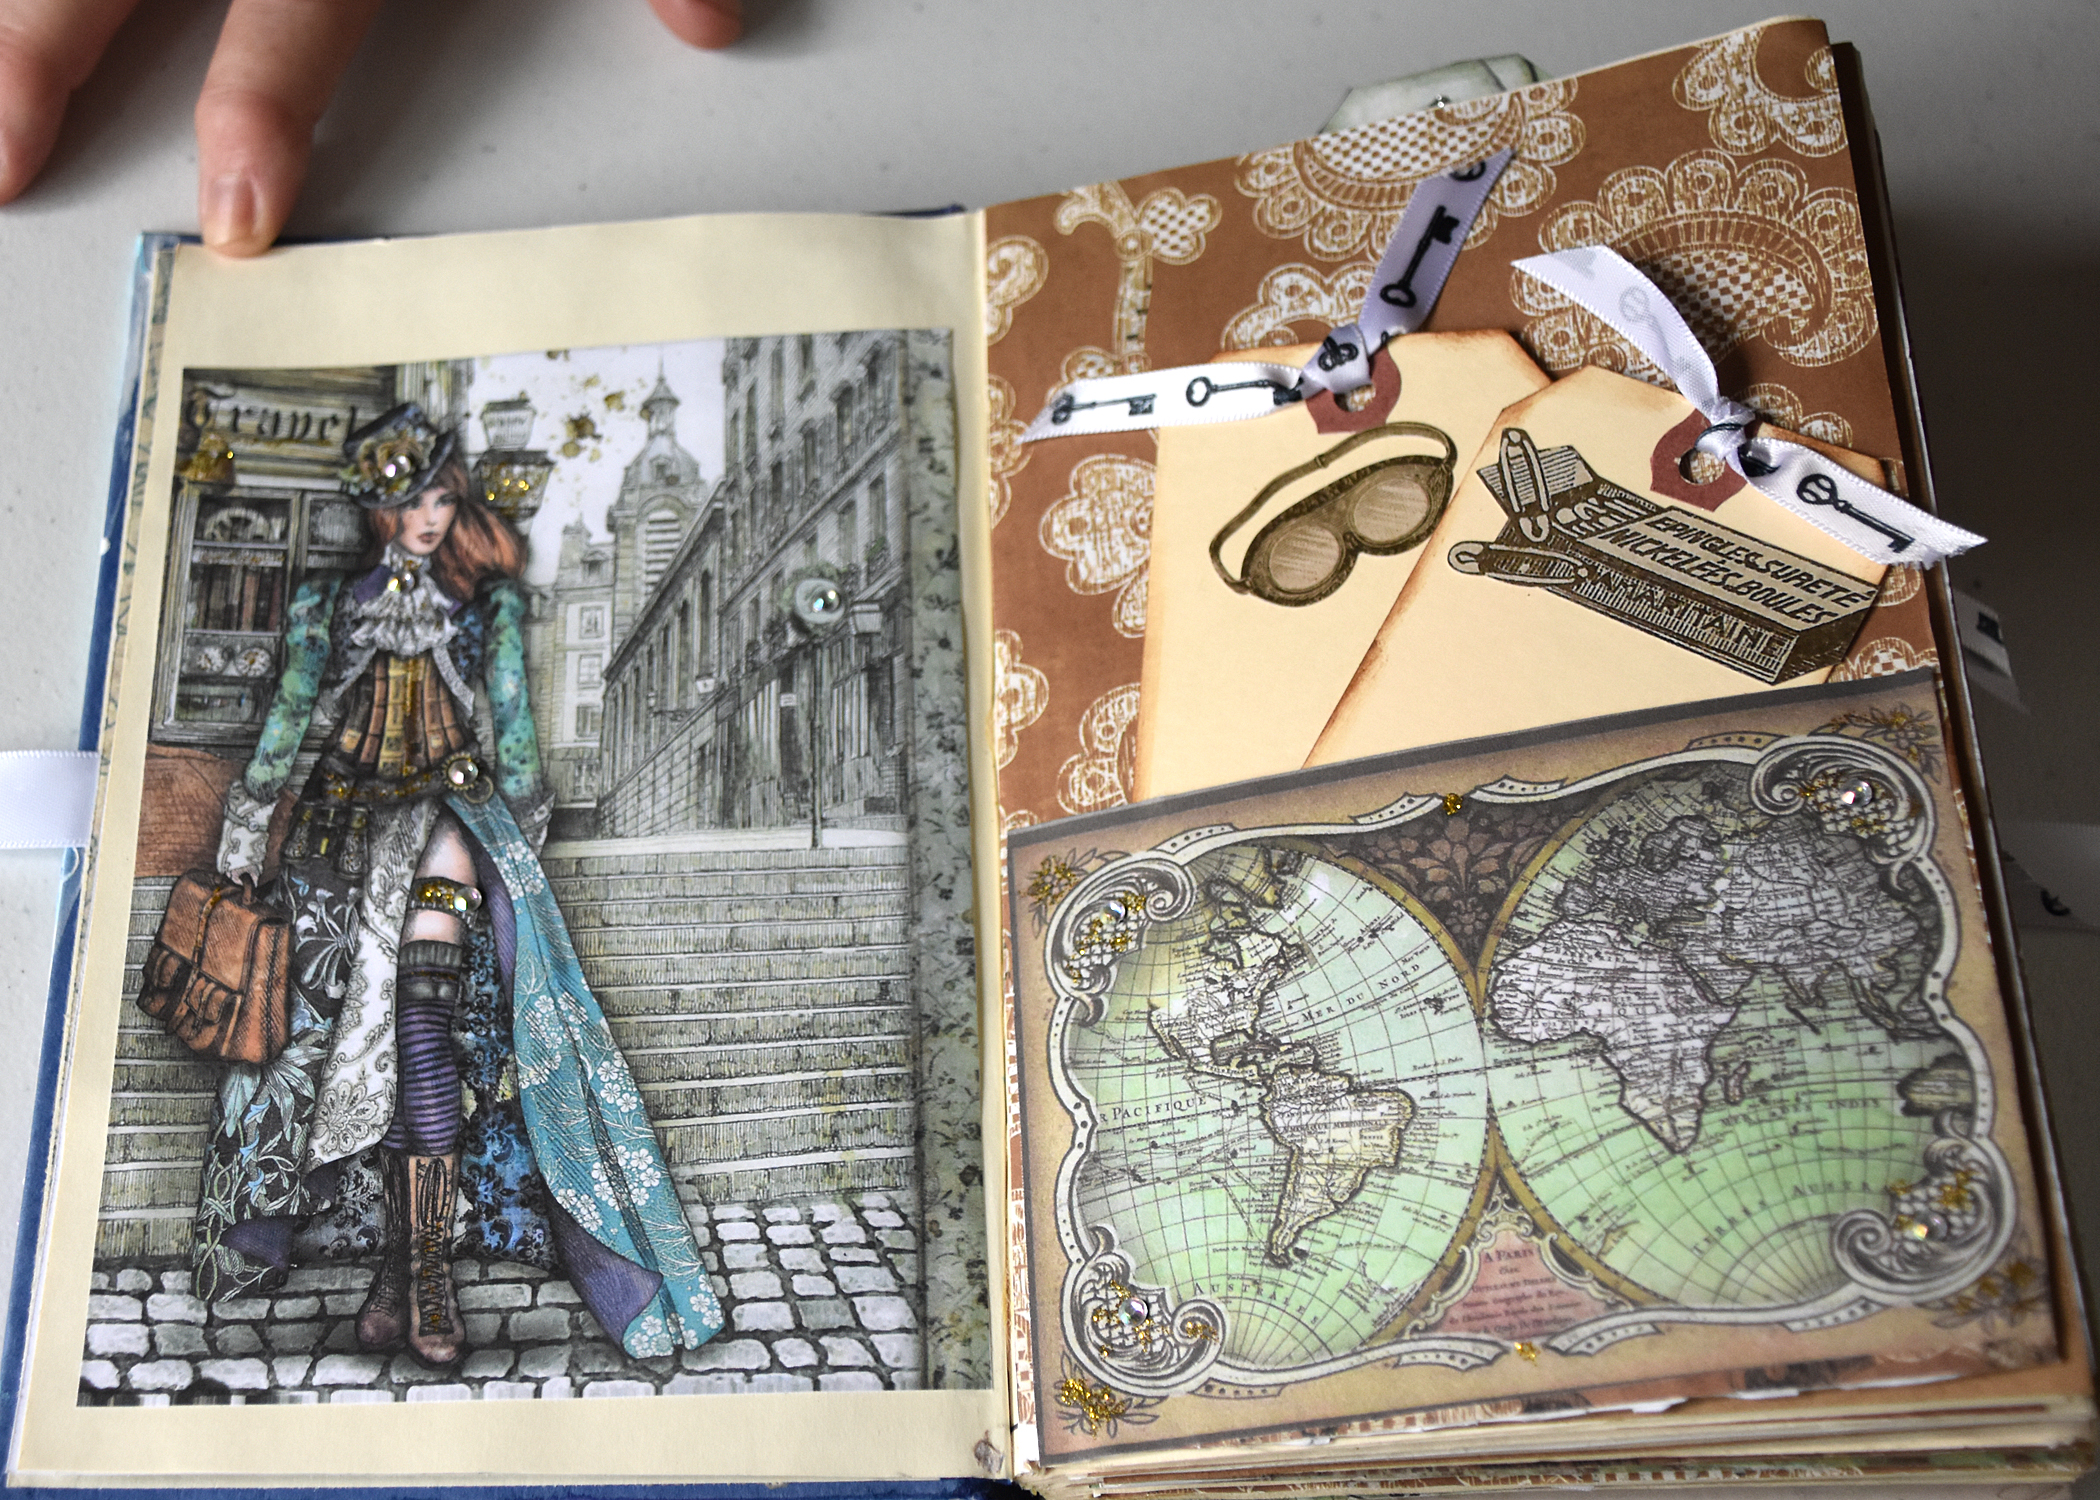
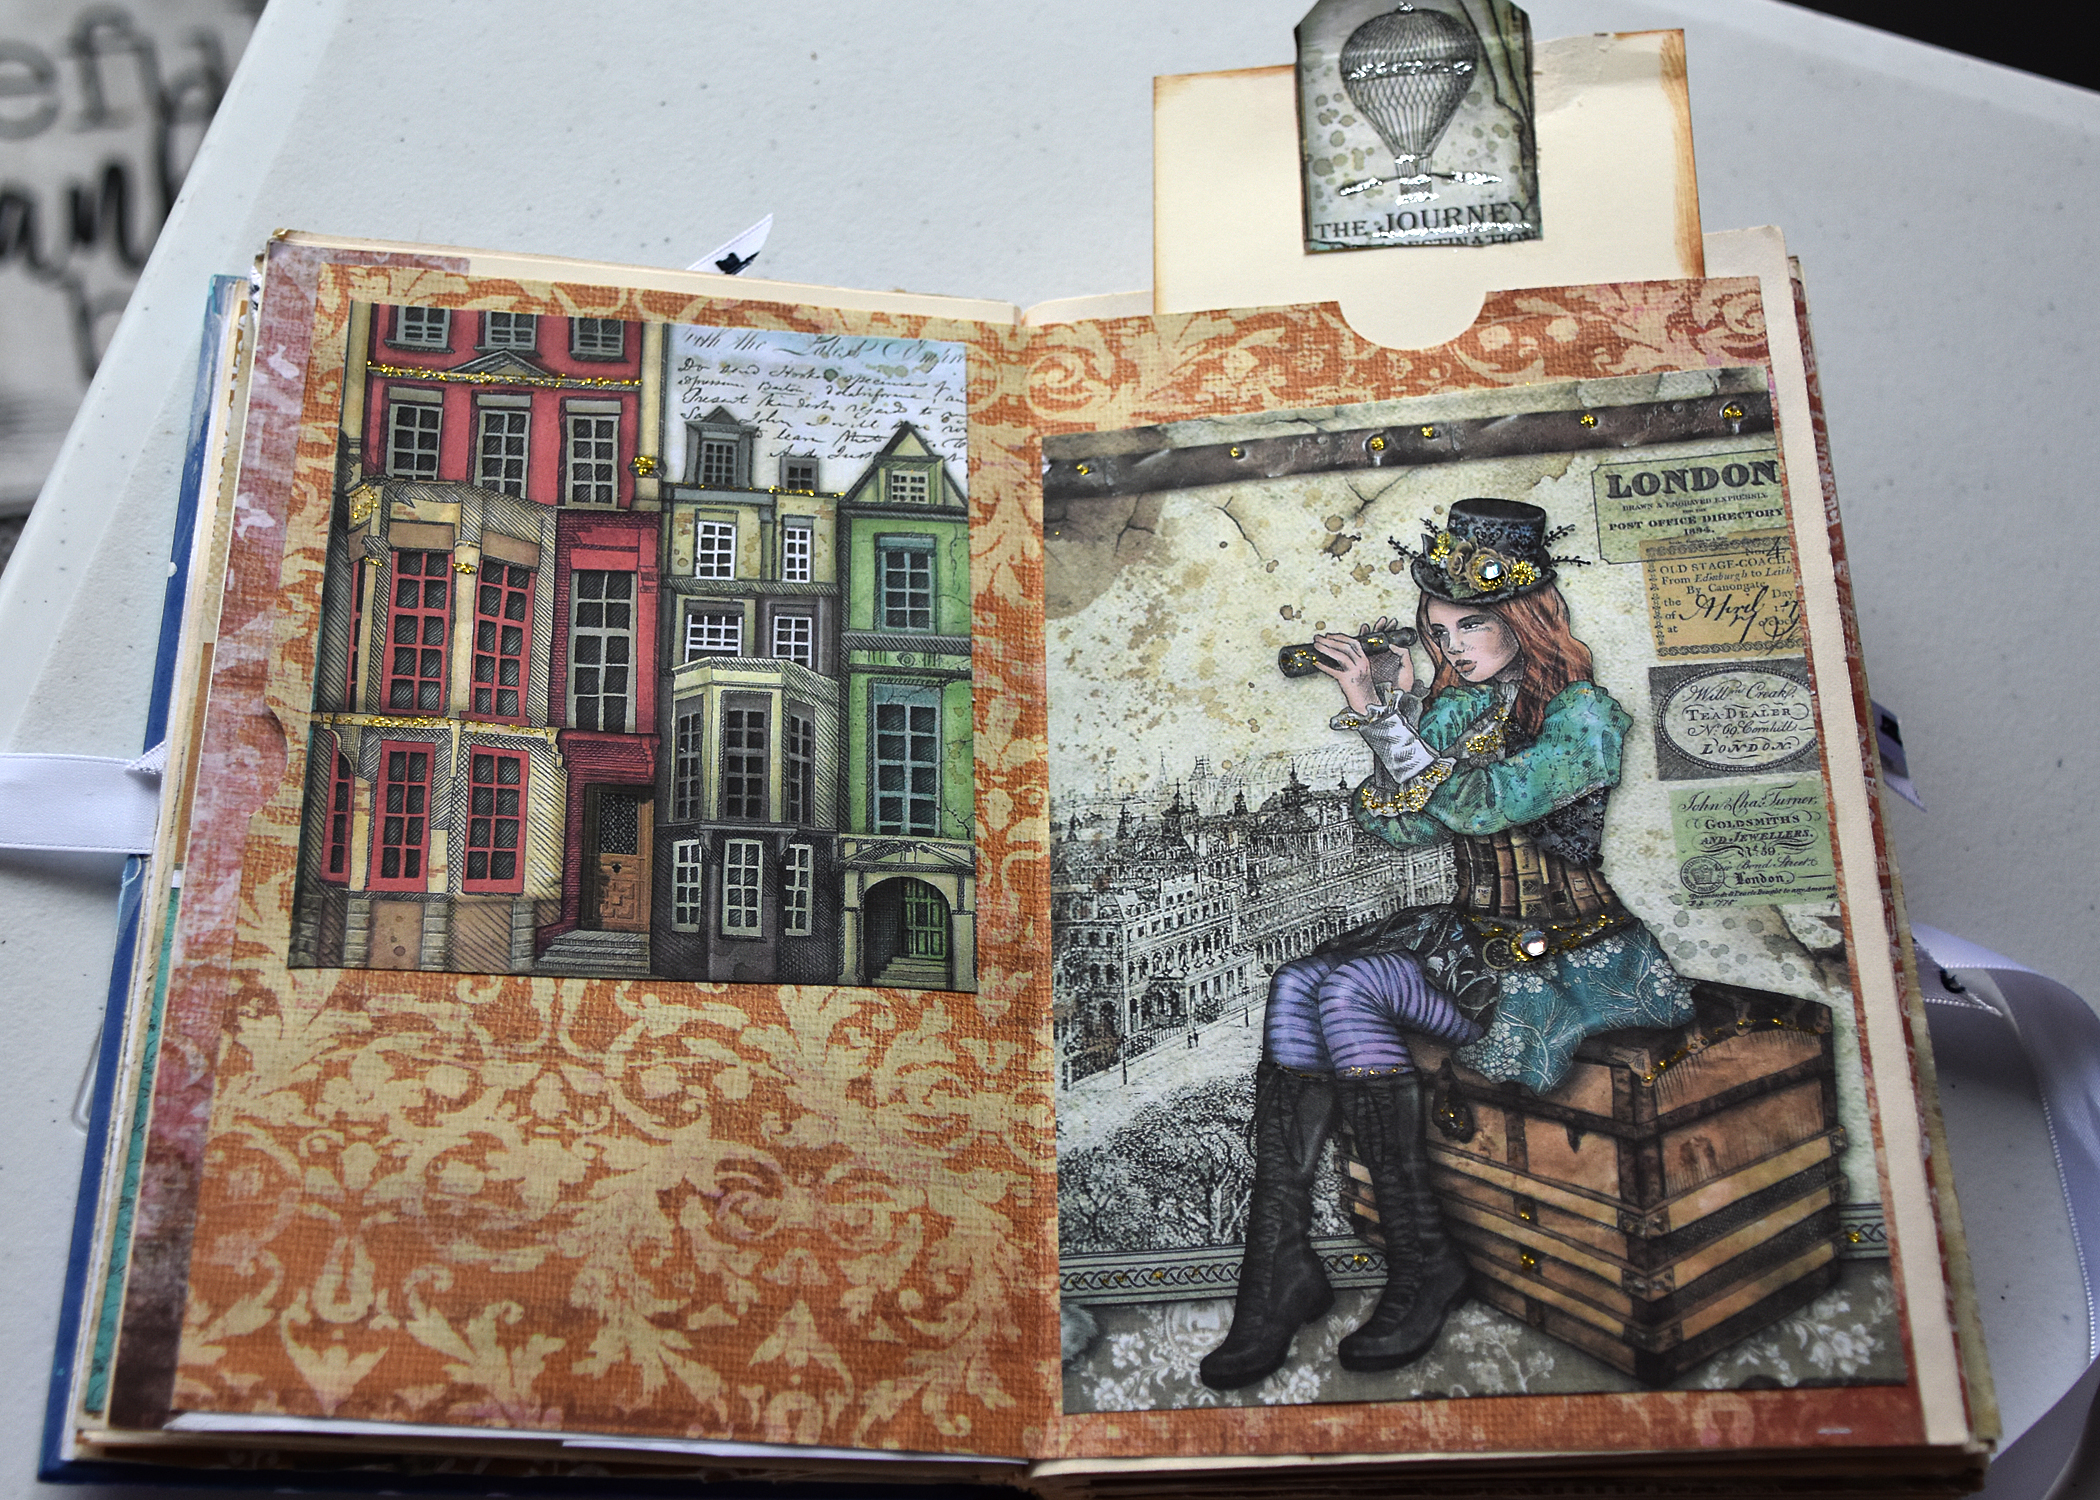
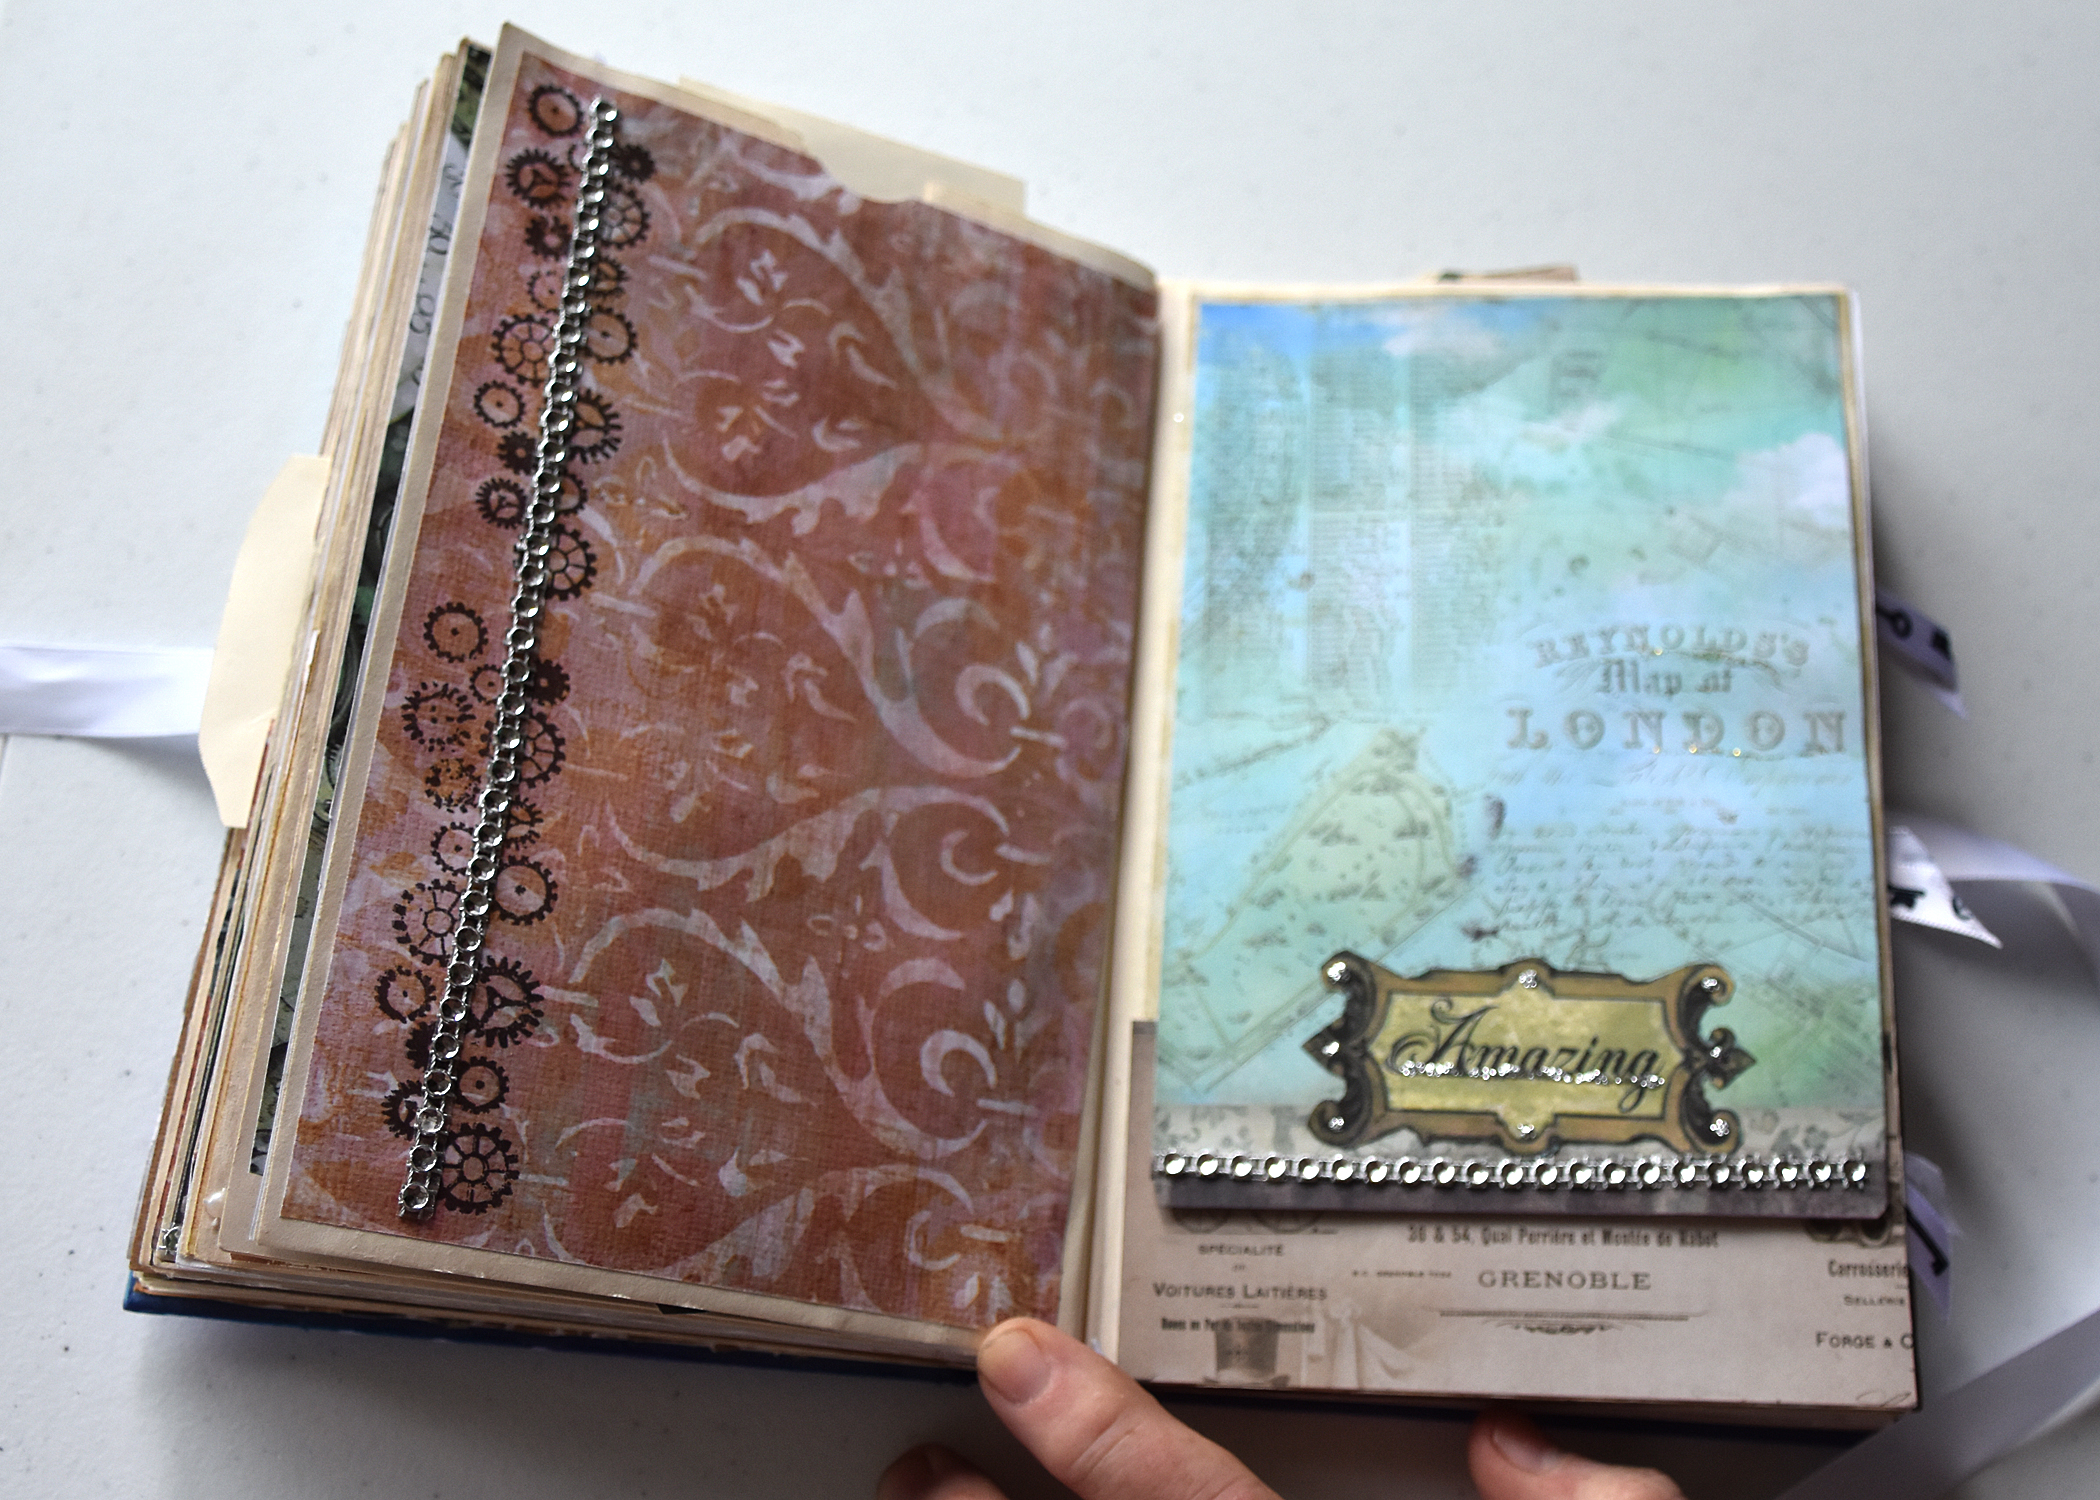
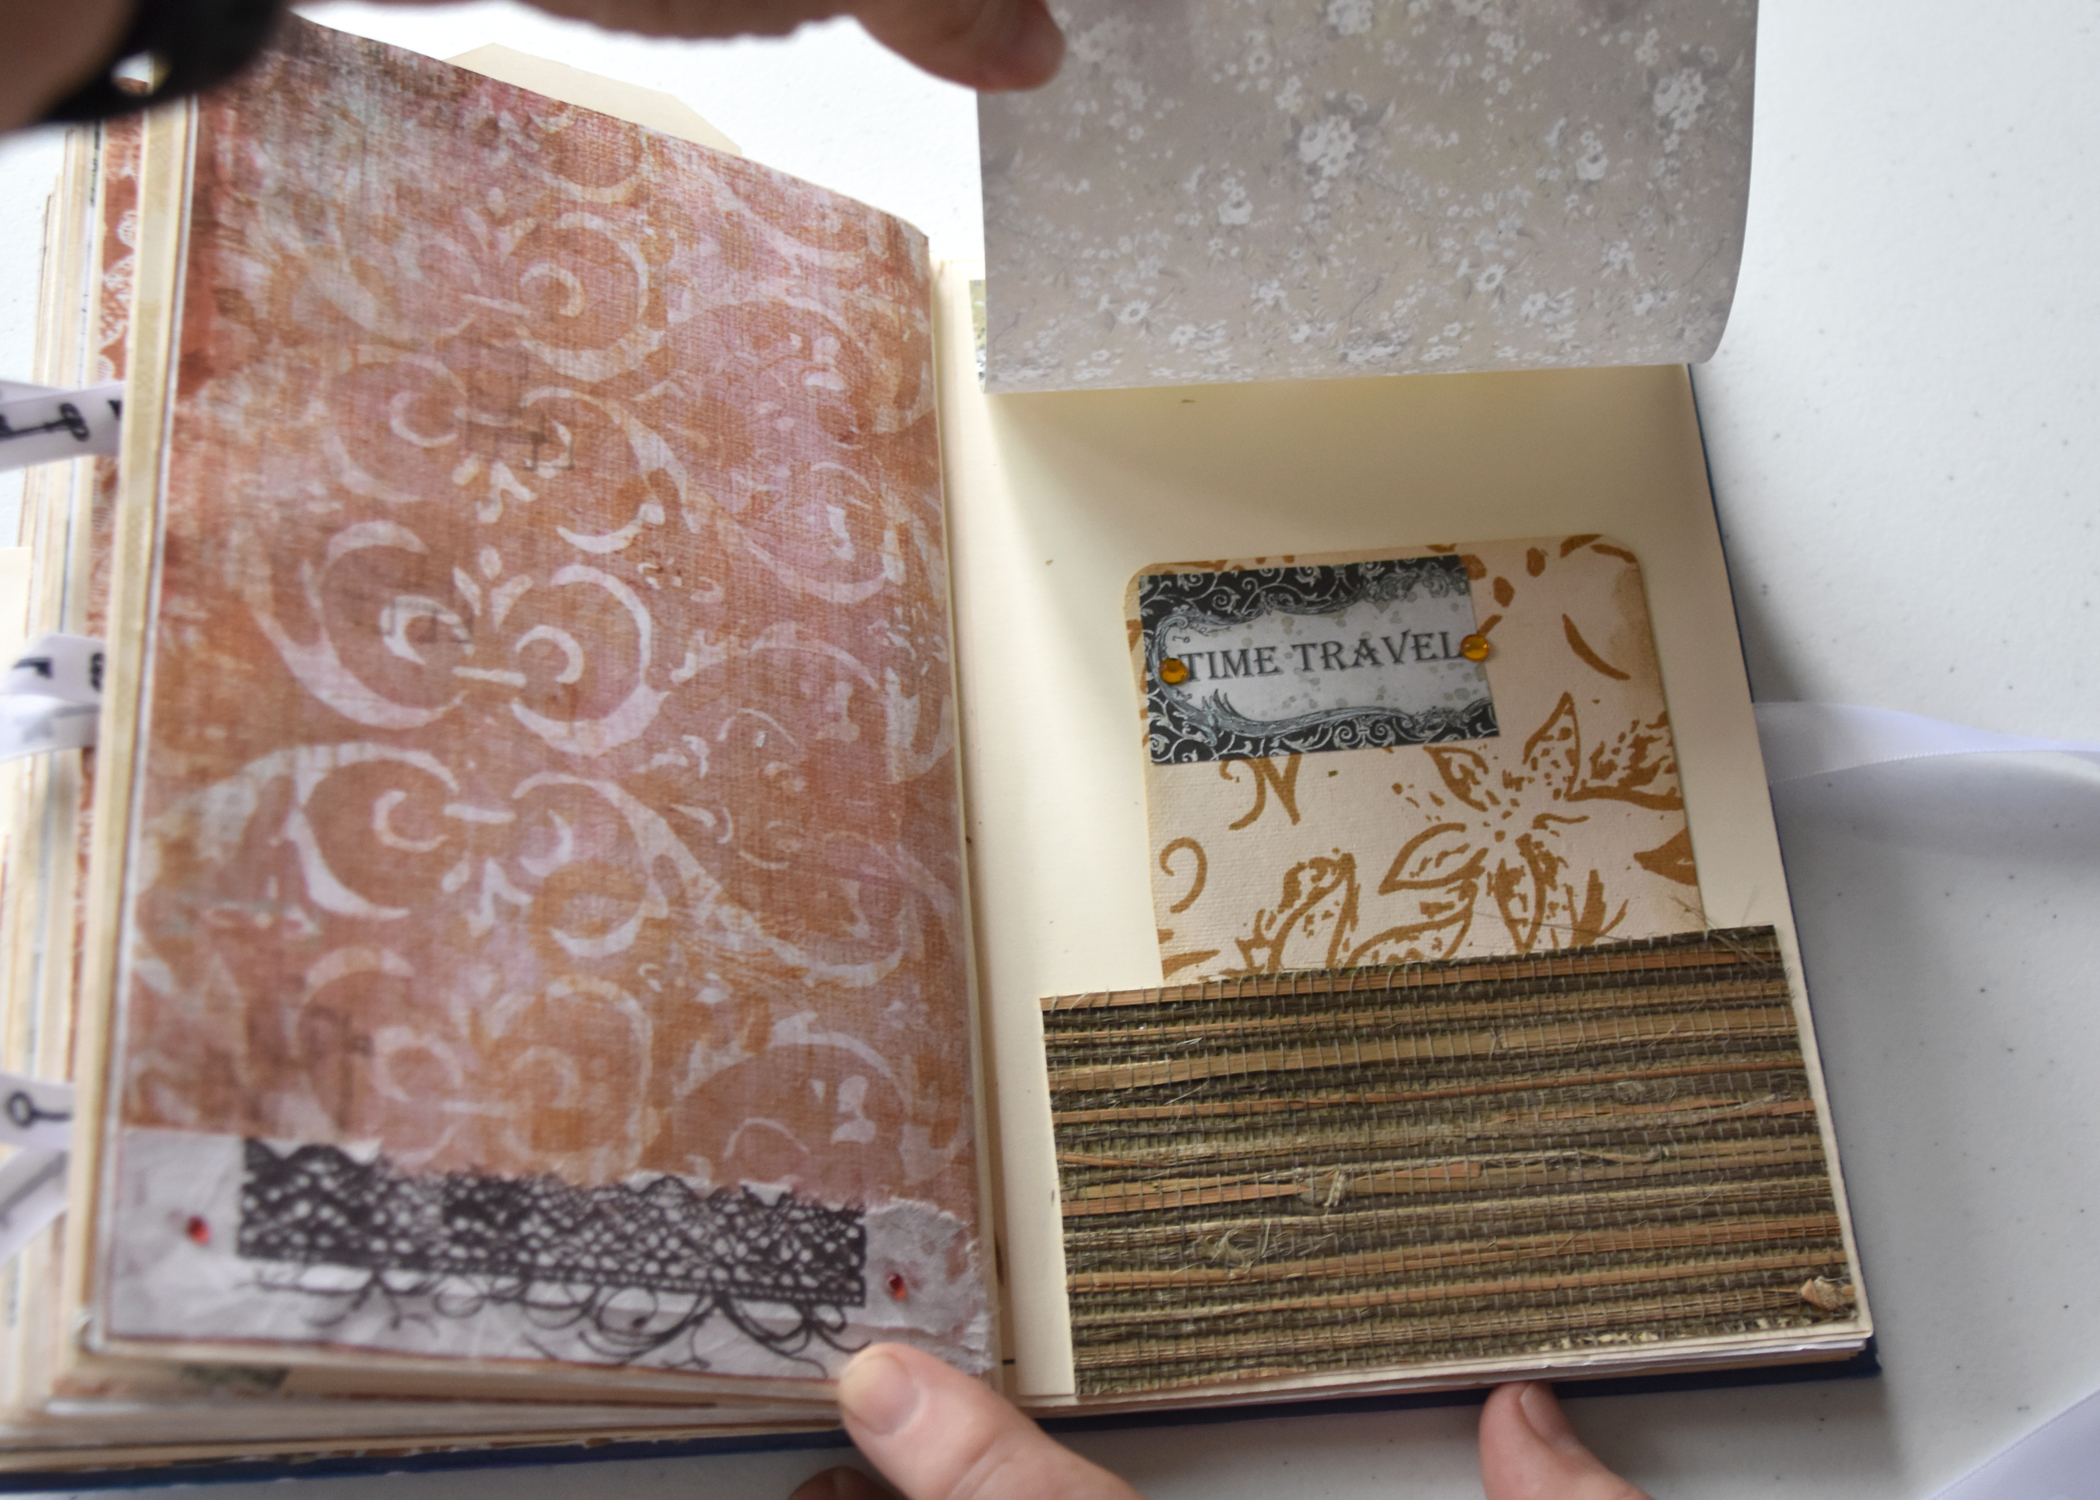
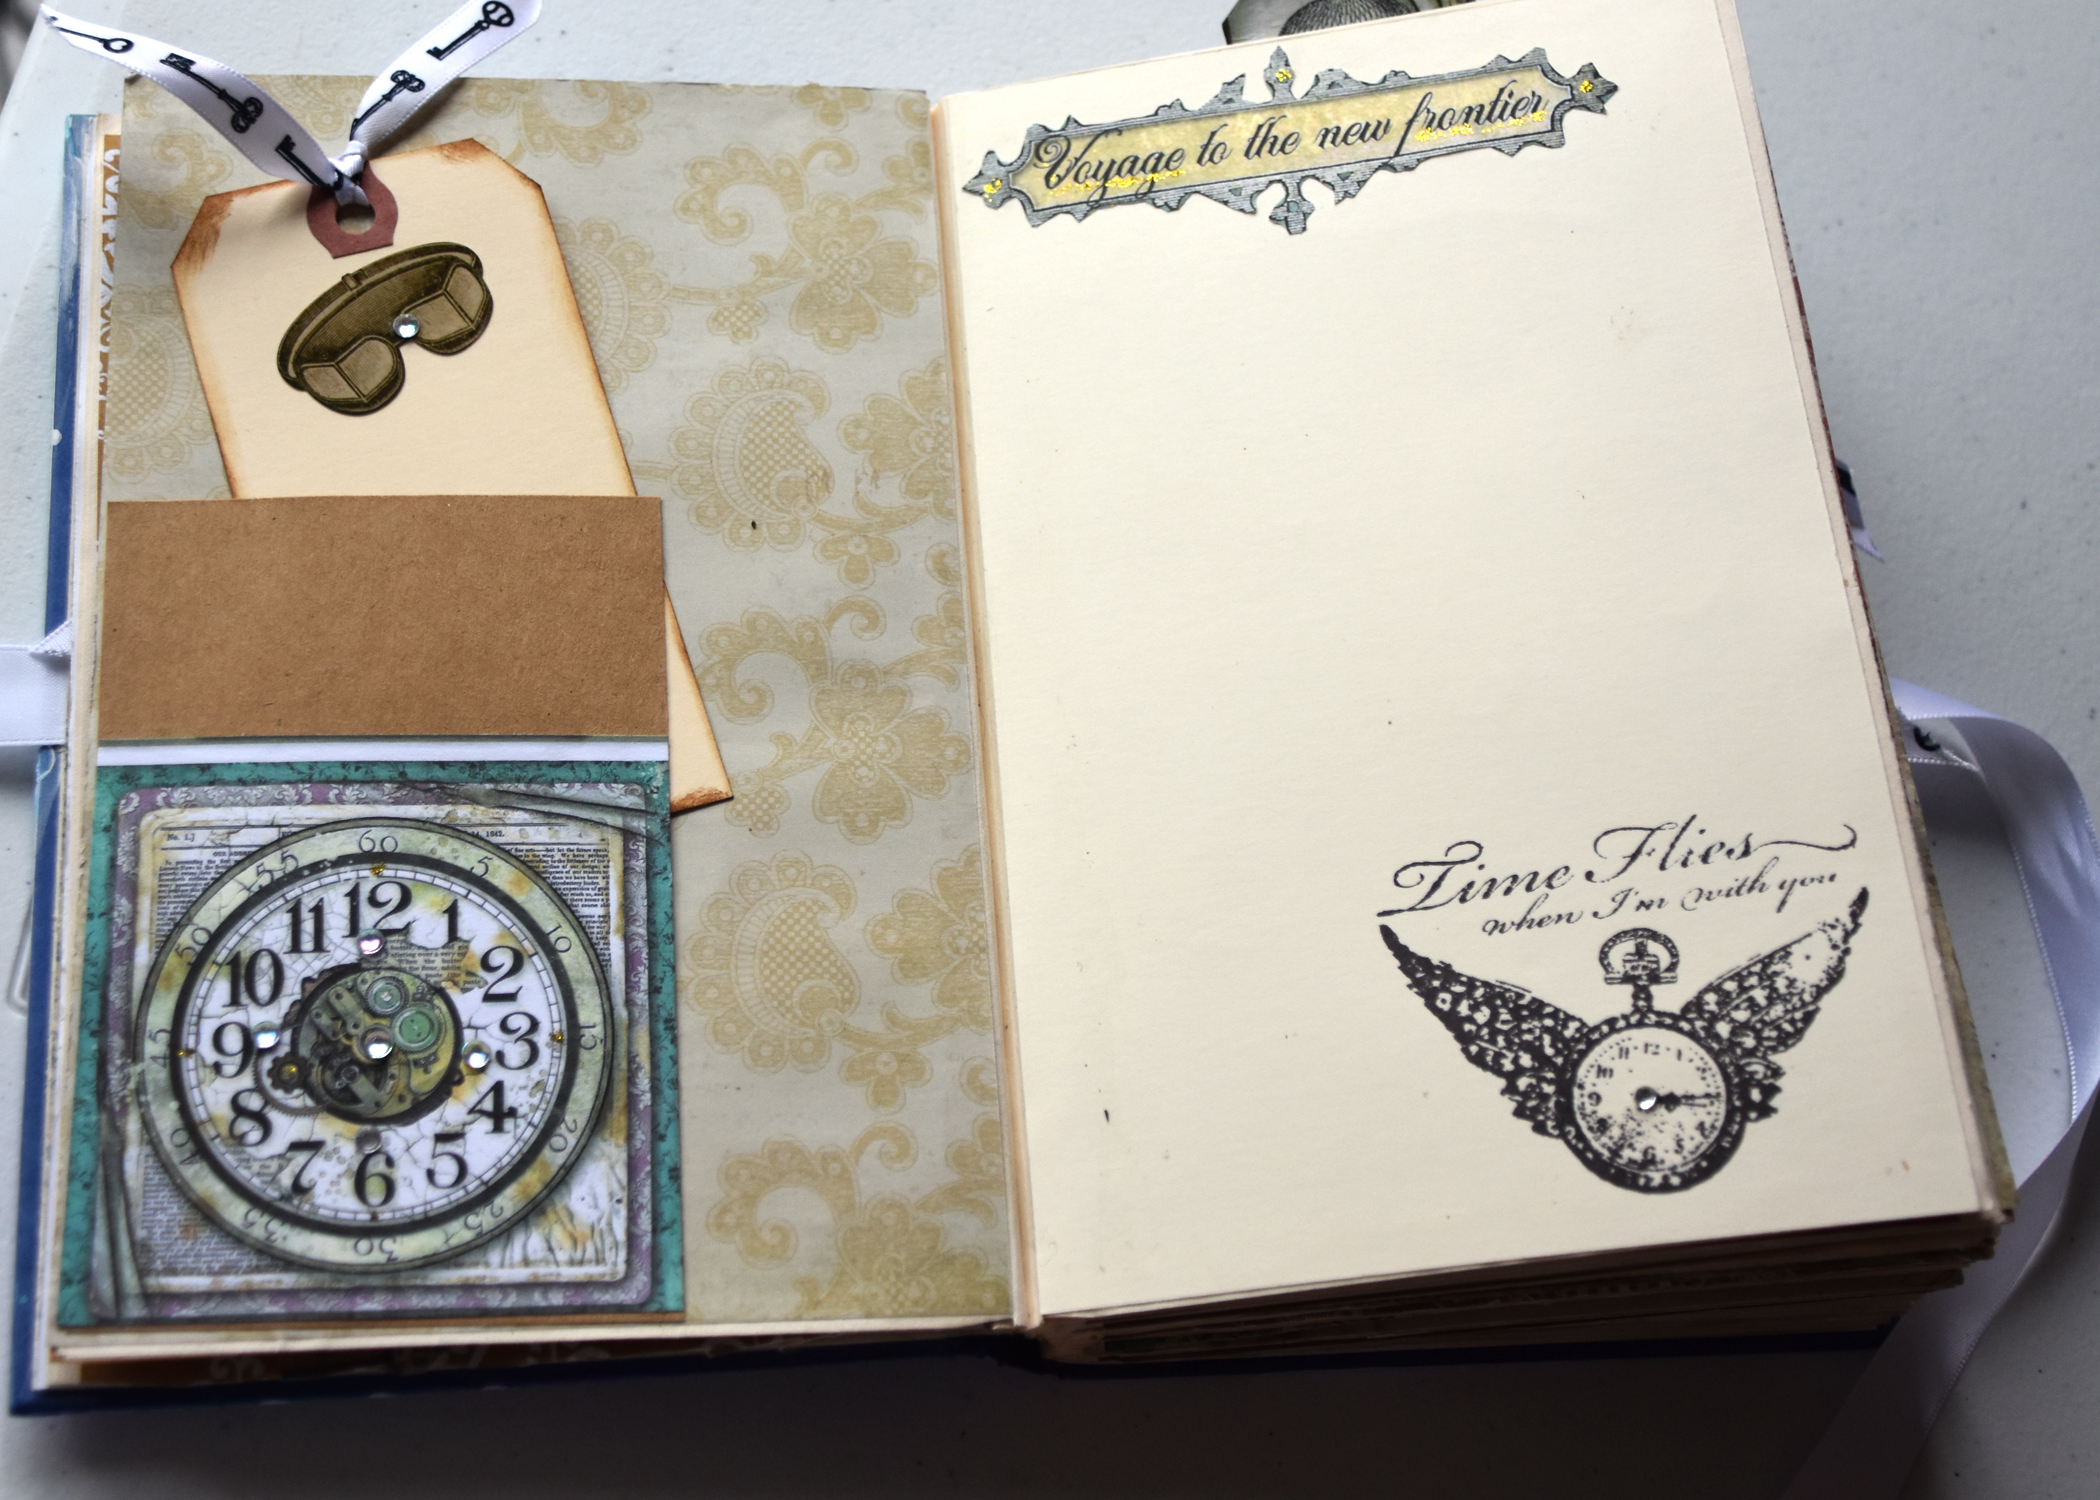
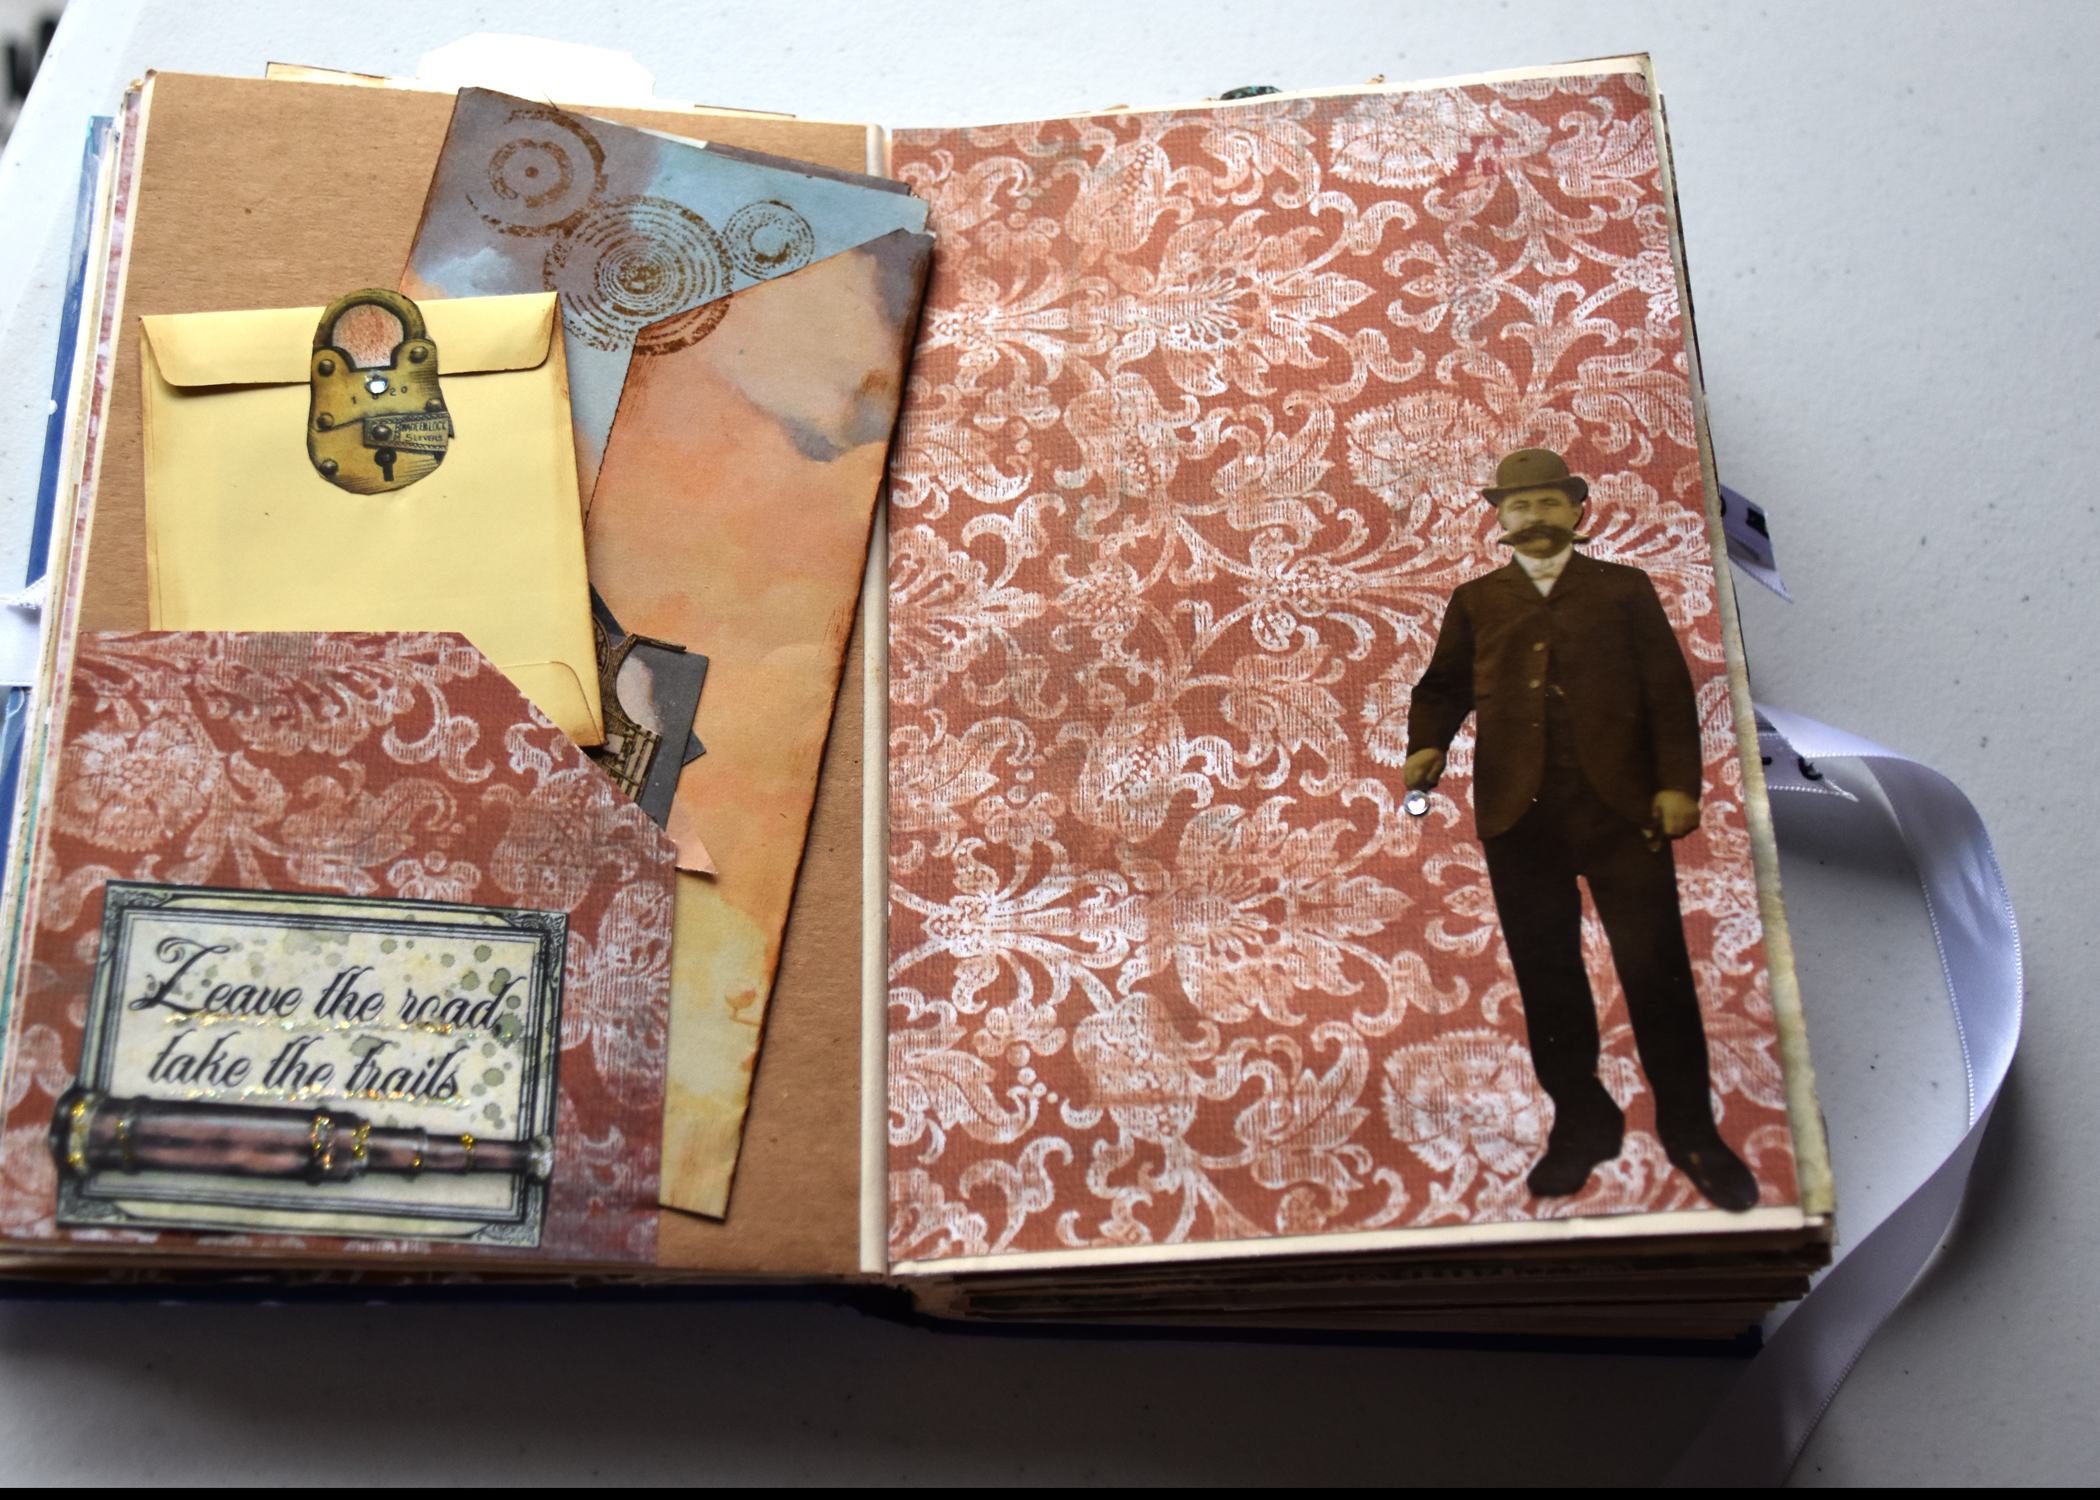
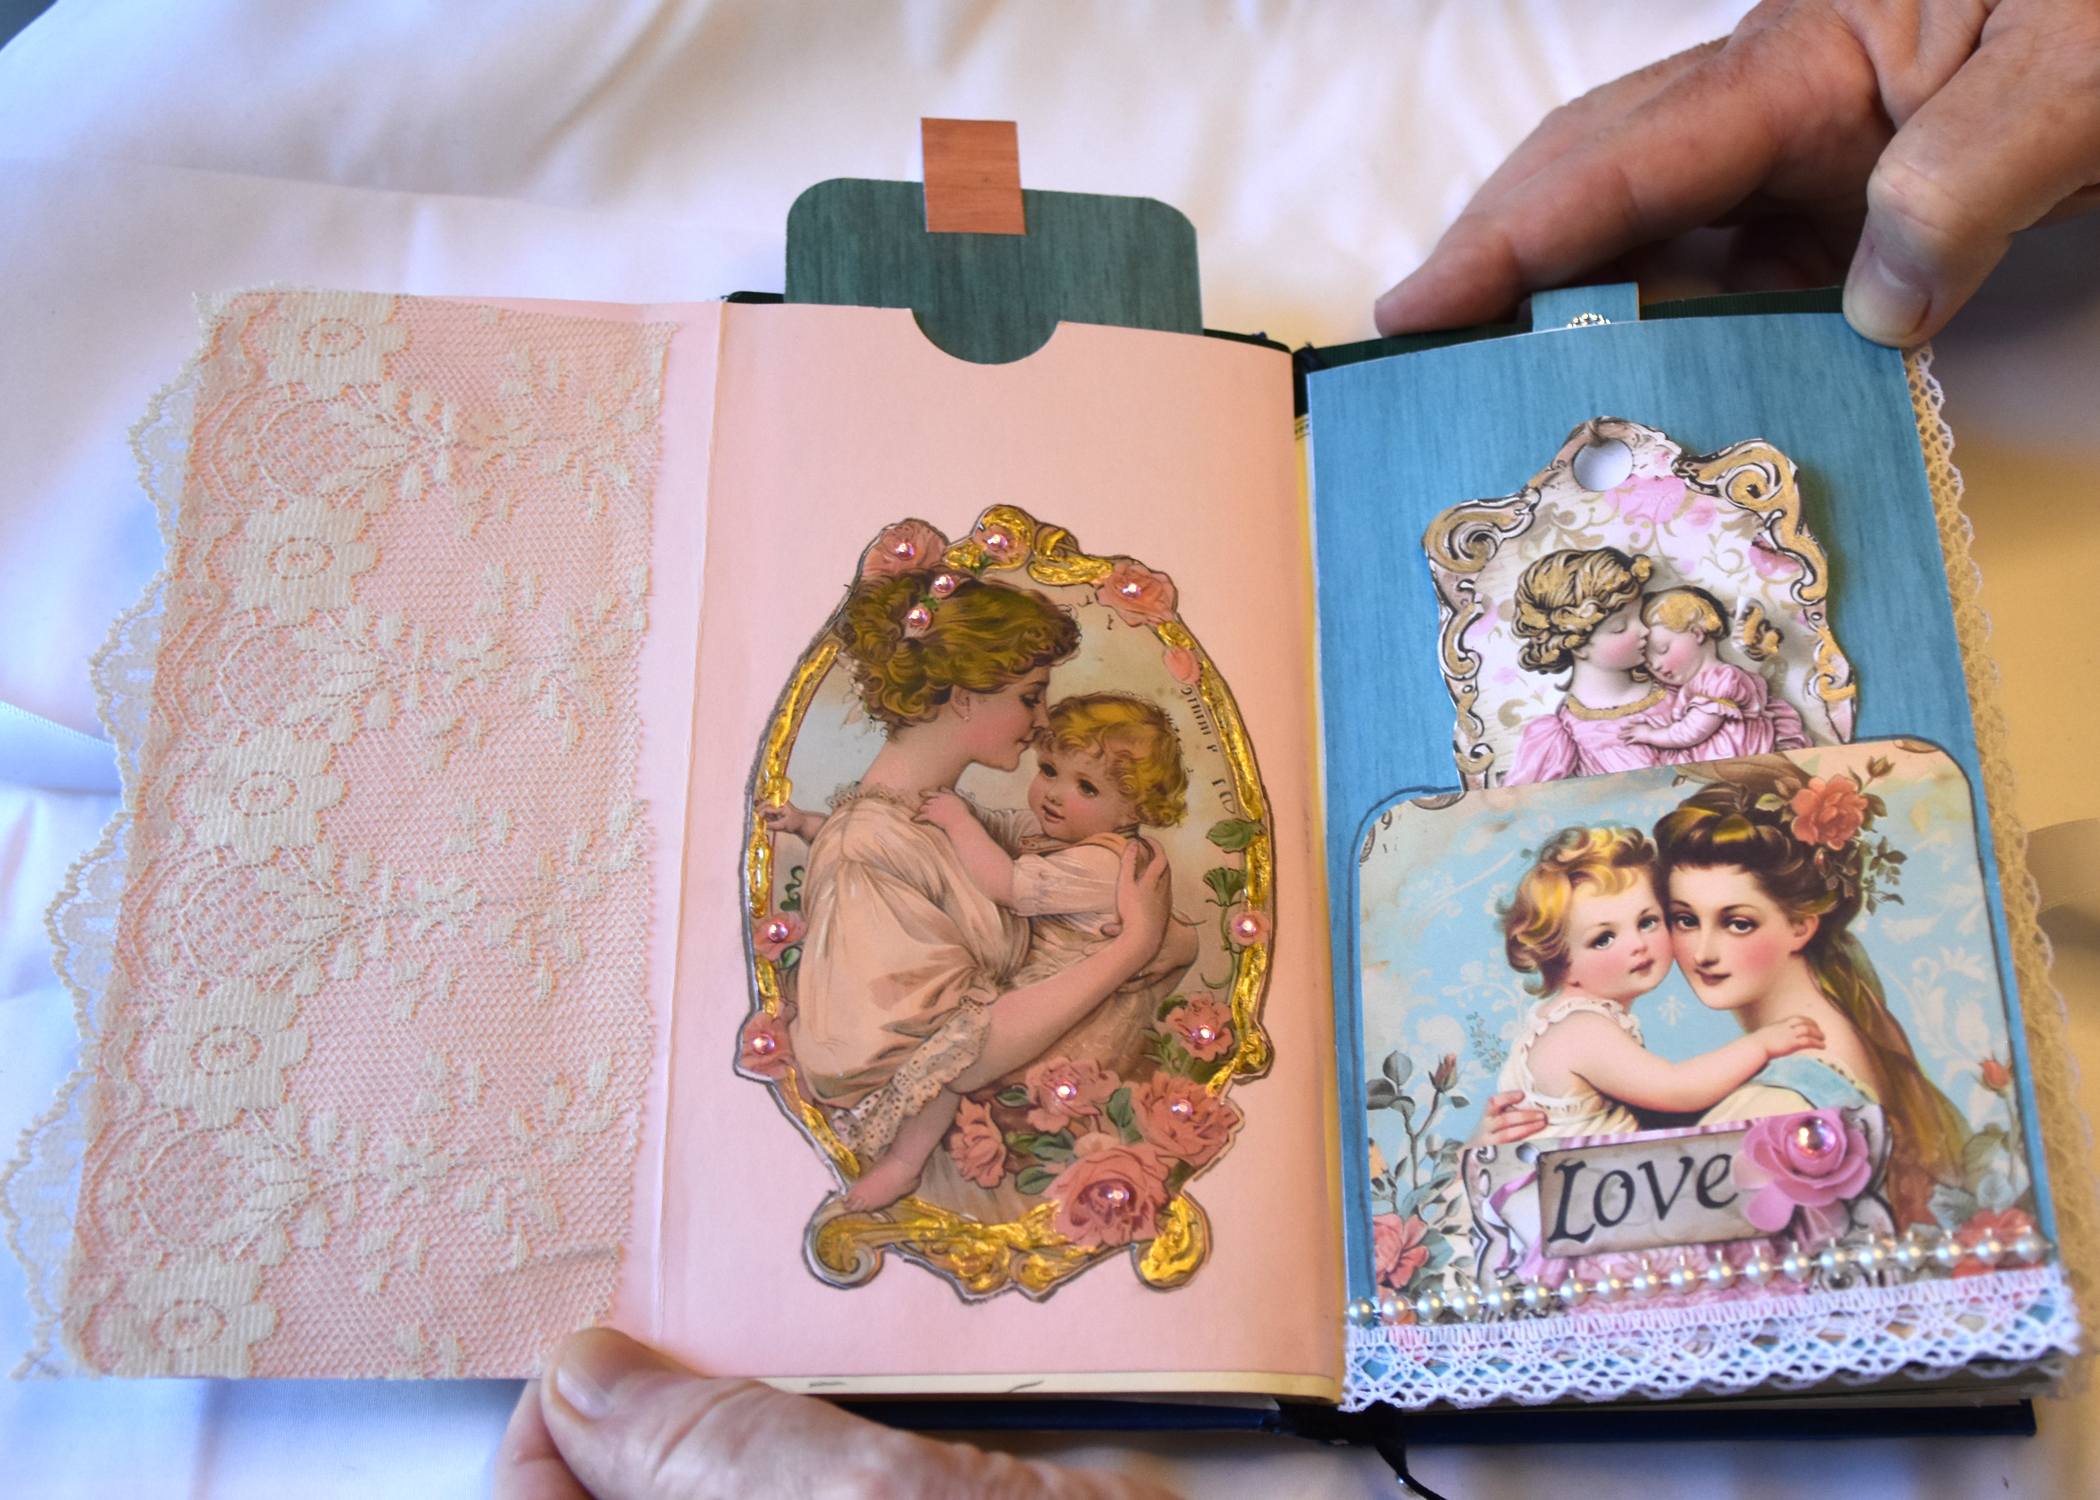
But junk journals nowadays have all kinds of clever places to store tickets, menus, and other bits of our lives that our children’s children will find fascinating. Taping in a photo and writing a few words about the gathering is invaluable to future generations who may not remember how relatives looked when they were young and cute. In addition, today’s junk journals have small spaces (called tucks and tags) to write our thoughts and experiences in a condensed form. All of this makes it less intimidating than opening a journal to a big blank page. I hope the next time you think about buying yourself or a special person a unique keepsake gift you will think about giving them a handmade junk journal to try. I think you will surprise yourself how much you like it and/or how much your friend will thank you for introducing them into the world of saving their history. All of these journals are for sale in my Etsy store (https://www.etsy.com/shop/LDphotography)